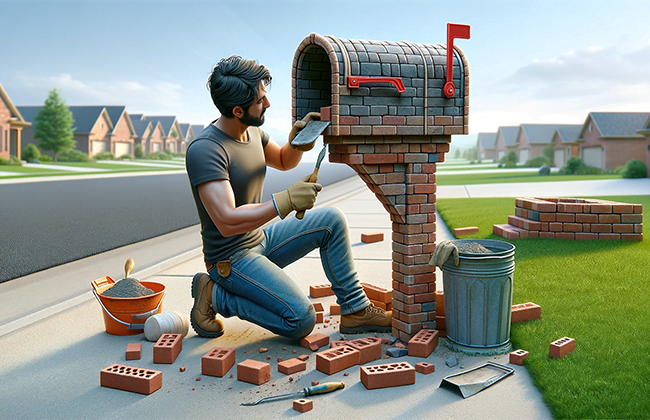
Repairing a brick mailbox is a task that combines both utility and aesthetics. Whether it’s weather wear, accidental impacts, or simply time taking its toll, your brick mailbox can show signs of distress. Understanding the nuances of repair brick mailbox tasks is essential for any homeowner looking to maintain or enhance their property’s curb appeal. This comprehensive guide delves into various aspects of the process, from initial assessment to the final touches, ensuring your mailbox stands as a testament to both functionality and style.
Table of Contents
Understanding Brick Mailbox Damage
In this section, the focus is on educating the reader about the common causes of damage to brick mailboxes. This includes the impact of various weather conditions, such as freezing temperatures and moisture, which can lead to the expansion of cracks. The section also covers accidental impacts from vehicles or lawn equipment and general wear and tear over time, highlighting how these factors can compromise the structural integrity and aesthetic appearance of brick mailboxes.
What Causes Damage to Brick Mailboxes?
Weather Conditions
Exposure to harsh weather elements is a primary cause of damage to brick mailboxes. Extreme temperatures, moisture from rain and snow, and even the sun’s UV rays can gradually deteriorate the mortar and bricks. Freeze-thaw cycles in colder climates are especially detrimental, as water seeps into small cracks and expands when frozen, leading to larger cracks and disintegration over time.
Accidental Impact
Accidents such as vehicle collisions or landscaping mishaps can result in immediate and visible damage to brick mailboxes. Such impacts can dislodge or break bricks and significantly weaken the structure’s integrity.
Wear and Tear Over Time
Like all structures, brick mailboxes undergo natural wear and tear. Over years, this gradual process can lead to loosening of mortar, brick discoloration, and general weakening of the mailbox’s structural stability.
Assessing the Damage
This part guides the reader through the process of conducting a thorough inspection of their brick mailbox. It provides practical tips for visual inspection, such as looking for loose bricks, cracks in the mortar, and signs of tilting or unevenness. The importance of identifying both obvious and subtle signs of damage, including hollow sounds that indicate internal issues, is emphasized to ensure a comprehensive assessment.
How to Inspect Your Brick Mailbox for Repair Needs
Visual Inspection Tips
A thorough visual inspection is crucial. Look for obvious signs like loose or missing bricks, cracks in the mortar, and any tilting or unevenness in the structure. It’s also essential to check for less visible signs of damage, such as small hairline cracks or mortar erosion.
Identifying Loose Bricks and Mortar Issues
Tap gently on different areas of the mailbox. Hollow sounds indicate loose bricks or voids in the mortar. Check the consistency of the mortar – if it crumbles easily or seems excessively sandy, it may need replacement.
Preparing for Repair
Preparing for the repair process involves gathering the right tools and materials. This section lists the essential tools needed, such as chisels, hammers, trowels, and safety equipment. It also delves into choosing the appropriate type and color of mortar and bricks to ensure the repaired sections blend seamlessly with the existing structure, maintaining the mailbox’s aesthetic appeal.
Gathering the Right Tools and Materials
List of Essential Tools
You’ll need a chisel, hammer, trowel, level, safety glasses, gloves, and a stiff brush. For larger repairs, consider a mortar hawk and a pointing tool.
Choosing the Right Mortar and Bricks
Select a mortar that matches the existing one in color and type (typically Type N or Type S). If replacing bricks, try to match their size, color, and texture for aesthetic consistency.
The Repair Process
The repair process is broken down into detailed, step-by-step instructions. It begins with the removal of damaged bricks, emphasizing safety and proper techniques to avoid further damage. Subsequent steps include preparing the base for new bricks, laying the new bricks with the correctly mixed mortar, and applying finishing touches like smoothing the mortar and cleaning the surface. Each step is elaborated to guide even a novice through the repair process.
Removing Damaged Bricks
- Safety First: Protective Gear and PrecautionsWear safety glasses and gloves to protect from flying debris. Work slowly and methodically to prevent accidental damage to surrounding bricks.
- Techniques for Removing Bricks Without Causing Further Damage:Use the chisel and hammer to remove the mortar around the damaged bricks gently. Avoid excessive force that could destabilize adjacent bricks.
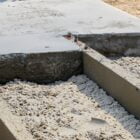
Preparing the Area for New Bricks
- Cleaning and Prepping the Base: Clear away old mortar and debris. Ensure the base is level and stable before proceeding.
- Tips for a Solid Foundation: Moisten the area slightly before laying new bricks. This helps in better mortar adhesion.
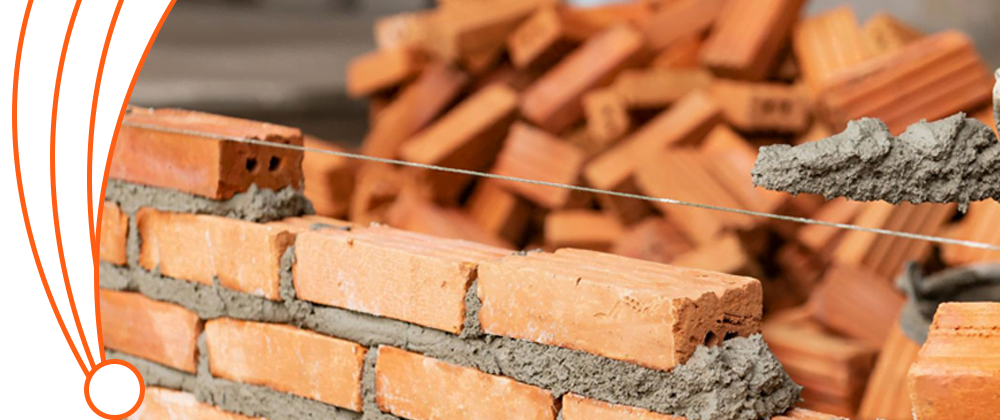
Laying New Bricks
- Mixing Mortar: The mortar should have a peanut butter-like consistency. Too dry, and it won’t bind well; too wet, and it loses strength.
- Placing Bricks: Lay each brick firmly into the mortar, ensuring it aligns with the existing structure. Use the level to check alignment.
Finishing Touches
- Applying Mortar Between Bricks: Use a pointing tool to fill in gaps with mortar, ensuring it’s compact and level with the brick surface.
- Smoothing and Cleaning Excess Mortar: Wipe away excess mortar with a damp sponge for a clean finish.
Maintaining Your Brick Mailbox
Maintenance is key to prolonging the life of a brick mailbox. This section offers tips for regular cleaning and preventive measures to protect the mailbox from future damage. It suggests routine inspections and minor repairs, especially after extreme weather conditions, to keep the mailbox in top condition.
Tips for Long-Term Care and Prevention
Regular Cleaning
Gently clean the mailbox with water and a soft brush to remove dirt and grime. Avoid harsh chemicals that can damage the bricks and mortar.
Seasonal Checks and Minor Repairs
Inspect the mailbox regularly, particularly after harsh weather conditions. Address small issues promptly to prevent larger problems.
Safety Considerations
Safety is paramount when undertaking repair work. This section advises on when it’s appropriate to undertake DIY repairs and when to call in a professional, especially for structural issues. It emphasizes the importance of adhering to safety precautions to prevent accidents and ensure the structural integrity of the mailbox.
Navigating Repairs with Caution
- When to Call a Professional: If the damage is extensive or involves structural repairs, it’s safer to consult a professional mason.
- Ensuring Structural Integrity: Always prioritize safety and structural integrity over aesthetics. A poorly repaired mailbox can be a safety hazard.
Customizing Your Brick Mailbox
Finally, the article explores ways to personalize the brick mailbox. This can involve adding decorative elements like custom house numbers, unique mailbox flags, or creative color schemes. This section aims to inspire the reader to enhance the curb appeal of their property through thoughtful customization of their brick mailbox.
Adding Personal Touches
- Creative Ideas for Customization: Consider adding decorative elements, such as custom house numbers, a new mailbox flag, or even a small planter.
- Enhancing Curb Appeal: A well-maintained and customized brick mailbox not only serves its purpose but also enhances the overall curb appeal of your property.
Conclusion:
In conclusion, mastering the skill to repair brick mailbox is not just about fixing a structure; it’s about restoring an essential part of your home’s character. Through careful assessment, proper preparation, and meticulous execution, you can breathe new life into your brick mailbox. This guide provides a roadmap to navigate the challenges of repair work while preserving the beauty and integrity of your mailbox. Remember, a well-maintained brick mailbox not only serves its practical purpose but also enhances the overall appeal of your home.
FAQs:
Q1: How often should I inspect my brick mailbox for repairs?
A: Inspecting your brick mailbox at least twice a year is recommended. Regular checks can help identify issues early, especially after extreme weather conditions, ensuring timely repair brick mailbox interventions.
Q2: What are the common signs that my brick mailbox needs repair?
A: Common signs include loose or missing bricks, cracks in the mortar, a leaning structure, and signs of erosion or wear. These indicate it’s time to consider repair brick mailbox efforts to maintain its integrity.
Q3: Can I repair my brick mailbox myself or should I hire a professional?
A: Simple repairs, like replacing a few bricks or repointing, can be a DIY project. However, for extensive damages or structural repairs, it’s safer to hire a professional to repair brick mailbox.
Q4: What type of mortar should I use for repairing a brick mailbox?
A: Use a mortar type that matches the existing one, typically Type N or Type S. The right mortar ensures durability and aesthetic consistency for your repair brick mailbox project.
Q5: How can I prevent future damage to my brick mailbox?
A: Regular maintenance, using weather-resistant materials during repairs, and ensuring proper drainage around the base can prevent future damage. These practices are key in repair brick mailbox strategies to extend its lifespan.