Choosing the best mortar for repointing is essential for maintaining the durability and appearance of your masonry. Repointing involves removing old, damaged mortar and replacing it with new mortar. This process restores the structural integrity of brick or stone masonry and prevents water damage. Whether you have an older building needing lime mortar or a newer construction suitable for Portland cement, selecting the right mortar is crucial. Understanding the types of mortar available and their appropriate uses can help you make an informed decision for your repointing project.
What is Repointing?
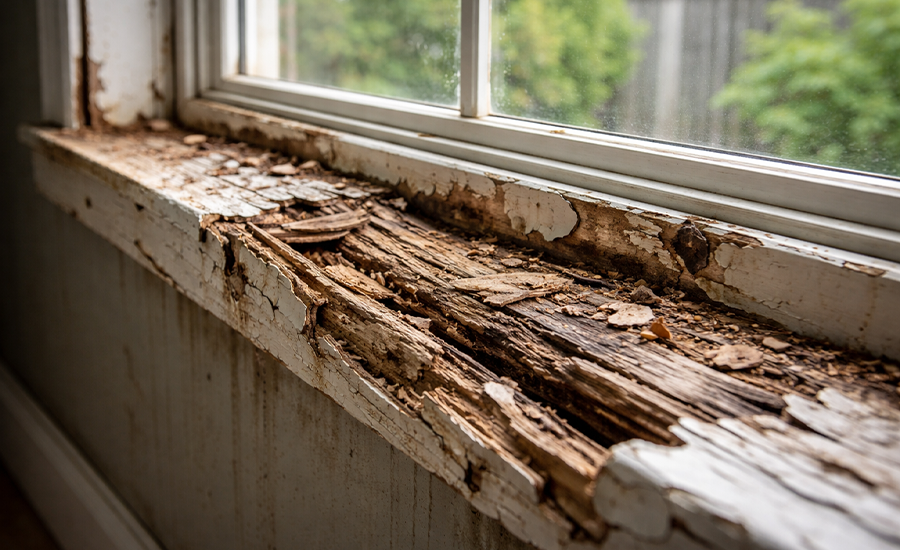
Repointing involves removing old, damaged mortar from the joints of brick or stone masonry and replacing it with new mortar. This process is crucial for maintaining the structural integrity of the building. Over time, mortar can deteriorate due to weathering, moisture, and general wear and tear. If left unchecked, this deterioration can lead to significant structural problems, including loose bricks, water penetration, and even collapse in severe cases.
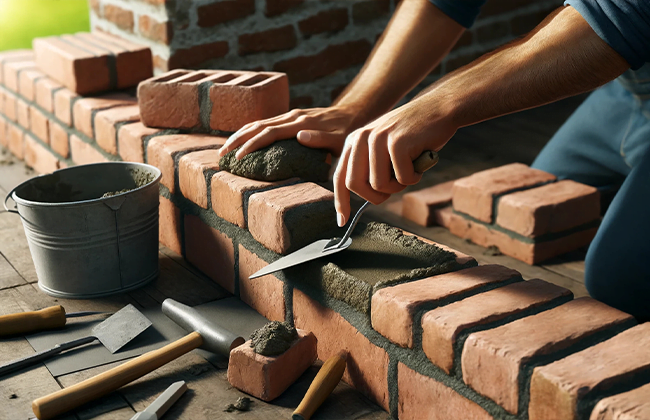
To start, the old mortar is carefully removed from the joints using tools like chisels or grinders. It’s important to remove just enough mortar to allow for a solid bond with the new material without damaging the surrounding bricks or stones. Once the old mortar is removed, the joints are cleaned thoroughly to remove any dust or debris.
The new mortar is then applied in layers, ensuring that it fills the joint completely and adheres well to the masonry. Proper repointing helps to restore the wall’s strength, improve its appearance, and prevent water ingress, which can cause further deterioration. Regular maintenance through repointing is essential to extend the life of your masonry work and keep it looking its best.
Why is Choosing the Right Mortar Important?
Using the wrong mortar can lead to various issues, compromising the longevity and appearance of your masonry work.
Here’s why choosing the right mortar is so crucial:
- Cracking: Mismatched mortar can crack and crumble. Mortar that is either too hard or too soft compared to the original material can fail under stress. For instance, if you use a hard mortar on a softer brick, the brick may crack rather than the mortar, leading to damage.
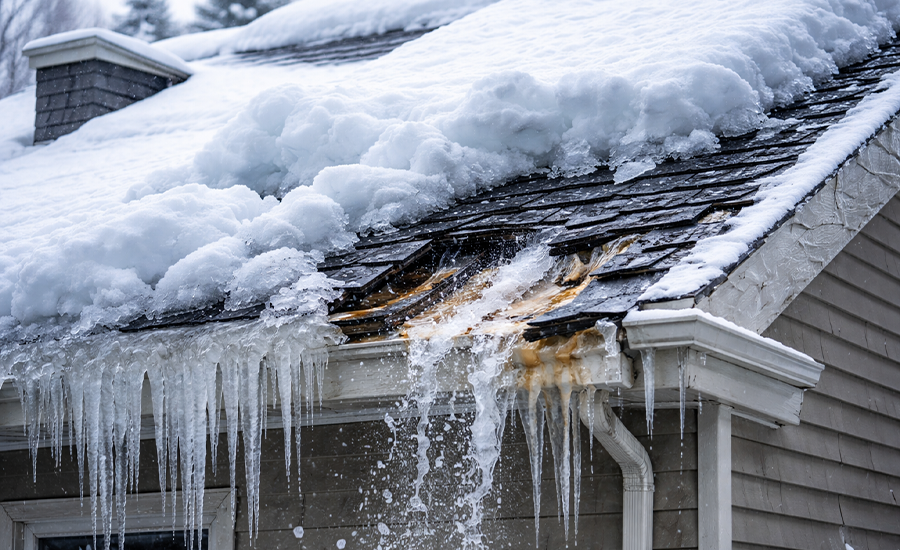
- Moisture Problems: Incorrect mortar can trap moisture, leading to mold and structural damage. Proper mortar selection is essential to ensure that moisture can escape from the joints. If moisture gets trapped, it can cause the mortar to deteriorate and potentially lead to freeze-thaw damage in colder climates. Water trapped behind the mortar can freeze and thaw, expanding and contracting, which further deteriorates the masonry.
- Aesthetic Mismatch: The color and texture may not blend with the original masonry. This can make the repair work stand out unattractively, reducing the overall visual appeal of the structure. Mortar color and texture should match the existing masonry as closely as possible to maintain a uniform appearance.
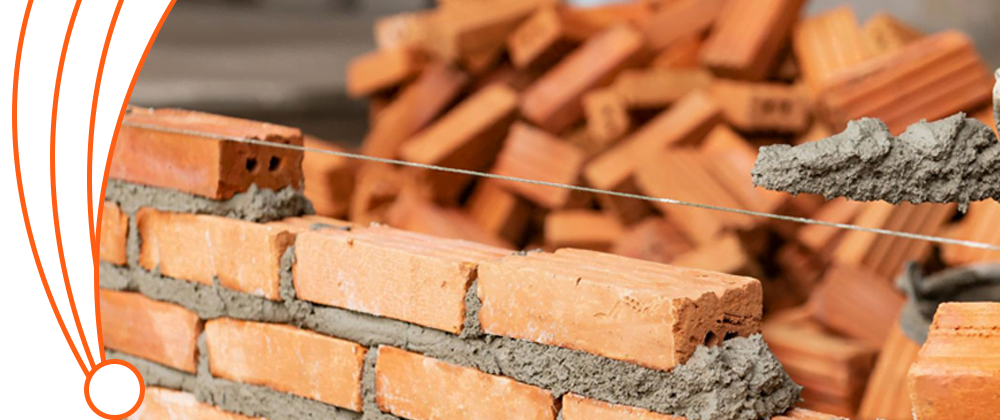
Types of Mortar for Repointing
Selecting the best mortar for repointing depends on several factors, including the type of masonry, the age of the structure, and environmental conditions.
Here are the most common types:
1. Lime Mortar
Lime mortar is traditional and ideal for older buildings. It has been used for centuries in historic structures because of its unique properties. Lime mortar is breathable, meaning it allows moisture to escape from the masonry, which helps prevent damage from trapped water. This breathability is crucial for older buildings that were originally constructed with materials that also breathe, like soft brick or stone.
Another significant advantage of lime mortar is its flexibility. Unlike modern mortars, lime mortar can accommodate the natural movement in historic structures without cracking. This flexibility helps maintain the integrity of the masonry over time. Additionally, lime mortar is self-healing. It can reabsorb carbon dioxide from the air, which helps repair minor cracks that may form. This self-healing property can prolong the life of the mortar and the masonry it supports.
| Pros | Cons |
| Breathable: Helps prevent moisture damage. | Longer curing time: Requires more patience during application. |
| Flexible: Adapts to natural movement in structures. | Requires careful mixing: Needs precise ratios for optimal performance. |
| Ideal for historic buildings: Matches the original construction materials. | |
| Self-healing: Repairs minor cracks over time. |
2. Portland Cement Mortar
Portland cement mortar is a modern option, known for its strength and quick setting time. This type of mortar is commonly used in newer constructions because it provides a strong, durable bond that can withstand significant stress. Its quick setting time makes it ideal for projects that need to be completed promptly.
However, Portland cement mortar can be too rigid for older buildings. Its lack of flexibility can cause issues in structures that experience natural movement or settling. In these cases, the rigid mortar may crack, leading to potential damage. Moreover, Portland cement mortar is less breathable than lime mortar. This reduced breathability can trap moisture within the masonry, leading to problems like mold growth and freeze-thaw damage in colder climates.
| Pros | Cons |
| Strong: Provides a durable, long-lasting bond. | Less breathable: Can trap moisture and cause damage. |
| Fast setting: Ideal for quick repairs and projects. | Can be too rigid for older structures: May crack under natural movement. |
3. Hydraulic Lime Mortar
Hydraulic lime mortar offers a balance between lime mortar and Portland cement mortar. It sets faster than traditional lime mortar but remains more flexible than Portland cement mortar. This type of mortar is suitable for a variety of conditions and can be used in both historic and modern buildings.
Hydraulic lime mortar is often preferred for its quick setting properties, which make it more convenient to work with compared to traditional lime mortar. Its flexibility makes it a good choice for buildings that require some movement tolerance, while still providing a strong bond. However, hydraulic lime mortar can be more expensive than other types of mortar. Additionally, it requires precise mixing to achieve the right properties, which can be a challenge for inexperienced users.
| Pros | Cons |
| Quick setting: More convenient than traditional lime mortar. | More expensive: Higher cost than other mortar types. |
| Flexible: Suitable for various conditions and structures. | Requires precise mixing: Needs accuracy for optimal performance. |
| Good for various conditions: Versatile and adaptable. |
How to Choose the Best Mortar for Repointing
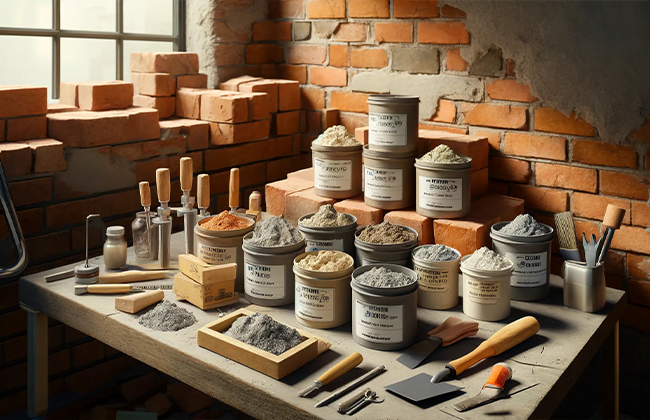
When selecting the best mortar for repointing, consider the following factors:
1. Age of the Structure
The age of the building is a crucial factor in determining the appropriate mortar. Older buildings, especially those built before the 20th century, usually require lime mortar. This is because lime mortar offers breathability and flexibility, which are essential for the longevity of historic structures. These older buildings were often constructed with materials that need to “breathe.” Lime mortar allows moisture to escape, preventing the buildup of water within the walls, which can cause significant damage over time.
In contrast, newer constructions typically benefit from the strength and quick-setting properties of Portland cement mortar. These modern buildings are often made with materials that are more rigid and do not require the same level of breathability. Portland cement mortar provides a strong, durable bond that can withstand significant stress, making it ideal for these types of structures.
2. Type of Masonry
The type of masonry used in your building also plays a significant role in the choice of mortar. Different materials have different characteristics and requirements:
- Brick: For soft, historic bricks, lime mortar is usually the best choice. It is gentle on the bricks and accommodates their natural movement. Using a hard mortar like Portland cement on soft bricks can lead to cracking and damage.
- Stone: The type of stone can vary greatly. Some stones are softer and more porous, requiring a breathable mortar like lime. Harder stones can usually handle the rigidity of Portland cement mortar.
- Concrete blocks: These are typically used in modern constructions and are well-suited for Portland cement mortar due to its strength and durability.
Choosing the right mortar based on the type of masonry ensures that the repair work will be compatible with the existing materials and will last longer.
3. Environmental Conditions
Environmental conditions are another important factor to consider when selecting mortar. The local climate and exposure to elements can significantly impact the performance of the mortar:
- Humid conditions: In areas with high humidity, lime mortar performs well because it allows moisture to escape from the masonry. This prevents the buildup of dampness within the walls, reducing the risk of mold growth and structural damage.
- Extreme weather: For regions that experience harsh weather conditions, such as heavy rainfall, freezing temperatures, or intense heat, Portland cement mortar is often a better choice. Its strength and quick-setting properties make it more resistant to these extreme conditions.
- Coastal areas: Buildings located near the coast face unique challenges due to saltwater exposure. Lime mortar is usually preferred in these areas because it is less susceptible to salt damage compared to Portland cement mortar.
By considering the environmental conditions, you can choose a mortar that will not only perform well during installation but will also provide long-lasting durability under the local climate stresses.
Preparing for Repointing
Proper preparation is crucial for a successful repointing project.
Here are the steps you should follow:
1. Assess the Damage
The first step in any repointing project is to assess the extent of the damage. Take a close look at the masonry to identify areas where the mortar is crumbling, cracked, or missing. This will help you determine how much mortar needs to be replaced and prioritize the areas that require the most attention.
Look for signs of moisture damage, such as discoloration or mold growth, which can indicate that water is penetrating the masonry. Also, check for any structural issues, such as loose or shifting bricks or stones. Documenting the damage with photos can be helpful for planning the repairs and ensuring you don’t miss any spots.
2. Choose the Right Tools
Having the right tools is essential for effective repointing. Here are the tools you’ll need:
- Chisel and Hammer: These are used to carefully remove the old, damaged mortar from the joints. A narrow chisel is ideal for this task as it allows for precise work without damaging the surrounding masonry.
- Mortar Mixer: Whether you use a mechanical mixer or mix by hand, a mortar mixer helps you achieve a consistent mix, which is crucial for a strong bond.
- Pointing Trowel: This tool is used to apply the new mortar into the joints. A pointing trowel has a narrow, pointed blade that makes it easier to work the mortar into tight spaces.
- Brush: A stiff brush is used to clean out the joints after removing the old mortar, ensuring that no debris is left behind.
- Safety Gear: Don’t forget safety! Wear gloves to protect your hands, goggles to shield your eyes from dust and debris, and a mask to avoid inhaling any particles.
3. Mix the Mortar
Mixing the mortar correctly is crucial for achieving a durable and lasting repair. Follow these steps to mix the mortar:
- Follow the Instructions: Always mix the mortar according to the manufacturer’s instructions. This ensures that you get the right proportions of ingredients.
- Consistency: The consistency of the mortar should be workable but not too wet. It should hold its shape when applied with a trowel without being too dry or crumbly.
- Small Batches: Mix the mortar in small batches to ensure it doesn’t dry out before you can use it. This is especially important in warm weather, where mortar can dry quickly.
- Test the Mix: Before applying the mortar to the wall, test it on a small section to ensure it adheres well and is easy to work with. Adjust the consistency if needed by adding a bit more water or dry mix.
By following these preparation steps, you’ll be well-equipped to tackle your repointing project and ensure a successful outcome. Proper assessment, the right tools, and a well-mixed mortar are key to achieving a durable and aesthetically pleasing repair.
Step-by-Step Guide to Repointing
Follow these steps for effective repointing:
1. Remove Old Mortar
The first step in repointing is to remove the damaged mortar. This process requires careful attention to avoid damaging the surrounding masonry. Use a chisel and hammer to chip away the old mortar. Start by placing the chisel at the edge of the mortar joint and tapping it with the hammer to loosen the mortar. Work slowly and methodically, ensuring that you remove all the damaged mortar without harming the bricks or stones.
Tools Needed:
- Chisel
- Hammer
2. Clean the Joints
Once the old mortar is removed, it’s essential to clean the joints thoroughly. Use a stiff brush to remove any debris, dust, or loose particles from the joints. This step is crucial because any remaining debris can prevent the new mortar from adhering properly. A clean surface ensures a strong bond between the new mortar and the masonry.
Tools Needed:
- Stiff brush
3. Apply New Mortar
Now it’s time to apply the new mortar. Using a pointing trowel, carefully apply the mortar into the joints. Press it firmly to ensure there are no air pockets, which can weaken the bond. The mortar should fill the joint completely and adhere well to the surrounding masonry. Work in small sections to ensure the mortar does not dry out before you can smooth it.
Tools Needed:
- Pointing trowel
4. Finish the Joints
After applying the new mortar, use a jointing tool to smooth the joints. This step helps to create a clean and professional finish. Ensure the mortar is slightly recessed from the masonry surface to match the existing mortar joints. This not only improves the appearance but also helps to protect the new mortar from weathering.
Tools Needed:
- Jointing tool
5. Cure the Mortar
Curing is the final step in the repointing process. Allow the mortar to cure according to the type used. Lime mortar, for instance, requires a longer curing time compared to Portland cement mortar. Proper curing is essential to achieve the desired strength and durability. Keep the repointed area moist during the curing process to prevent the mortar from drying out too quickly.
Tips for Curing:
- Cover the area with damp burlap or plastic sheets.
- Mist the joints with water regularly.
Detailed Table for Tools and Steps
| Step | Action | Tools Needed |
| 1. Remove Old Mortar | Use a chisel and hammer to remove damaged mortar. | Chisel, Hammer |
| 2. Clean the Joints | Brush out debris and dust for a clean surface. | Stiff Brush |
| 3. Apply New Mortar | Firmly press new mortar into joints using a trowel. | Pointing Trowel |
| 4. Finish the Joints | Smooth the joints with a jointing tool. | Jointing Tool |
| 5. Cure the Mortar | Allow mortar to cure; keep area moist. | Burlap/Plastic Sheets, Water |
By following these steps and using the right tools, you can ensure a successful and durable repointing project. Proper preparation and careful execution are key to restoring the strength and appearance of your masonry.

Tips for Successful Repointing
When it comes to repointing, following a few essential tips can make all the difference in ensuring a durable and aesthetically pleasing outcome.
Here are some important considerations to keep in mind:
Weather Considerations
Weather plays a significant role in the success of a repointing project. It’s important to avoid repointing in extreme weather conditions, as they can significantly affect the performance of the mortar.
- Hot Weather: High temperatures can cause the mortar to dry too quickly, leading to cracks and weak joints. If you must work in hot weather, keep the mortar and the masonry cool by misting them with water. Work in shaded areas whenever possible.
- Cold Weather: Freezing temperatures can prevent the mortar from setting properly. If the mortar freezes before it cures, it can weaken the bond and lead to failure. It’s best to repoint when the temperature is above 40°F (4°C) and stays above freezing for at least 48 hours.
- Wet Weather: Rain can wash away the fresh mortar and affect its setting process. If rain is expected, cover the work area with plastic sheets or tarps to protect the new mortar from getting wet.
Consistency
Maintaining a consistent mortar mix is crucial for achieving uniformity in the joints. Inconsistent mortar can lead to weak spots and an uneven appearance. Here are some tips to ensure consistency:
- Measure Ingredients: Always measure the ingredients accurately according to the manufacturer’s instructions. This ensures that each batch of mortar has the same properties.
- Mix Thoroughly: Mix the mortar thoroughly to achieve a uniform consistency. Use a mechanical mixer if possible, as it provides better results than mixing by hand.
- Small Batches: Mix mortar in small batches that can be used within a short period. This prevents the mortar from drying out and losing its workability before application.
Protection
Protecting the repointed area during and after the process is essential to ensure the mortar cures properly and achieves its full strength. Here are some protection tips:
- Cover the Area: Use tarps or plastic sheets to cover the repointed area, especially if rain is expected. This helps prevent the mortar from getting wet and ensures it cures properly.
- Shield from Sunlight: Harsh sunlight can cause the mortar to dry too quickly. If possible, provide shade to the work area to slow down the drying process and prevent cracking.
- Monitor Curing: Keep an eye on the repointed area during the curing process. Mist the joints with water regularly if needed to maintain the right moisture level and prevent the mortar from drying out too quickly.
Detailed Table for Tips
| Tip | Action |
| Weather Considerations | – Avoid hot, cold, or wet weather. – Work in shaded areas. – Cover area if rain is expected. |
| Consistency | – Measure ingredients accurately. – Mix thoroughly. – Prepare small batches. |
| Protection | – Use tarps or plastic sheets to cover the area. – Provide shade from harsh sunlight. – Monitor and mist the area during curing. |
By keeping these tips in mind, you can ensure that your repointing project is successful and that the mortar performs well over time. Weather conditions, consistency in mixing, and proper protection are key factors that contribute to the durability and appearance of your masonry work.
Common Mistakes to Avoid
When repointing masonry, avoiding common mistakes is crucial to ensure the longevity and effectiveness of your work. Here are some typical errors and how to prevent them:
Using the Wrong Mortar
One of the most common mistakes in repointing is using the wrong type of mortar. The mortar type must match the masonry and the age of the structure. Here’s why this is important:
- Historic Structures: Older buildings typically used lime mortar, which is more flexible and breathable than modern mortars. Using Portland cement mortar on these structures can cause the bricks or stones to crack, as it is too rigid.
- Modern Buildings: Newer constructions often use Portland cement mortar, which provides a strong, durable bond suitable for contemporary building materials. Using lime mortar here can lead to insufficient strength and stability.
How to Avoid: Always research and understand the original materials used in your masonry. If in doubt, consult with a professional to determine the appropriate mortar type.
Improper Mixing
Improper mixing of mortar can lead to weak joints and an uneven appearance. It’s essential to mix the mortar according to the manufacturer’s instructions to achieve the right consistency and strength.
Here’s what to keep in mind:
- Consistency: The mortar should be workable but not too wet. If it’s too dry, it won’t bond well. If it’s too wet, it can shrink and crack as it dries.
- Proportions: Use the correct proportions of water, sand, and cement (or lime). Incorrect ratios can compromise the mortar’s integrity.
How to Avoid: Follow the manufacturer’s instructions precisely. Use measuring tools to ensure accurate proportions and mix thoroughly until the mortar has a consistent texture.
Rushing the Process
Rushing through the repointing process can lead to poor results. Each step, especially curing, requires adequate time to ensure the mortar sets properly and achieves maximum strength.
Here’s why patience is key:
- Application: Applying mortar too quickly can result in air pockets, weak joints, and an uneven finish.
- Curing: Curing is crucial for the mortar to develop its full strength. If the mortar dries too quickly, it can lead to cracking and reduced durability.
How to Avoid: Plan your project timeline to allow enough time for each step. Don’t rush the application process, and ensure the mortar has adequate time to cure. Keep the area moist during curing, especially for lime mortar, which takes longer to set.
Detailed Table for Common Mistakes
| Common Mistake | How to Avoid |
| Using the Wrong Mortar | – Match the mortar type to the masonry and structure age. – Consult a professional if unsure. |
| Improper Mixing | – Follow the manufacturer’s instructions. – Use precise measurements and mix thoroughly. |
| Rushing the Process | – Allow adequate time for application and curing. – Keep the area moist during the curing process. |
By being aware of these common mistakes and how to avoid them, you can ensure that your repointing project is successful. Proper mortar selection, careful mixing, and not rushing the process are key to achieving durable and long-lasting results in your masonry work.
Conclusion
Selecting the best mortar for repointing ensures your masonry remains strong and visually appealing. Proper repointing with the correct mortar type prevents structural damage and prolongs the life of your brick or stonework. For those seeking professional help with their repointing needs, choosing experts who understand the importance of the right mortar is vital. If you are looking for a professional contractor for mortar repointing, contact us at (+1) 917-355-8556. We are here to ensure your masonry is repointed correctly and lasts for years to come.
FAQs
What is the best mortar for repointing old brick?
The best mortar for repointing old brick is typically lime mortar. Lime mortar is breathable and flexible, making it suitable for historic buildings. It matches the original construction materials and helps maintain the structure’s integrity.
Can I use Portland cement as the best mortar for repointing?
Portland cement can be used as the best mortar for repointing newer constructions. It provides a strong, durable bond and sets quickly. However, it is not suitable for older buildings that require more flexibility.
Why is lime mortar considered the best mortar for repointing historic structures?
Lime mortar is considered the best mortar for repointing historic structures because it is breathable and flexible. These properties help accommodate the natural movement of older buildings and prevent damage.
How do environmental conditions affect the choice of the best mortar for repointing?
Environmental conditions significantly impact the choice of the best mortar for repointing. Lime mortar performs well in humid conditions, while Portland cement is better for extreme weather. Choosing the right mortar helps ensure durability.
Is hydraulic lime mortar a good option as the best mortar for repointing?
Hydraulic lime mortar is a good option as the best mortar for repointing in various conditions. It sets faster than traditional lime mortar and remains flexible. It is suitable for both historic and modern buildings.
What kind of mortar for repointing?
For repointing, the mortar must match the original in terms of strength, composition, and color. Typically, a lime-based mortar is recommended for older masonry.
What is the best product for repointing?
The best product for repointing depends on the age and condition of the masonry. Lime mortar is often preferred for historic buildings, while Portland cement is used for newer structures.
What is better, type S or type N mortar?
Type N mortar is generally better for repointing due to its medium strength which ensures durability without being too hard, which could damage softer bricks.
What is the best mortar mix for pointing?
A good mortar mix for pointing is usually a blend of one part cement, one part lime, and six parts sand. This mix provides flexibility and good adhesion.
What are the common mistakes when repointing brickwork?
Common mistakes include using a mortar that is too hard or strong, not removing all the old mortar, and not matching the new mortar to the original in color and texture.
Can you repoint over old mortar?
It’s not advisable to repoint over old mortar without first removing any loose or deteriorated mortar to ensure the new mortar adheres properly and lasts longer.
What can go wrong with repointing?
Repointing can fail if the new mortar does not match the historic mortar in porosity, compressive strength, or thermal expansion, or if it’s improperly applied.
What type of mortar is best used for tuckpointing?
For tuckpointing, professionals prefer a softer mortar mix, typically comprising one part Portland cement, one part lime, and six parts sand, to ensure flexibility and prevent damage to the bricks.


