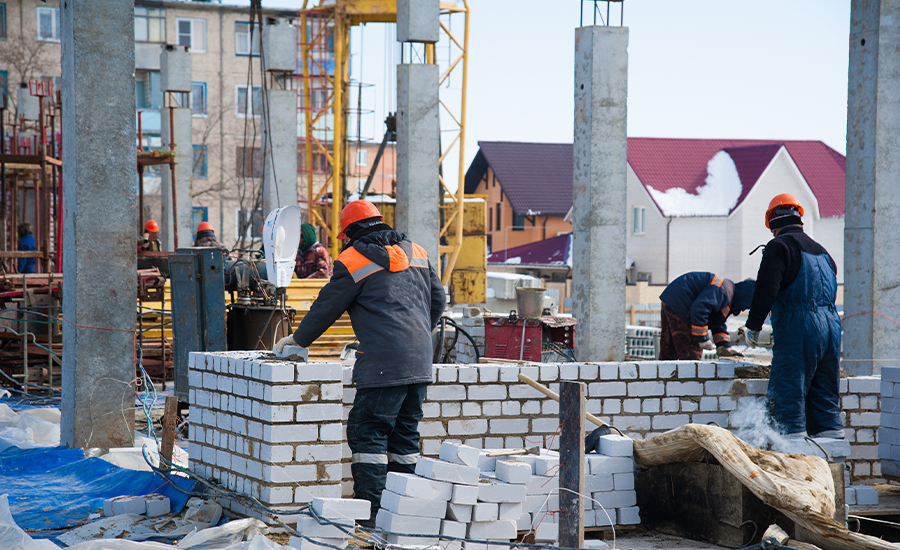
Brick lintel repair is essential for maintaining the structural integrity of your home. A brick lintel, which supports the weight above windows and doors, can deteriorate over time. Addressing brick lintel repair promptly can prevent serious damage and costly repairs. This guide will help you understand the importance of brick lintel repair, how to identify issues, and whether to tackle repairs yourself or hire a professional. By staying informed, you can ensure your home remains safe and sound.
Understanding Brick Lintels
Brick lintels are essential structural components that bear the load above openings such as windows and doors. Typically made of steel, reinforced concrete, or timber, they are designed to distribute the weight of the masonry above these openings. Over time, lintels can develop cracks, rust, or other forms of deterioration, necessitating repair or replacement.
Signs That Your Brick Lintel Needs Repair
Identifying early signs of lintel damage can save you from extensive repairs down the line. Look out for:
1. Cracks in the Masonry
Cracks are a common sign that your brick lintel might be in trouble. These cracks can appear above or below the lintel and may vary in size from small hairline fractures to larger, more noticeable gaps. Cracks often indicate that the lintel is unable to properly support the weight of the bricks above it, which could be due to deterioration or structural shifts.
2. Sagging or Bowing
If you notice that the bricks around your window or door are starting to sag or bow, this is a clear sign that your lintel might be failing. A sagging lintel indicates that it is no longer able to hold up the masonry above it. This can lead to more severe structural problems if not addressed promptly. It’s important to check for any visible deformation in the lintel itself as well as in the bricks directly above it.
3. Rust Stains
For lintels made of steel, rust is a significant concern. Rust stains on the brickwork can signal that the steel lintel is corroding. This corrosion weakens the lintel, reducing its ability to support the weight above it. Over time, rust can cause the steel to expand, putting additional pressure on the surrounding masonry and leading to cracks and other damage.
4. Separation from the Masonry
When a lintel starts to fail, you might notice gaps or separations between the lintel and the surrounding bricks. This separation occurs because the lintel is no longer properly bonded to the masonry, which compromises the structural integrity of the wall. Gaps can also allow water to seep in, causing further damage and potentially leading to more severe issues like mold growth or interior water damage.

Causes of Brick Lintel Damage
Understanding the causes of lintel damage can help in preventing future issues. Here are some common causes:
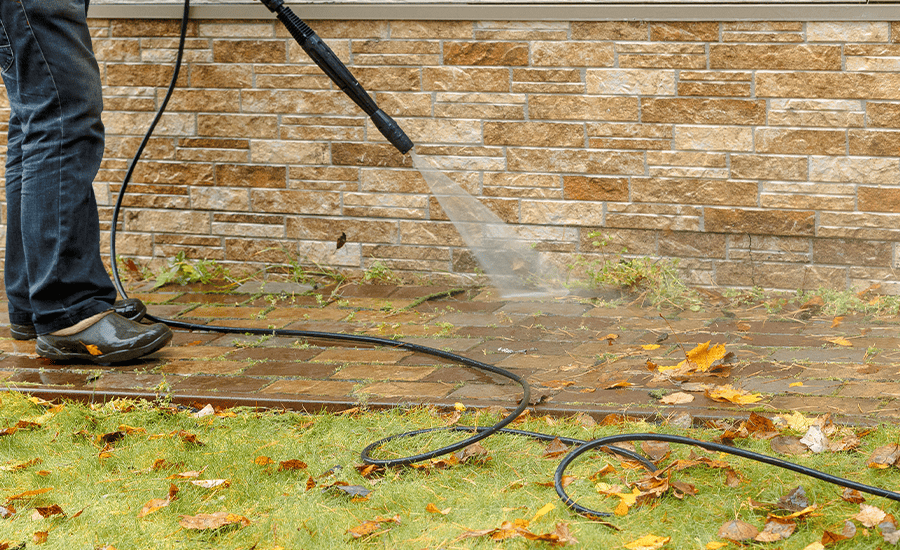
1. Water Infiltration
Water infiltration is one of the most common causes of brick lintel damage. When water seeps into the bricks and reaches the lintel, it can cause significant problems. For steel lintels, moisture leads to rust and corrosion. As the steel rusts, it expands, putting pressure on the surrounding bricks and causing them to crack or shift. In the case of timber lintels, water can lead to rot and decay, weakening the wood and compromising its ability to support the structure. To prevent water infiltration, ensure proper sealing and drainage around windows and doors.
2. Poor Construction
Lintel damage can often be traced back to poor construction practices. If a lintel is not installed correctly, it might not be able to bear the load it was designed to support. Inadequate installation can include improper alignment, insufficient support, or the use of substandard materials. Poor construction can lead to premature failure of the lintel, causing it to crack, bow, or separate from the surrounding masonry. Ensuring that a qualified professional installs your lintels can prevent these issues.
3. Load Stress
Every lintel is designed to support a specific amount of weight. However, changes in the structure or unexpected additional loads can stress the lintel beyond its capacity. Load stress can occur due to several factors, such as adding another story to the building, heavy snow or ice accumulation, or even large installations like air conditioning units. When the load exceeds what the lintel can handle, it can crack, sag, or bow. Regular inspections can help identify signs of load stress early.
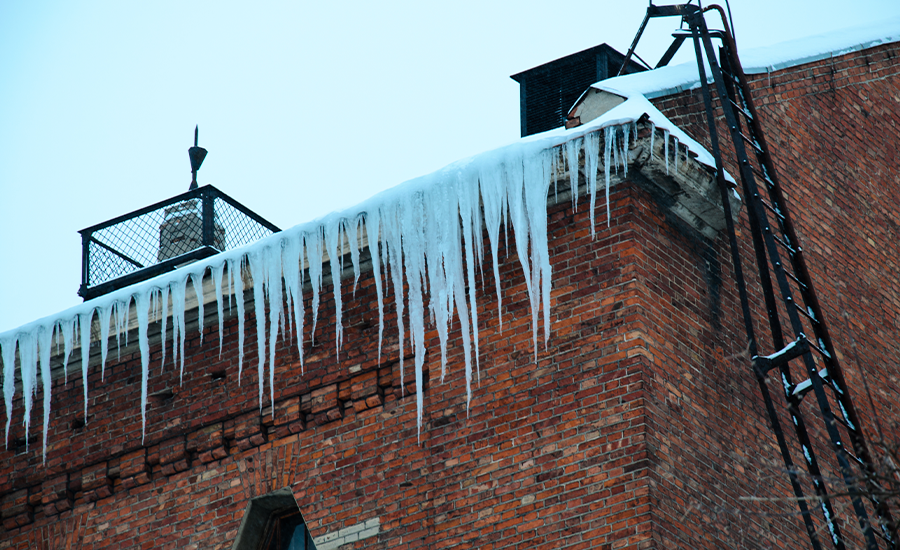
4. Thermal Expansion
Temperature changes can significantly affect the materials in a brick lintel. When temperatures fluctuate, materials like steel and concrete expand and contract. This thermal movement can cause cracks and gaps in the lintel and surrounding masonry. Over time, these small movements can weaken the lintel and lead to more severe structural problems. Using materials that can better withstand temperature changes and ensuring proper insulation can help mitigate the effects of thermal expansion.
By understanding these causes, you can take steps to protect your brick lintels and extend their lifespan. Regular maintenance, proper installation, and early intervention can prevent many of the issues associated with brick lintel damage.
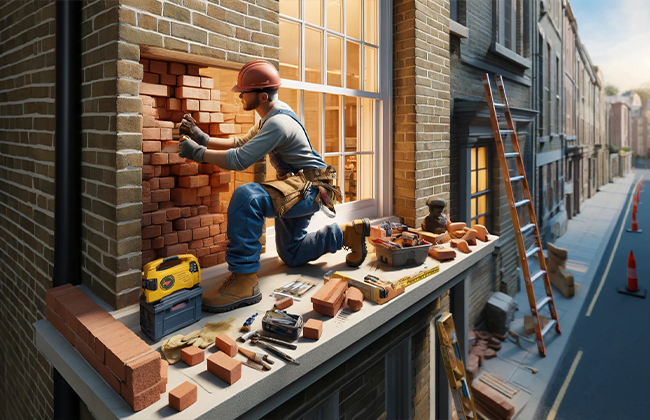
Steps to Repair Brick Lintels
Repairing a brick lintel involves several critical steps. Let’s break down each step in detail to ensure a thorough and effective repair.
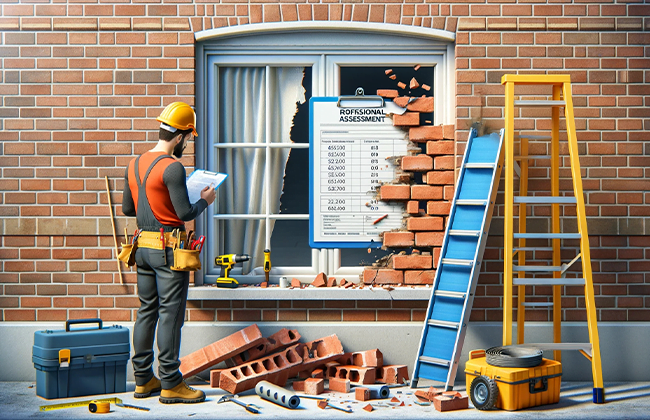
Step 1: Assessing the Damage
Before beginning repairs, a thorough assessment of the lintel and surrounding masonry is essential. This involves checking for the extent of the damage and identifying the root cause.
- Inspecting the Lintel and Masonry: Start by examining the lintel for visible cracks, rust, or sagging. Look for any signs of separation from the surrounding bricks. It’s crucial to understand whether the damage is superficial or structural. Use a flashlight to inspect hard-to-see areas and a ladder for higher sections.
- Determining the Root Cause: Identifying why the lintel is damaged helps in preventing future issues. Common causes include water infiltration, poor construction, load stress, and thermal expansion. Knowing the cause can guide the repair process and any preventative measures.
Step 2: Preparing the Area
Clear the area around the damaged lintel. This includes removing any loose bricks or debris and ensuring the workspace is safe.
- Safety First: Wear protective gear, including gloves, safety goggles, and a dust mask. Make sure the area is free from any hazards that could cause injury during the repair process.
- Removing Loose Materials: Carefully remove any loose or damaged bricks and debris around the lintel. This helps in creating a clean working area and ensures that the new lintel and masonry will be stable.
Step 3: Supporting the Structure
Temporary supports, such as acrow props, should be installed to bear the load while the lintel is being repaired or replaced.
- Installing Temporary Supports: Place acrow props or similar supports under the area where the lintel is located. Adjust them to bear the weight of the masonry above, ensuring they are stable and secure. These supports will hold the structure in place, preventing any collapse or further damage during the repair.
- Double-Checking Stability: Before proceeding, double-check the stability of the supports. Ensure they are positioned correctly and can bear the load without shifting or collapsing.
Step 4: Removing the Damaged Lintel
Carefully remove the damaged lintel without disturbing the surrounding masonry more than necessary.
- Cutting and Removing the Lintel: Use a masonry saw or chisel to carefully cut through any remaining mortar around the lintel. Gently remove the lintel piece by piece if it is severely damaged. Take care not to damage the surrounding bricks more than necessary.
- Cleaning the Area: Once the lintel is removed, clean the area thoroughly. Remove any remaining debris or old mortar to prepare for the new lintel installation.
Step 5: Installing the New Lintel
Place the new lintel, ensuring it is level and properly aligned. Secure it in place and ensure it can adequately bear the load.
- Choosing the Right Lintel: Select a lintel made from a suitable material for your structure, such as steel, concrete, or timber. Ensure it is the correct size and strength to support the load.
- Positioning and Securing the Lintel: Carefully position the new lintel in place, making sure it is level and aligned with the surrounding masonry. Use a spirit level to check its alignment. Secure the lintel with fresh mortar, ensuring it is firmly in place.
- Allowing the Mortar to Set: Allow the mortar to set and cure properly before removing the temporary supports. This ensures that the lintel is securely in place and can bear the load of the masonry above.
Step 6: Rebuilding the Masonry
Rebuild the masonry around the new lintel, using appropriate mortar and ensuring a seamless fit with the existing structure.
- Replacing the Bricks: Carefully replace the bricks around the new lintel, ensuring they fit snugly with the existing masonry. Use fresh mortar to secure them in place.
- Finishing Touches: Smooth the mortar joints with a pointing trowel to ensure a neat and uniform finish. Allow the mortar to cure fully before subjecting the area to any load.
- Inspecting the Work: Once the repair is complete, inspect the work to ensure everything is secure and aligned properly. Check for any gaps or loose bricks and make necessary adjustments.
By following these steps, you can ensure a thorough and effective brick lintel repair, maintaining the structural integrity and safety of your building. Regular inspections and maintenance can help prevent future issues, keeping your property in good condition for years to come.
Materials and Tools Needed
When repairing a brick lintel, having the right materials and tools is essential for a successful and durable repair. Here’s a detailed list of what you’ll need:
New Lintel
The first and most crucial item is the new lintel. The material of the new lintel should be chosen based on the structure’s requirements and environmental conditions. Here are some common options:
- Steel Lintels: Strong and durable, suitable for most types of construction.
- Concrete Lintels: Often used in heavy-duty applications, resistant to fire and weather.
- Timber Lintels: Used in older or more traditional buildings, but require treatment against decay and pests.
Support Props
Temporary support props are necessary to hold the structure in place while you remove and replace the lintel. These props will bear the load of the masonry above the lintel during the repair process.
- Acrow Props: Adjustable and robust, commonly used for temporary support in construction.
- Needle Beams: Used in conjunction with props to distribute the load evenly.
Masonry Tools
Having the right masonry tools will make the repair process smoother and more efficient. Here are the basic tools you’ll need:
- Trowels: For applying and smoothing mortar.
- Hammers: For chiseling and removing damaged bricks.
- Chisels: For detailed removal of old mortar and precise cutting.
- Levels: To ensure the new lintel and rebuilt masonry are perfectly aligned.
Mortar
Mortar is used to secure the new lintel in place and to rebuild the masonry around it. It’s important to use the right type of mortar for your specific brick and lintel material.
- Type N Mortar: Suitable for general use with bricks, offering a good balance of strength and flexibility.
- Type S Mortar: Stronger and used for below-grade applications or where higher strength is required.
- Type O Mortar: Weaker, used for interior non-load-bearing walls.
Here’s a table summarizing the materials and tools:
| Materials/Tools | Description |
| New Lintel | Choose steel, concrete, or timber based on the structure |
| Support Props | Acrow props or needle beams for temporary support |
| Trowels | For applying and smoothing mortar |
| Hammers | For chiseling and removing damaged bricks |
| Chisels | For detailed removal of old mortar and precise cutting |
| Levels | To ensure perfect alignment of the new lintel and masonry |
| Mortar | Type N, S, or O based on the specific application |
By ensuring you have these materials and tools ready, you can carry out the brick lintel repair more efficiently and effectively. Proper preparation is key to a successful repair, minimizing the risk of further damage and ensuring the structural integrity of your building.
Preventative Maintenance for Brick Lintels
Regular maintenance can extend the life of your brick lintels and prevent costly repairs. Here are some practical tips to keep your lintels in good condition:
1. Regular Inspections
Checking your brick lintels for signs of damage at least once a year is crucial. Regular inspections help you catch potential problems early before they become significant issues. During these inspections, look for cracks, rust, sagging, or any signs of separation from the masonry. Using a flashlight can help you see hard-to-spot areas, and a ladder might be necessary for higher sections.
Why It’s Important:
Regular inspections allow you to identify and address minor issues before they worsen. This proactive approach can save you money and prevent the need for extensive repairs.
2. Seal Cracks Promptly
If you notice any small cracks during your inspections, seal them promptly. Small cracks can quickly turn into larger problems if left untreated. Use a suitable sealant designed for masonry to fill the cracks and prevent water from infiltrating the structure.
How to Do It:
- Clean the crack thoroughly to remove any debris.
- Apply the masonry sealant according to the manufacturer’s instructions.
- Smooth the sealant with a trowel for a neat finish.
Why It’s Important:
Sealing cracks as soon as they appear prevents water from entering the masonry, which can cause further damage, especially in freeze-thaw cycles.
3. Ensure Proper Drainage
Water pooling around your brick lintels can lead to severe damage over time. Make sure that the drainage around your building is effective and directs water away from the lintels. Check gutters, downspouts, and the slope of the ground near your building.
How to Do It:
- Ensure gutters and downspouts are clear of debris and functioning correctly.
- Check the slope around your building to make sure water flows away from the structure.
- Consider installing additional drainage solutions if necessary, such as French drains.
Why It’s Important:
Proper drainage prevents water from accumulating around the lintels, which can cause rust in steel lintels and rot in timber lintels.
4. Professional Assessments
While regular inspections and maintenance can be done by homeowners, having a professional inspect your brick lintels periodically is highly recommended. Professionals can identify issues that might not be apparent to the untrained eye and provide expert advice on any necessary repairs.
How to Do It:
- Schedule a professional assessment every few years, especially if your building is older.
- Choose a qualified and experienced masonry professional.
- Follow their recommendations for any additional maintenance or repairs.
Why It’s Important:
Professional assessments ensure that any potential problems are identified and addressed by experts, which helps in maintaining the structural integrity of your building.
By following these preventative maintenance tips, you can extend the life of your brick lintels and avoid costly repairs. Regular care and attention to your building’s structural elements ensure its safety and longevity.
Cost of Brick Lintel Repair
The cost of repairing a brick lintel can vary based on several factors, including the extent of the damage, the type of lintel, and the complexity of the repair. Here’s a detailed breakdown to help you understand the potential expenses involved.
Factors Affecting the Cost
- Extent of the Damage: The severity of the damage to the lintel greatly influences the repair cost. Minor cracks or rust stains might only require simple repairs, while significant structural damage could necessitate a full replacement.
- Type of Lintel: The material of the lintel also affects the cost. Steel lintels are generally more expensive than concrete or timber lintels due to their strength and durability. The choice of material should be based on the building’s structural needs and environmental conditions.
- Complexity of the Repair: The complexity of the repair job is another crucial factor. If the lintel is located in a difficult-to-access area or if additional structural support is needed during the repair, labor costs can increase. More intricate repairs that involve significant rebuilding of the surrounding masonry will also be more expensive.
- Labor Costs: Labor costs can vary widely depending on your location and the expertise of the professional you hire. In some areas, the cost of skilled labor is higher, which will reflect in the overall repair bill.
- Permits and Inspections: Depending on your local regulations, you might need permits or inspections for the repair work. These additional steps can add to the overall cost.
Average Cost Breakdown
On average, homeowners can expect to pay between $500 and $2,500 for lintel repair. For more extensive damage, costs can exceed $5,000. Here’s a table summarizing the average costs based on different factors:
| Factor | Cost Range |
| Minor Repairs | $500 – $1,000 |
| Moderate Repairs | $1,000 – $2,500 |
| Extensive Repairs | $2,500 – $5,000 |
| Full Replacement | $5,000+ |
| Labor Costs (per hour) | $50 – $150 |
| Permits and Inspections | $100 – $500 |
Examples of Cost Scenarios
Minor Repairs: A small crack in a concrete lintel might cost around $500 to fix. This includes the cost of materials and a few hours of labor.
Moderate Repairs: Replacing a rusted steel lintel in an accessible location could cost around $2,000. This would cover the removal of the old lintel, installation of the new lintel, and rebuilding the surrounding masonry.
Extensive Repairs: For severe damage requiring significant structural support and masonry work, the cost could reach $4,500. This might involve installing temporary supports, replacing the lintel, and extensive rebuilding of the brickwork.
Full Replacement: In cases where the lintel and surrounding structure are severely compromised, a full replacement might be necessary, costing upwards of $5,000. This would include the cost of high-quality materials, extensive labor, and potential permits and inspections.
Tips to Manage Costs
- Get Multiple Quotes: Always get quotes from several professionals to compare prices and services.
- Regular Maintenance: Preventative maintenance can help avoid costly repairs. Regularly inspect and maintain your brick lintels to catch issues early.
- DIY Minor Repairs: If you have the skills and tools, consider doing minor repairs yourself to save on labor costs. However, always hire a professional for significant structural work.
By understanding the factors that affect the cost of brick lintel repair and planning accordingly, you can manage expenses and ensure the longevity and safety of your building. Regular maintenance and timely repairs are key to avoiding more significant issues and higher costs in the future.
DIY vs. Professional Repair
When it comes to brick lintel repair, deciding between doing it yourself (DIY) and hiring a professional is an important choice. Let’s explore the pros and cons of each approach to help you make an informed decision.
DIY Repairs
For those who enjoy tackling home improvement projects, some minor brick lintel repairs might be within reach. Here are some considerations for DIY repairs:
| Pros | Cons |
| Cost Savings: Doing the repairs yourself can save money on labor costs. You only need to buy the materials and tools. | Skill Level Required: Brick lintel repair requires a certain level of skill and knowledge. Mistakes can lead to more damage and higher costs in the long run. |
| Immediate Attention: You can address the issue right away without waiting for a professional’s schedule to open up. | Safety Risks: Working on structural elements can be dangerous, especially if you lack experience. There’s a risk of injury or causing further structural damage. |
| Learning Experience: Taking on a DIY project can be a rewarding learning experience and can build your skills for future home repairs. | Tools and Materials: You might need specialized tools and materials, which can be expensive if you don’t already have them. |
When to Consider DIY:
- Minor Repairs: Small cracks or minor rust stains might be manageable for someone with some DIY experience.
- Accessible Areas: Repairs that are easy to reach and don’t require extensive structural support.
Professional Repairs
Hiring a professional for brick lintel repair is often the best choice, especially for more complex issues. Here are the benefits and considerations:
| Pros | Cons |
| Expertise and Experience: Professionals have the training and experience to handle complex repairs correctly and safely. | Cost: Hiring a professional can be more expensive than doing it yourself. However, this cost can be worth it to ensure quality and safety. |
| Structural Integrity: Ensuring the structural integrity of your building is crucial. Professionals can guarantee that repairs meet safety standards. | Scheduling: You may need to wait for an appointment, especially if the professional has a busy schedule. |
| Comprehensive Assessment: Professionals can provide a thorough assessment of the damage and identify underlying issues that might not be visible to an untrained eye. | |
| Insurance and Warranty: Many professionals offer warranties on their work and are insured, providing peace of mind. |
When to Consider Professional Repair:
- Significant Damage: Large cracks, sagging, or extensive rust are signs that professional repair is needed.
- Structural Concerns: If the lintel is crucial to the structural integrity of the building, it’s best to have a professional handle the repair.
- Lack of DIY Skills: If you’re not confident in your ability to perform the repair safely and effectively, hiring a professional is the best option.
Making the Decision
Ultimately, the decision between DIY and professional repair comes down to the extent of the damage, your skill level, and your comfort with the repair process. For minor, manageable repairs, a DIY approach can be cost-effective and rewarding. However, for more significant issues, the expertise of a professional is invaluable in ensuring the safety and longevity of your building.
By weighing the pros and cons of each approach, you can choose the best method for your brick lintel repair needs. Remember, maintaining the structural integrity of your home is paramount, and sometimes, investing in professional help is the wisest choice.
Conclusion:
In conclusion, brick lintel repair is vital for ensuring the stability and safety of your home. Regular inspections and timely repairs can prevent significant structural issues. Whether you choose to handle minor repairs yourself or hire a professional, understanding the process is key. If you need expert help with brick lintel repair, contact us at (+1) 917-355-8556. A professional contractor can provide the expertise and assurance you need for a successful repair.
FAQs
Q: What is brick lintel repair and why is it important?
A: Brick lintel repair involves fixing or replacing the horizontal supports above windows and doors. It’s crucial because damaged lintels can compromise the structural integrity of your home, leading to more severe issues.
Q: How do I know if I need brick lintel repair?
A: Signs that you need brick lintel repair include visible cracks in the masonry, sagging or bowing above windows or doors, rust stains on steel lintels, and gaps between the lintel and bricks. Regular inspections can help catch these issues early.
Q: Can I perform brick lintel repair myself?
A: While minor brick lintel repair can be a DIY project for those with experience, most repairs should be handled by professionals. This ensures the structural safety of your home and prevents further damage.
Q: What factors affect the cost of brick lintel repair?
A: The cost of brick lintel repair depends on factors such as the extent of the damage, the type of lintel, and the complexity of the repair. On average, repairs can range from $500 to $2,500, but extensive damage may cost more.
Q: How often should I inspect my home for brick lintel repair needs?
A: It’s recommended to inspect your home for brick lintel repair needs at least once a year. Regular inspections can help identify issues early, preventing more extensive and costly repairs down the line.