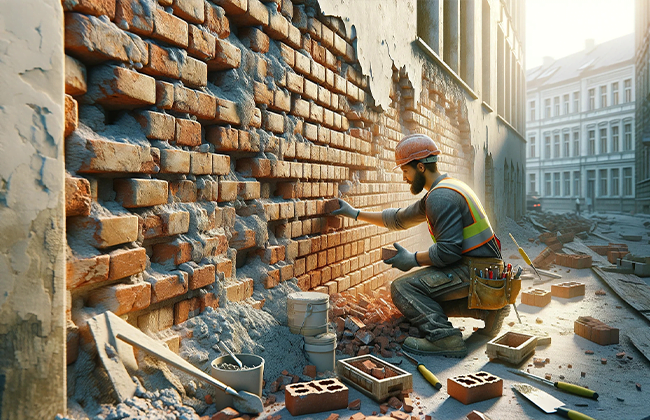
Flaking brick repair isn’t just about fixing a wall’s appearance; it’s about preserving the integrity of your building. When bricks start to flake, it’s often a sign of underlying issues, like moisture damage and freeze-thaw cycles, which can lead to bigger problems if ignored. In this guide, we’re diving into an 8-step journey to tackle this issue head-on. Whether you’re a DIY enthusiast or just looking to understand the process, we’ve got you covered. Let’s start with understanding the importance of this repair and how to properly assess the damage.
Table of Contents
Addressing Flaking Brick Repair: A Structural Necessity
So, we’re talking about flaking bricks. It might seem like just a bit of an eyesore at first, but there’s more to it. This issue often starts with moisture sneaking its way into your bricks, followed by the freeze-thaw cycles. You know, when it gets cold, the water inside the bricks expands as it freezes, leading to flaking. This isn’t just a cosmetic issue – it’s a sign that your bricks are calling out for help.
Ignoring flaking bricks can lead to significant structural damage over time. Moisture gets deeper, and the structure starts to weaken. By understanding what causes this and acting promptly, you can save yourself from future headaches – and trust me, those headaches can be pretty big (and expensive). Think of the following steps as your game plan to nip this problem in the bud and keep your building in top shape.
Assessing Flaking Brick Damage Scope: Crucial First Steps
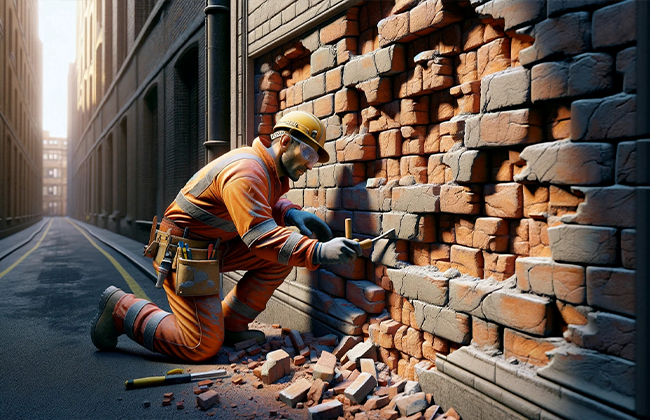
Before you jump into fixing things, it’s crucial to figure out how widespread the damage is. It’s like being a detective, but for your house. Look closely at the flaking areas. Is it just surface-level, or are there signs of deeper damage? Cracks, major gaps, or a flaking that’s spread over a large area could mean there’s more to it.
If you spot anything that makes you think twice, it might be time to call in a professional. They can give a better insight into any structural issues that might be lurking beneath. Once you have a clear understanding of the damage, you’ll be better equipped to follow through with the necessary steps for repair. Speaking of which, let’s dive into those steps to get your bricks back to their former glory.
Step 1: Preparing the Area
Alright, first things first – let’s talk safety and prep. When it comes to repairing bricks, you want to make sure you’re not cutting corners. Before you even think about mixing up mortar, it’s crucial to prep your work area. Put on your safety gear – gloves, goggles, maybe even a dust mask, especially if you’re sensitive to dust. Safety is always the number one priority, no matter what.
Next, let’s get the area ready. Take a good look at the bricks. You’ll want to gently remove any loose or flaking pieces from the surface. This isn’t a time for heavy-handed tactics; be gentle, but thorough. Think of it like you’re a doctor prepping for surgery. The cleaner and smoother your surface, the better your repair work will stick.
Step 2: Cleaning the Bricks
Now that the loose stuff is out of the way, it’s time for a bit of cleaning. Why clean, you ask? Well, you want your repair material to adhere properly, and for that, you need a clean surface. Dirt, dust, or any loose particles can really mess with your mortar’s ability to stick.
So, grab a brush – nothing too harsh – and some mild detergent. Gently scrub the bricks, focusing on the areas you’ll be repairing. It’s kind of like brushing your teeth; you want to be thorough but not scrub so hard that you cause damage. Once you’ve got them looking nice and clean, give them a bit of time to dry. Patience is key here.
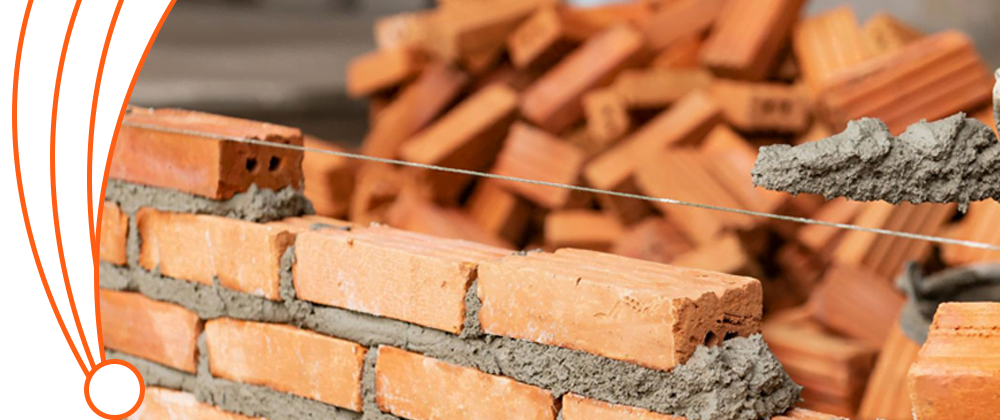
Step 3: Choosing the Right Materials
Now, here’s a crucial step: picking the right mortar or filler. This is where a little research goes a long way. Not all mortars are created equal, and using the wrong kind can do more harm than good. For modern buildings, your standard mortar should do the trick. But if you’re working on an older or historical building, it’s a whole different ball game.
Historical buildings often have a specific type of mortar that was used when they were first built. You’ll want to match that as closely as possible. Sometimes, this means getting a custom mix made. It’s all about maintaining the integrity and appearance of the structure. Think of it as being respectful to the building’s history – you’re not just fixing it, you’re preserving a piece of history.
Step 4: Mixing the Mortar
Alright, now we’re getting to the heart of the matter – mixing the mortar. Think of this like baking a cake. The better you mix your ingredients, the better the cake turns out. Same with mortar. A well-mixed mortar is the secret sauce to a strong, lasting repair.
Here’s what you do: grab the mortar mix and follow the manufacturer’s instructions to the letter. This isn’t the time to wing it. The right proportions of water and mix are crucial. Too much water and your mortar is too runny; too little, and it’s too dry. You’re looking for a consistency that’s just right – kind of like peanut butter. Mix it thoroughly until it’s smooth and free of lumps.
Step 5: Applying the Mortar
Now comes the fun part – applying the mortar. This is where you get your hands dirty (well, figuratively, since you’re wearing gloves). Take your mortar and carefully apply it to the areas you prepped earlier. Be generous but also precise – you want the mortar to fill in all the gaps and cracks, but you don’t want it spilling over onto unaffected areas.
Use a trowel or a putty knife to pack the mortar in tightly. Then, smooth it out so it’s flush with the rest of the brick surface. You want it to look like it was always part of the wall. It’s a bit of an art, really, getting it just right.
Step 6: Curing the Mortar
Alright, you’ve applied your mortar. But we’re not done yet. Now, it’s time to let it cure. Think of this as letting your cake cool before you ice it. Curing is crucial because it allows the mortar to harden and reach its full strength.
How long does it take? Well, that depends on the type of mortar you’ve used and the weather conditions. Generally, it takes about 24-48 hours. Be patient and don’t rush this step. The last thing you want is to do all this work and then have it not set properly.
Step 7: Sealing for Protection
Once your mortar has cured, it’s a good idea to apply a sealant. Why? Because it adds an extra layer of protection. The sealant helps keep moisture out, which is essential since moisture started this whole problem in the first place.
Choose a good quality brick sealant and apply it according to the instructions. This will help safeguard your repair work against the elements, and keep your bricks looking good as new for longer.
Step 8: Regular Maintenance
Finally, let’s talk about maintenance. Brickwork isn’t a ‘fix it and forget it’ kind of thing. Regular check-ups are important to keep it in tip-top shape. Inspect your brickwork periodically, especially after harsh weather. Look for signs of new flaking or other damage.
Keep those bricks clean and free from debris, and touch up the sealant as needed. Think of it as an ongoing relationship with your house – take good care of it, and it will stand strong and beautiful for years to come.
And there you have it! Follow these steps, and you’ll be well on your way to fixing that flaking brickwork like a pro. Remember, a little care and attention can make a world of difference!
Conclusion
In conclusion, flaking brick repair is more than just a cosmetic fix; it’s a necessary step to ensure the longevity and safety of your structure. By following the outlined 8 steps, you can address the issue effectively and prevent future damage. Remember, regular maintenance and early intervention are key to keeping those bricks in tip-top shape. Whether you choose to DIY or call in a pro, knowing these steps gives you the upper hand in preserving the beauty and integrity of your building.
FAQs
Q: Why is flaking brick repair important?
A: Repairing flaking bricks is vital to prevent further structural damage. Moisture and environmental factors can exacerbate the issue, leading to more serious repairs down the line.
Q: Can I perform flaking brick repair myself?
A: Yes, with the right tools and knowledge, you can tackle minor flaking brick repair. However, for extensive damage or structural concerns, it’s advisable to consult a professional.
Q: What materials do I need for flaking brick repair?
A: You’ll need a suitable mortar mix, a trowel, safety equipment, and possibly a sealant for protection. The type of mortar depends on your building’s age and brick type.
Q: How long does it take to repair flaking bricks?
A: The repair time varies depending on the extent of the damage. Generally, expect to spend a few hours on preparation, application, and allowing the mortar to cure.
Q: How do I prevent future flaking on bricks?
A: Regular inspections and maintenance, like cleaning and resealing the bricks, can prevent future flaking. Also, addressing any moisture issues early on is crucial.