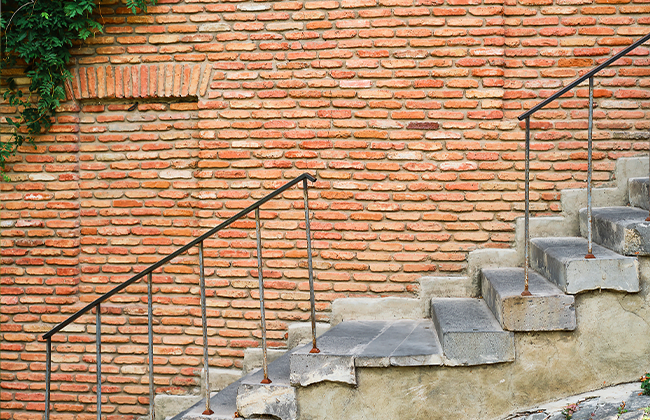
Hey there! Are your brick stairs showing their age with cracks or loose bricks? Don’t worry; repairing brick stairs is a task you can tackle with a bit of know-how and the right tools. In this guide, we’ll walk you through the steps to bring your brick stairs back to their former glory. From assessing the damage to applying the finishing touches, we’ve got you covered. Let’s dive into how to repair brick stairs, making sure they’re safe and looking great!
Table of Contents
Understanding the Basics of Brick Stair Repair
Repairing brick stairs is a process that demands attention to detail and patience. It’s not just about fixing a few bricks; it’s about restoring both the function and appearance of the stairs while ensuring they’re safe for use.
Tools and Materials Needed
- Chisel and Hammer: These are your go-to tools for removing the damaged bricks. The chisel helps you get under the bricks and pry them out, while the hammer provides the necessary force.
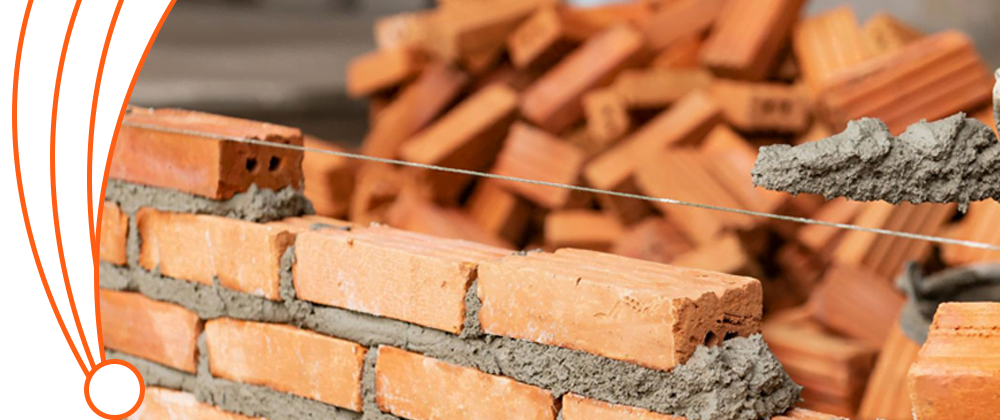
- Replacement Bricks: It’s crucial to find bricks that closely match the ones you’re replacing. This includes matching the color, size, and texture.
- Mortar Mix: This acts as the adhesive that holds the bricks in place. A good quality mortar mix is key to ensuring a strong and long-lasting repair.
- Trowel: This is used for applying and shaping the mortar. A well-shaped mortar joint not only looks better but also provides more strength.
- Level: Ensuring that the bricks are perfectly level is critical for both the look and safety of the stairs.
- Safety Glasses and Gloves: Safety should always be your priority. These items will protect you from dust and debris.
Step 1: Assessing the Damage
Alright, let’s begin with a close inspection of your brick stairs. It’s not just about a quick glance; you need to be a bit of a detective here. Check each brick and the surrounding mortar. Look for cracks or bricks that feel loose when you touch them. It’s essential to identify even the smallest signs of damage – these can give you hints about larger underlying issues.
Identifying Common Problems
- Cracked Bricks: These are like the warning lights on your car’s dashboard. They could be signaling something as simple as natural aging or something more serious like structural movement. Don’t ignore these – replacing cracked bricks is crucial for avoiding bigger problems down the road.
- Loose Bricks: They’re often the result of mortar erosion or the house settling over time. Loose bricks are a tripping hazard, so they should be at the top of your fix-it list.
- Deteriorating Mortar: Think of mortar as the glue holding your stairs together. If it’s crumbling, it’s time for a touch-up. Restoring the mortar can add years to your stairs’ life and prevent bricks from becoming loose.”
Step 2: Removing Damaged Bricks
Okay, now we get our hands dirty. Grab your chisel and hammer – it’s time to gently remove those damaged bricks. This step requires a balance of firmness and delicacy. You don’t want to damage the good bricks or the structure of the stairs.
Tips for Safe Removal:
- Work Methodically: Patience is key here. Remove each brick carefully. If a brick is stubborn, don’t force it – find the spot where your chisel can make the most impact.
- Protect Surrounding Area: This is super important. As you remove the damaged bricks, be aware of the intact ones around them. The last thing you want is to create more work for yourself by damaging adjacent bricks.”
Step 3: Preparation Steps Before New Installation
Now that we’ve got the damaged bricks out, let’s set the stage for the new ones. This involves cleaning and prepping the area.
Cleaning and Prepping the Area:
- Remove Old Mortar and Debris: You’ll want a clean and smooth surface. Use your chisel or a brush to get rid of any old mortar and debris in the gaps. This is like prepping a canvas before painting – the cleaner it is, the better your end result.
- Ensure a Level Base: Sometimes, the removal process can leave uneven surfaces. Use your level to check the base where the new bricks will go. An uneven base can lead to misaligned bricks, which are not only unattractive but also unstable.
- Check for Hidden Issues: With the bricks out of the way, it’s a good opportunity to check for any hidden problems like cracks in the foundation. Addressing these issues now can prevent future damage.
Step 4: Installing New Bricks
Now, we’re moving into a bit more of a delicate phase – placing those new bricks. It’s a bit like doing a puzzle; each piece needs to fit just right. So, grab your mortar and trowel, and let’s get to it!
Laying the Bricks:
- Apply Mortar Evenly: First things first, spread a nice, even layer of mortar on the area where you’ll place the brick. Think of it like buttering toast – you want a nice, even coverage. Then, apply some mortar on the brick itself. This double-coating method ensures a stronger bond.
- Place the Brick Firmly: Now, set the brick in place. Press it down firmly and wiggle it a bit to make sure it’s making good contact with the mortar. It’s like pressing a sticker onto a surface; you want it to stick well without any gaps.
- Use a Level: This step is super important. After placing each brick, take a moment to check it with your level. An uneven brick can throw off the entire look and functionality of your stairs. So, take the time to get it just right.”
Step 5: Finishing Touches
We’re almost at the finish line! It’s time to make sure everything is set up to last.
Curing the Mortar:
- Keep Dry: After laying the bricks, you want to keep them dry. If it looks like rain, consider covering the stairs with a tarp. Water can weaken the mortar before it has a chance to fully set.
- Avoid Traffic: Patience is key. Avoid walking on the stairs for at least 24 to 48 hours. The mortar needs this time to harden properly. Rushing this process could mean all your hard work goes to waste.

Maintaining Your Brick Stairs
Great, your stairs are looking fantastic! But remember, the job isn’t completely done. Ongoing maintenance is what will keep them looking great for years to come.
- Regular Cleaning: Keeping the stairs clean isn’t just about appearances; it helps you spot any potential issues before they become big problems. A simple sweep every now and then can go a long way.
- Reapply Sealant: Consider applying a sealant to protect the bricks and mortar from moisture and wear. This is like putting a protective coat on your stairs.
- Routine Checks: Make it a habit to inspect your stairs regularly. Look for cracks, loose bricks, or wearing mortar. Catching these early means easier and cheaper repairs.
Conclusion
And there you have it – everything you need to know about how to repair brick stairs! Remember, it’s all about careful planning, precision, and a bit of elbow grease. With these steps, you can restore your brick stairs, ensuring they’re not only safe but also a beautiful addition to your home. Whether you’re a seasoned DIYer or new to home repairs, we hope this guide has been helpful. Thanks for sticking with us on this brick stair repair journey!
FAQs
Q: How long does it take to repair brick stairs?
A: Typically, it can take a weekend to repair brick stairs, depending on the extent of damage and your proficiency with the task. Remember, rushing can lead to mistakes, so take your time!
Q: Do I need professional help to repair brick stairs?
A: While minor repairs can be a DIY project, for extensive damage or structural issues, it’s wise to consult a professional. Safety is paramount, and experts can ensure it.
Q: How often should I inspect my brick stairs for repairs?
A: It’s a good idea to inspect your brick stairs annually. Regular checks can help spot early signs of wear and tear, saving you from larger repairs down the line.
Q: What’s the best mortar mix for repairing brick stairs?
A: A high-quality mortar mix that matches the existing mortar in strength and color is ideal. Your local hardware store can advise on the best mix for your stairs.
Q: Can I replace just one brick in my stairs?
A: Absolutely! If a single brick is damaged, you can replace just that one. Just make sure the new brick matches in size and color for a seamless fix.