When it comes to home maintenance, knowing how to repair mortar between bricks is a crucial skill. This guide will lead you through the process, offering essential tips and techniques for fixing and rejuvenating the mortar in your brickwork. Whether you’re dealing with minor wear or more significant damage, understanding this process can significantly enhance the longevity and appearance of your brick structures, keeping them sturdy and attractive for years to come.
Table of Contents
Understanding Mortar and Its Role in Brickwork
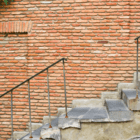
Mortar, that mixture of cement, lime, sand, and water, isn’t just some gooey stuff that keeps bricks together. It’s crucial for the structural integrity and looks of your brickwork. Think of mortar as the unsung hero holding up your walls, keeping out moisture, and ensuring everything stays put. But like all heroes, mortar has its kryptonite – weather. With time, it breaks down. You’ll see crumbling, cracks, or gaps, and that’s when you know it’s time to step in. Ignoring these signs? Not a good idea. It can lead to bigger problems down the line, like water damage or, worse, structural issues. So, keeping an eye on the condition of your mortar is key.
Tools and Materials Needed
Before we dive into the repair work, let’s make sure we have everything we need. It’s like cooking; get your ingredients ready!
- Masonry Chisel: This isn’t your regular chisel. It’s tougher and made specifically for chiseling out old mortar without damaging your bricks.
- Hammer: Good old hammer – can’t do much chiseling without it.
- Pointing Trowel: This is for applying the new mortar. It’s small and has a pointed end, perfect for getting into those joints.
- Mortar Mix: You can grab this at any hardware store. Make sure you pick one that’s right for your climate and type of brick.
- Safety Goggles and Dust Mask: Safety first, my friend. You don’t want dust or bits of mortar flying into your eyes or lungs.
- Bucket and Water: For mixing the mortar. You want the consistency to be just right – like thick peanut butter.
Steps to Repair Mortar
Repairing mortar is a blend of art and technique. Start with safety gear, then carefully chisel out old mortar, mix the new mortar to the right consistency, apply it with finesse, and finish by smoothing it out for a clean, restored look.
Safety Preparations
First things first, let’s suit up for safety. Pop on those goggles and dust mask. It’s like being a superhero, but instead of fighting villains, we’re battling dust and debris. Safety is no joke – better to be safe than sorry!
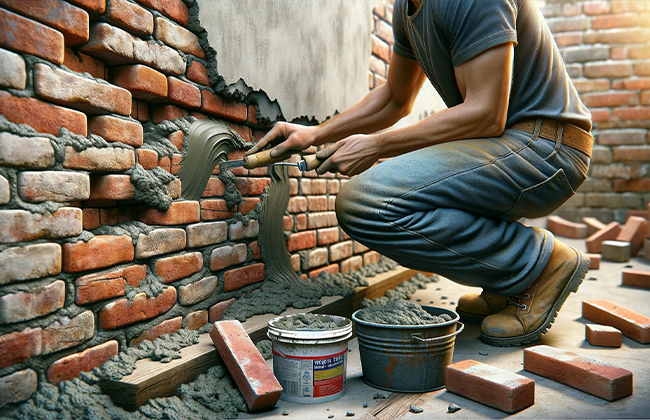
Removing Damaged Mortar
Alright, now we’re getting to the exciting part. Grab your masonry chisel and hammer. Here’s the trick: gently chisel out the old, sad-looking mortar. Think of it like carving a sculpture, but instead, it’s your wall. Be careful not to go all Thor with your hammer – we want to keep those bricks in good shape. It’s a bit tedious, but hey, patience is key here. You’re doing great!
Mixing the Mortar
Time to mix some mortar! Follow what the bag says, but basically, you want it to be just the right kind of sticky – not too dry, not too wet. Mix it in your bucket with water until it’s got the consistency of, let’s say, peanut butter. Yum, but don’t eat this!
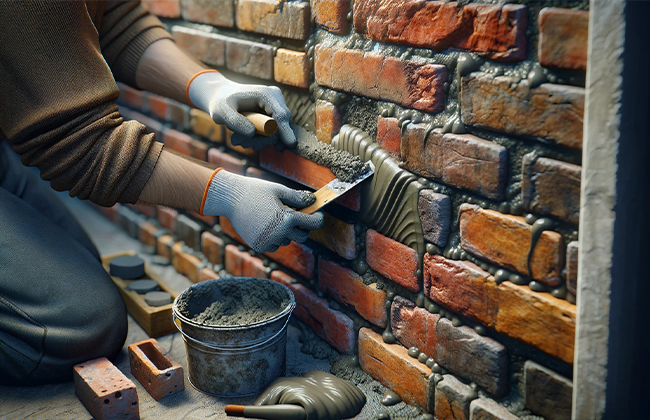
Applying the Mortar
Now, grab your pointing trowel – it’s showtime. Scoop up some of your perfectly mixed mortar and carefully press it into those gaps where the old mortar used to be. It’s a bit like icing a cake, but, you know, less delicious. Make sure it’s packed in there nice and snug. You’re basically giving your wall a new lease on life!
Finishing Touches
Almost done! Use your trowel to smooth out the new mortar. It’s like giving your wall a nice, new haircut. Clean off any excess mortar from the brick faces – we want it to look neat and professional.
Key Considerations for Effective Mortar Repair
Achieving effective mortar repair hinges on two main factors: color matching and weather awareness. Ensure your new mortar blends seamlessly with the old, and choose a mild, dry day for repairs to guarantee the best outcome.
Matching Mortar Color
Now, this part can be tricky. You want your new mortar to match the old stuff. If it’s off, it’ll stick out like a sore thumb. So, take your time to get a color match as close as possible. It’s all about the aesthetics!
Weather Conditions
A little pro tip: don’t do this if the weather is being dramatic. Extreme cold, heat, or rain can mess up your hard work. Pick a nice, mild day for your mortar adventure.
Cost Estimation Table
Here’s a quick breakdown of what this might cost you:
| Material | Quantity | Estimated Cost |
| Mortar mix | 1 bag | $10 |
| Masonry tools | Set | $30 |
| Safety equipment | Per item | $20 |
Maintenance Tips to Prevent Future Damage
Lastly, keep an eye on your mortar. Regular checks can save you a lot of hassle later. If you see any signs of wear and tear, you know what to do now!
Conclusion
In conclusion, mastering how to repair mortar between bricks is not just about fixing a wall; it’s about preserving the charm and durability of your home. By following these guidelines, you can restore your brickwork, ensuring it stands the test of time. Remember, a little effort in maintenance can go a long way in keeping your home’s brickwork in top condition, both functionally and aesthetically.
FAQs
Q: What are the signs that I need to repair mortar between bricks?
A: Look for cracks, crumbling, or missing sections in the mortar. These are clear indicators that repair is necessary to maintain the structural integrity of your brickwork.
Q: How often should I check and repair the mortar between bricks?
A: It’s wise to inspect your mortar at least once a year. Regular checks help catch issues early, making repairs easier and preventing more significant damage.
Q: Can I repair mortar in any weather conditions?
A: Ideal conditions are dry and mild. Avoid repairing in extreme temperatures or wet weather, as these conditions can negatively affect the curing of the mortar.
Q: Do I need special tools to repair mortar between bricks?
A: Basic tools like a masonry chisel, hammer, pointing trowel, and safety gear are essential. These tools help in effectively removing old mortar and applying new mortar.
Q: Is it necessary to match the new mortar color with the old one?
A: Yes, for aesthetic uniformity, it’s important to match the new mortar to the existing one. This ensures a seamless and professional appearance once the repair is complete.