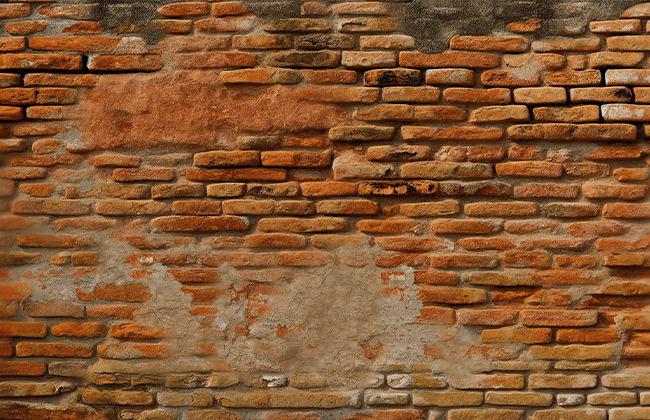
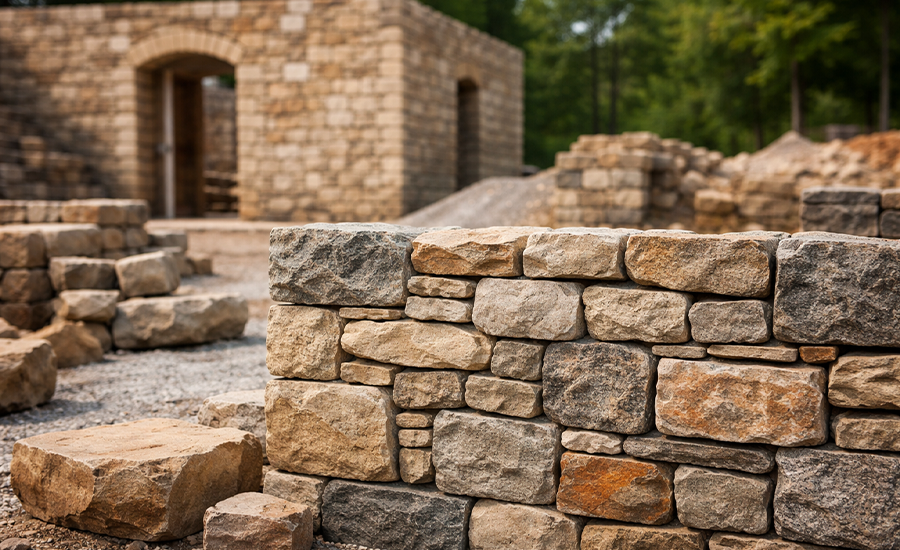
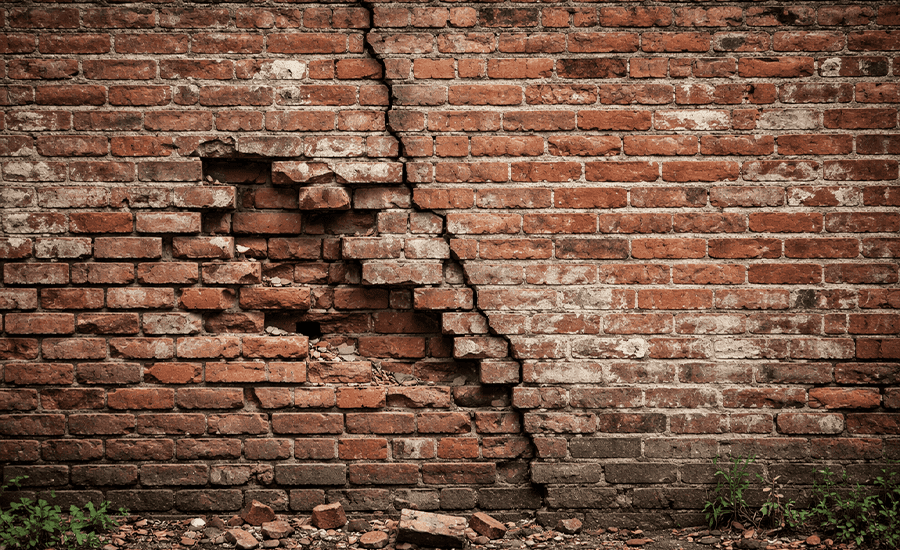
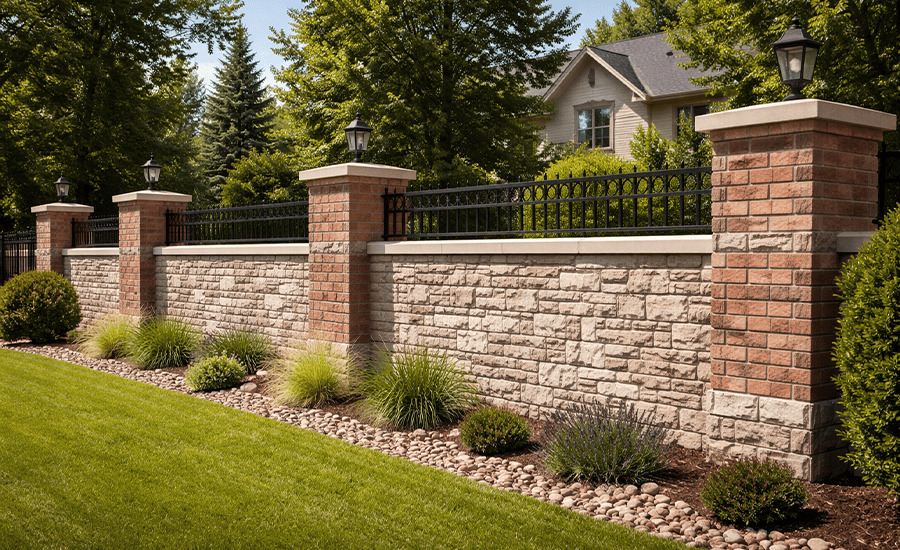
Brick spalling repair is a crucial aspect of maintaining the structural integrity and aesthetic appeal of brick buildings. It involves the meticulous process of fixing damaged or crumbling bricks, a common issue in older constructions and in areas with extreme weather fluctuations. Addressing brick spalling not only restores the building’s original charm but also reinforces its durability. This comprehensive guide delves into effective repair methods, material choices, and preventive measures to ensure your brick structures remain sturdy and visually pleasing for years to come, making brick spalling repair an essential skill for homeowners and professionals alike.
Understanding Brick Spalling
“Understanding Brick Spalling” is a vital starting point for anyone looking to maintain or restore brick structures. This phenomenon occurs when moisture intrusion, environmental stressors, or material aging lead to the deterioration of brick surfaces, causing them to flake, crumble, or peel off. Often mistaken as just a cosmetic issue, spalling can actually signify deeper structural problems. Understanding the underlying causes and early signs of brick spalling is crucial for timely intervention, ensuring the longevity and safety of brick buildings. This section provides a comprehensive overview of what brick spalling is, its various causes, and why it’s more than just an aesthetic concern, but a critical structural issue that demands attention.
What is Brick Spalling?
Brick spalling is a deterioration process where the surface of bricks starts to break away, leading to crumbling or flaking. This issue, commonly seen in masonry structures, can lead to significant structural and aesthetic problems. It’s vital for those in charge of building care to understand the mechanisms behind brick spalling to effectively maintain and repair it.
Common Causes of Brick Spalling
Moisture Penetration: Water ingress is the foremost factor leading to brick spalling. When water seeps into the pores of the brick, it can lead to significant structural damage, especially in colder climates. The freeze-thaw cycle causes the water within the brick to freeze, expand, and then thaw, exerting pressure that gradually weakens the brick structure. Over time, this relentless cycle causes the brick to lose its integrity and crumble, often beginning from the surface and potentially penetrating deeper.
Debris Accumulation: The presence of dirt, debris, and biological growth like moss or algae on brick surfaces can exacerbate the spalling process. These materials can retain moisture against the brick surface, which is particularly detrimental in climates with frequent or sustained rainfall. The continuous damp environment not only promotes the decay of the brick but also can lead to the growth of mold and mildew, which further damages the brick and can pose health hazards.
Age and Wear: Like all materials, bricks are subject to wear and tear over time. Environmental factors such as exposure to sun, wind, and pollutants contribute to the aging process of bricks. As bricks age, they become more porous and susceptible to moisture damage, which can accelerate the spalling process. Older buildings, therefore, often require more frequent inspections and maintenance to prevent and address spalling.
Chemical Exposure: Exposure to harsh chemicals, either through cleaning agents or environmental pollution, can significantly damage brickwork. Chemicals can react with the materials in the brick or mortar, leading to a breakdown of the structure. Acid rain, for example, can slowly erode the surface of the bricks, while some cleaning agents can penetrate the brick and weaken its structure.
Structural Pressure: Bricks are designed to bear loads, but excessive pressure or shifts in the structure can lead to spalling. This pressure can result from foundation settling, earth movements, or additional loads added to a wall not originally designed to support them. The stress exerted on the bricks can cause cracks to form, which then become entry points for moisture, accelerating the deterioration process.
Early Signs of Spalling
Cracks and Chips: The appearance of small cracks or chips in the bricks is often the first visible sign of spalling. These imperfections in the brick surface can rapidly expand if left unaddressed, leading to larger areas of damage. Regular inspection of brickwork for these signs is crucial for early detection and repair.
Loose Bricks: Bricks that can be moved or feel unstable to the touch are clear indicators of underlying problems. Spalling may have weakened the mortar, or the brick itself might be disintegrating. This not only compromises the aesthetic appearance of the structure but can also pose safety risks, as loose bricks can fall and cause injury or further damage.
Efflorescence: This is the term used to describe the white, powdery residue that sometimes appears on brick surfaces. It occurs when moisture moves through the brick, dissolving natural salts and then depositing them on the surface as it evaporates. Efflorescence is often an indicator of excessive moisture within the brickwork and can be a precursor to more serious spalling if not addressed.
Preventive Measures
Regular Inspections: To mitigate the risk of brick spalling, it is crucial to perform regular inspections of brickwork. This proactive approach involves checking for early signs of damage, such as small cracks, loose bricks, or efflorescence. Early detection allows for prompt repair, which can significantly reduce the extent and cost of the damage.
Sealing: Using a breathable sealer on brick surfaces can effectively prevent water ingress, a leading cause of spalling. These sealers allow moisture inside the bricks to evaporate while preventing external moisture from penetrating the surface. It’s important to choose the right type of sealer that provides protection without trapping moisture inside the brick.
Proper Drainage: Ensuring good drainage around brick structures is vital to prevent water accumulation, which can lead to moisture penetration and spalling. This might involve installing gutters, downspouts, and proper grading around the building to direct water away from the brickwork.
Gentle Cleaning: Regular cleaning of brick surfaces can prevent the build-up of harmful materials that retain moisture. However, it’s essential to use gentle methods and avoid harsh chemicals or high-pressure washers that can damage the brick and mortar. A soft brush and mild cleaning solution are usually sufficient for most cleaning needs.
Preparing for Repair
Safety Considerations
- Protective Gear: The importance of safety can’t be overstated in brick spalling repair. Wearing gloves, safety goggles, and a dust mask is crucial to protect against flying debris and dust, especially when chiseling away damaged bricks. These protective measures not only ensure personal safety but also prevent inhalation of potentially harmful dust particles.
- Securing the Area: Establishing a secure environment for the repair work is essential. This may involve cordoning off the area with barriers or placing clear signage to alert passersby or other occupants of the ongoing work. Ensuring a stable platform for working, especially when repairs are above ground level, is vital for preventing accidents.
Tools and Materials Needed
| Tool/Material | Purpose |
| Chisel and Hammer | Removing damaged bricks |
| Replacement Bricks | Filling in removed areas |
| Mortar | Bonding bricks together |
| Trowel | Applying and smoothing mortar |
| Safety Gear | Personal protection |
| Spirit Level | Ensuring brick alignment |
| Mixing Bucket | Preparing mortar mix |
Step-by-Step Guide to Repairing Brick Spalling
This section would meticulously guide through the entire process of repairing spalled bricks. It would cover initial inspection to identify the extent of the damage, followed by the careful removal of damaged bricks. Instructions on how to mix and prepare mortar, replace bricks, and finishing techniques for a clean, seamless look would be included. This guide aims to provide clear, easy-to-follow steps for efficient and effective repair work.
- Initial Inspection: The first step involves thoroughly inspecting the brickwork to determine the extent of the spalling. Look for areas with visible damage such as flaking, chipping, or crumbling. Assess the surrounding areas as well to check for potential causes of spalling like water damage or structural issues.
- Removing Damaged Bricks: Using a chisel and hammer, carefully remove the damaged bricks. This process requires patience and precision to avoid damaging the surrounding bricks. Once removed, clean out the old mortar from the cavity using a brush.
- Mixing Mortar: Mix the mortar according to the manufacturer’s instructions. The consistency should be firm enough to hold its shape but pliable enough to work with. If you’re using a ready-mix mortar, follow the instructions closely for the best results.
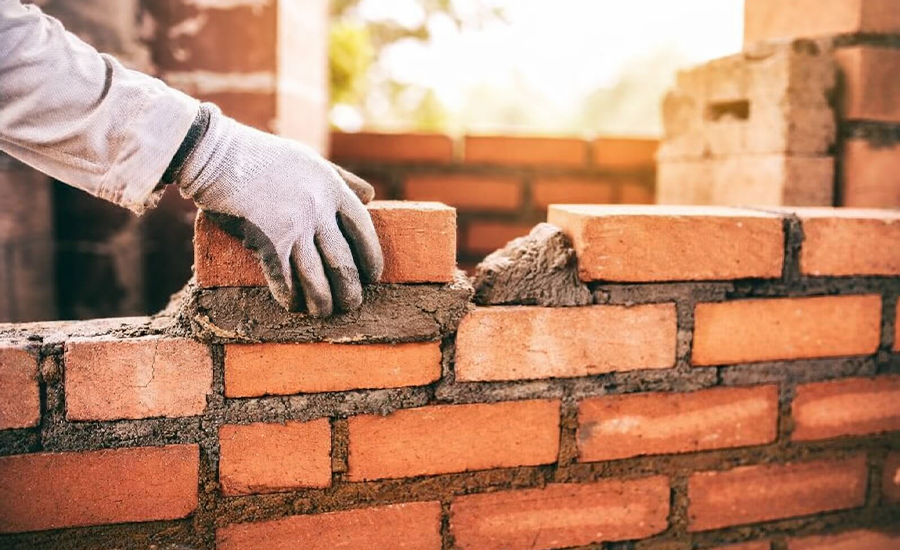
- Replacing Bricks: Choose new bricks that closely match the existing ones in size, color, and texture. Apply mortar to the cleaned cavity and to the sides of the new brick. Place the brick into the cavity, pressing it firmly into place. Ensure it’s level with the surrounding bricks.
- Finishing Techniques: Once the brick is in place, remove any excess mortar and smooth the joints to match the existing pattern. Let the mortar dry according to the manufacturer’s recommendations before any further cleaning or painting.
Choosing the Right Materials
Selecting the appropriate materials is critical for a successful repair job. This segment delves into the different types of mortar (Type N, S, M), each suited for specific conditions and types of brickwork. Guidance on how to choose replacement bricks that match the existing structure in color, texture, and size is provided to ensure the repair blends in seamlessly with the original structure.
- Types of Mortar: Understanding the different types of mortar is essential. Type N is a general-purpose mortar with medium strength, suitable for most above-ground applications. Type S is stronger and better suited for below-grade applications or areas requiring higher tensile strength. Type M offers the highest strength and is used for heavy loads and below-grade applications.
- Matching Bricks: When selecting replacement bricks, consider the age and style of your building. Look for bricks that match as closely as possible in terms of color, texture, and size. Sometimes aging or weathering techniques may be necessary to make the new bricks blend in with the old ones.
DIY Tips for Effective Repair
This part of the article is dedicated to offering actionable advice for DIY enthusiasts undertaking brick spalling repairs. It emphasizes the importance of careful planning and preparation, selecting the right tools and materials, and employing the correct techniques. The section highlights common mistakes to avoid, such as rushing the process or using inappropriate materials, and provides tips for achieving long-lasting, professional-looking results.
- Planning and Preparation: Before starting the repair, gather all necessary tools and materials. Make sure you understand each step of the process and have allocated enough time to complete the work without rushing.
- Common Mistakes to Avoid: Avoid using the wrong type of mortar, as this can lead to future problems. Ensure that the replacement bricks are a close match to your existing bricks. Be careful not to apply too much force when inserting new bricks, as this can damage them or the surrounding area.
- Achieving Professional Results: Pay attention to detail, especially when finishing the mortar joints. Patience and precision are key to achieving a finish that looks professional and blends seamlessly with the existing brickwork.
Professional Repair Services
When the damage is extensive or the repair work requires specialized skills, seeking professional help is advisable. This section provides insights into what factors to consider when choosing a professional repair service, such as their expertise, experience, credentials, and customer reviews. It aims to empower the reader to make informed decisions when hiring professionals for brick spalling repair.
- When to Call Professionals: If the spalling is widespread or the structure seems compromised, it’s best to call in professionals. They can assess the damage more thoroughly and have the expertise to handle more complex repairs.
- Choosing a Service Provider: Look for a contractor with specific experience in brickwork and spalling repairs. Check their credentials, portfolio of past work, and customer reviews. Ask for quotes from multiple providers to ensure you get the best service at a reasonable cost.
Maintaining Repaired Brickwork
Post-repair maintenance is key to preventing future spalling. This segment offers advice on routine inspections, effective cleaning methods, and the importance of timely repointing. It provides practical tips for preserving the integrity and appearance of repaired brickwork, emphasizing regular maintenance as a crucial component of brickwork care.
- Routine Inspections: Regularly inspect your brickwork for signs of damage or deterioration. Early detection of issues can prevent the need for more extensive repairs in the future.
- Effective Cleaning Methods: Use gentle methods to clean your brickwork. Avoid high-pressure washing and harsh chemicals, as these can cause damage.
- Timely Repointing: Keep an eye on the mortar joints. If they start to crack or crumble, repointing may be necessary to prevent water ingress and further damage.
Legal and Environmental Considerations
This final section outlines the legal aspects of brickwork repair, including the necessity of adhering to local building codes and obtaining the required permits. It also touches upon eco-friendly practices in repair work, suggesting the use of sustainable materials and responsible waste disposal methods to minimize the environmental impact of the repair process. The goal is to promote awareness of the legal and environmental responsibilities that come with brickwork repair and maintenance.
- Adherence to Building Codes: Always ensure that your repair work complies with local building codes. This might involve obtaining permits or having inspections carried out by local authorities.
- Eco-Friendly Practices: Consider using environmentally friendly materials and methods for your repairs. This includes using recycled or locally sourced bricks and disposing of waste materials responsibly. Aim to minimize the environmental impact of your repair work whenever possible.
Conclusion:
In conclusion, brick spalling repair is not just about restoring the physical appearance of a building; it’s about preserving history and ensuring safety. By understanding the causes, recognizing early signs, and implementing effective repair techniques, one can effectively tackle brick spalling issues. This guide aims to provide valuable insights and practical steps to manage and repair spalling, empowering owners to maintain their brick structures effectively. Remember, regular maintenance and early intervention are key to preventing extensive damage, making brick spalling repair an indispensable part of building upkeep.
FAQs:
Q: What causes brick spalling?
A: Brick spalling typically occurs due to moisture penetration, freeze-thaw cycles, aging, improper installation, or environmental factors, causing bricks to deteriorate and surface layers to peel off.
Q: How can I prevent brick spalling?
A: Preventing brick spalling involves regular inspections, using water-repellent sealants, ensuring proper drainage, and avoiding harsh chemicals on brick surfaces.
Q: When should I seek professional help for brick spalling repair?
A: Professional assistance should be sought if the spalling is widespread, involves structural damage, or if the repair process requires specialized skills and tools.
Q: Can I do brick spalling repair myself?
A: Yes, DIY brick spalling repair is possible for minor damages by following proper guidelines and using the right tools and materials, but professional advice is recommended for major repairs.
Q: What are the best materials for brick spalling repair?
A: The best materials for brick spalling repair are specific. Use mortar matching the existing structure, like Type N, S, or M. Choose bricks similar in color, texture, and size to the original ones.


