Are you looking to replace mortar in bricks and revitalize the stability and aesthetics of your brick structures?
Replacing mortar, or repointing, is not just about restoring the original charm of your home—it also enhances structural integrity and prevents potential damage. Whether you’re dealing with crumbling mortar or just performing routine maintenance, understanding the proper techniques and materials is key to a successful mortar replacement project.
What is Mortar Replacement?
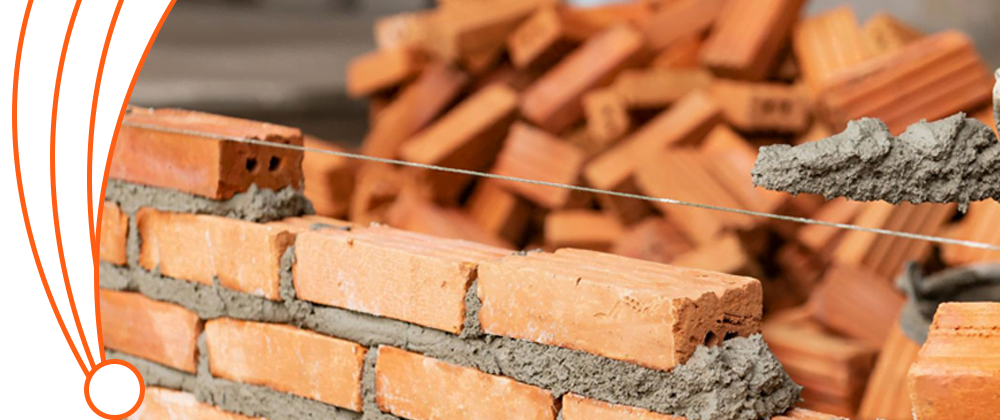
Mortar replacement, or repointing as it’s often called, isn’t just about beautifying your property—it’s an essential maintenance task that keeps the structural integrity of your brickwork in check. It involves carefully removing the old, worn-out mortar from the joints between bricks and packing them with fresh mortar. Think of it as giving your brick walls a much-needed spa treatment to restore their strength and aesthetic appeal.
Why Replace Mortar?
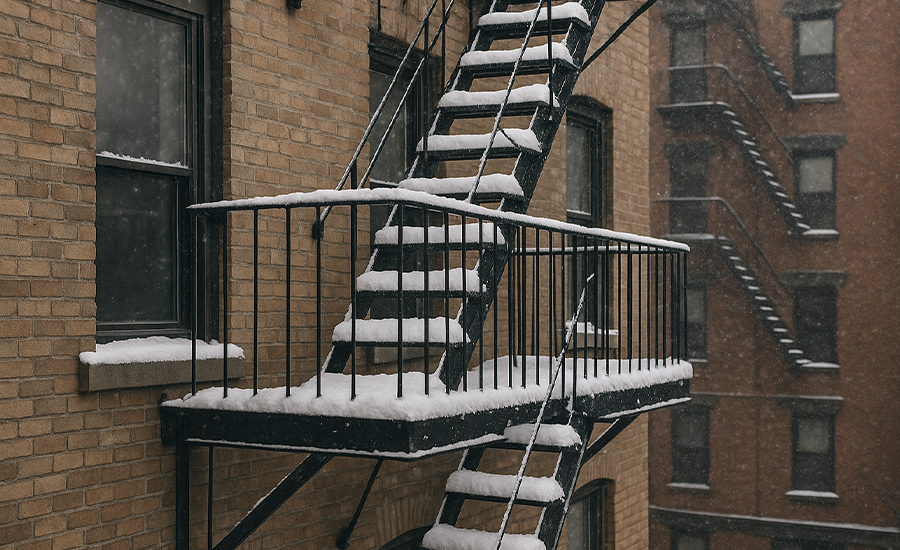
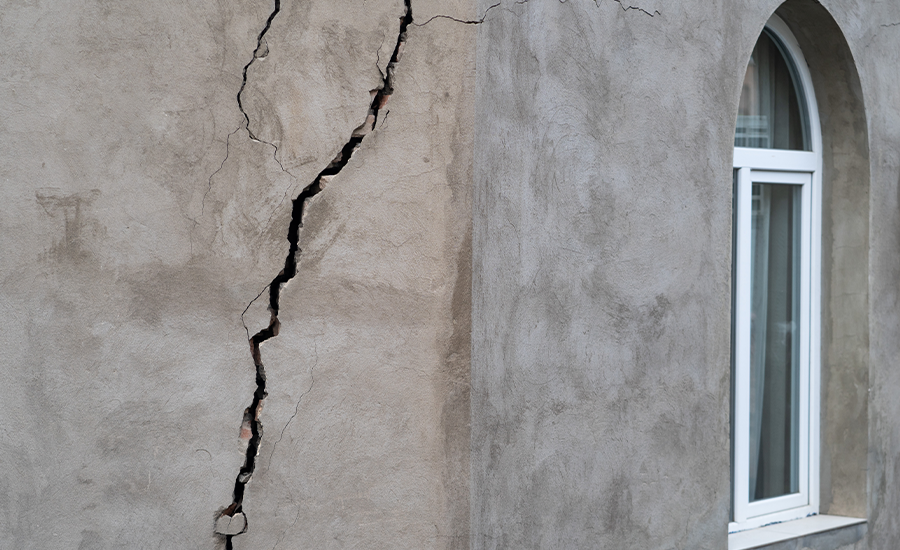
Imagine your brick walls as the frontline warriors against harsh weather. Over the years, rain, snow, sunlight, and even the occasional frost work together to wear down the mortar. When the mortar gets damaged, it’s more than just an ugly sight; it can lead to cracks, create pathways for water to seep in, and eventually weaken the entire structure. Timely replacing the mortar is crucial—not only does it keep your walls looking sharp, but it also prevents the kind of damage that could lead to serious safety hazards.
By ensuring your mortar is in top condition, you’re not just sprucing up the place; you’re safeguarding your home against potential structural issues. With a clear understanding of why mortar needs replacing, you’ll be in a great position to gather the necessary tools and materials for the job.
Tools and Materials Needed
When gearing up to replace mortar in your brick walls, think of yourself as a chef preparing for a gourmet meal. Every tool and material must be chosen with care and precision to ensure the best outcome. Here’s a more detailed rundown of what you’ll need and why each item is crucial:
Chisel:
Not just any chisel does the trick. You’ll want a cold chisel with a flat, narrow tip that’s perfect for getting into the tight spaces between bricks without causing damage. It’s about being precise and preserving the integrity of your bricks.
Hammer:
A good, solid hammer is indispensable. You’ll use it to tap the chisel gently but firmly, removing old mortar efficiently. Opt for one that fits comfortably in your hand with enough weight to aid the impact but not so heavy that it becomes cumbersome.
Mortar Mix:
The heart of the operation. Choosing the right mortar mix is critical. For most residential projects, a Type N mortar is suitable as it offers a good balance of strength and flexibility. If your home is older or the brickwork is in a particularly exposed area, consulting with a professional to match the existing mortar can prevent future damage.
Pointing Trowel:
This smaller, more maneuverable trowel is essential for applying new mortar. It allows for precision in filling the joints thoroughly and shaping the mortar so it matches the existing joints, ensuring not just functionality but also aesthetic continuity.
Bucket:
A clean, sturdy bucket is needed for mixing your mortar. Any leftover debris or dirt in the bucket can contaminate your mix, leading to weak mortar that might fail prematurely.
Brush:
A stiff-bristled brush is perfect for cleaning out the joints after you’ve removed the old mortar and just before you apply the new one. This step is crucial as it ensures that the new mortar adheres properly, setting the stage for durable, long-lasting repairs.
Safety Goggles and Gloves:
Last but certainly not least, protecting yourself is key. Safety goggles will keep your eyes safe from dust and flying chips of mortar or brick. Gloves protect your hands from sharp edges and caustic mortar mix, which can be harsh on the skin.
Equipped with these tools and materials, you’re almost ready to start the mortar replacement process. Each item has its role to play in making your project successful, ensuring that you can work efficiently and safely. Now, let’s move on to the step-by-step guide where I’ll show you how to put all these tools to good use and bring your brickwork back to its former glory.
Step-by-Step Guide to Replacing Mortar
Revamping your brick walls through mortar replacement not only enhances your home’s aesthetic but also bolsters its structural soundness. Here’s a deep dive into each step to ensure you achieve both longevity and beauty in your brickwork.
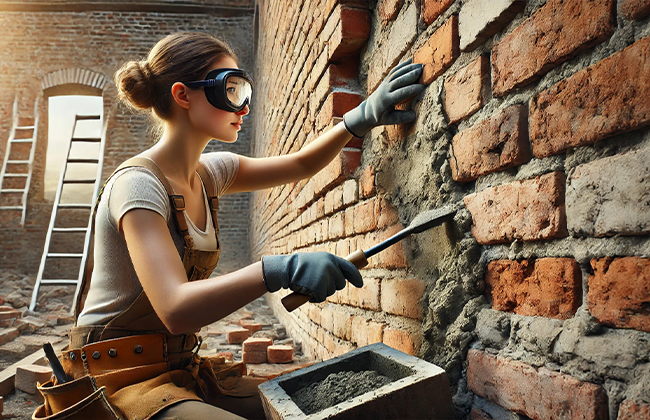
1. Safety First:
Start by equipping yourself properly. High-quality safety goggles will protect your eyes from the fine dust and sharp fragments that chip off during the work. Wear thick, durable gloves to safeguard your hands against abrasions and the alkaline nature of the mortar, which can be irritating to the skin.
2. Remove Old Mortar:
The removal process is critical and requires precision. Place the flat end of your chisel against the old mortar and tap lightly with the hammer. The goal is to break the mortar loose without exerting too much force on the bricks themselves. Work in small sections to maintain control and prevent damage. It’s a slow process, but patience pays off by preserving the integrity of your bricks.
3. Prepare the Joints:
After removing the old mortar, thorough cleaning of the joints is next. Use a wire brush to dig out any stubborn mortar bits and clear all dust and debris. This step is crucial for the adhesion of the new mortar; even small amounts of leftover debris can prevent the new mortar from bonding correctly, undermining the durability of your repointing efforts.
4. Mix the Mortar:
Mixing the mortar correctly is the cornerstone of effective repointing. Use a clean bucket and mix the mortar until it reaches a consistent, workable texture—think of thick paste that can hold its shape but is still pliable. This consistency ensures that the mortar will press into the joints easily and stay there. Make sure to mix small batches to prevent the mortar from setting before you can use it all.
5. Apply New Mortar:
Applying the mortar is where your preparation pays off. Use your pointing trowel to scoop up the mortar, then carefully press it into the prepared joints. Fill them from the back to the front to ensure no air pockets are left behind, which could lead to water ingress and damage in the future. Smooth the mortar at the joint surface, making sure it’s level with the brick faces for a clean, professional finish.
6. Cure the Mortar:
Curing is as vital as the application. The mortar needs time to develop its full strength gradually. Keep the new mortar damp for several days by misting it with water, especially in dry or windy conditions. This slow curing prevents the mortar from cracking and ensures a strong, durable bond.
7. Finishing Touches:
After the mortar has cured, inspect your work and clean up any excess or spilled mortar. Use a soft brush to gently sweep away any debris from the brick surface. This not only tidies up your work area but also highlights the renewed appearance of your brickwork, allowing you to spot any areas that may need a minor touch-up.
With these detailed steps, your mortar replacement should not only restore the structural integrity of your brick walls but also significantly enhance their appearance, preparing them to stand firm against the elements for years to come. Now, let’s look into ongoing maintenance tips to keep your brickwork in top condition long after the mortar has been replaced.
Maintenance Tips
Keeping your brickwork in prime condition doesn’t just enhance the curb appeal—it also prevents future structural issues. Regular maintenance is key, and here’s how you can stay on top of it:
1. Regular Inspections:
Make it a habit to inspect your brick walls periodically, especially after extreme weather conditions. Look for signs of mortar deterioration like cracking, crumbling, or loose sections. Early detection can save you from more extensive and expensive repairs down the line.
2. Timely Repairs:
If you spot small issues during your inspections, don’t delay in addressing them. Small repairs like patching up a few loose joints can be manageable DIY projects that prevent larger problems in the future.
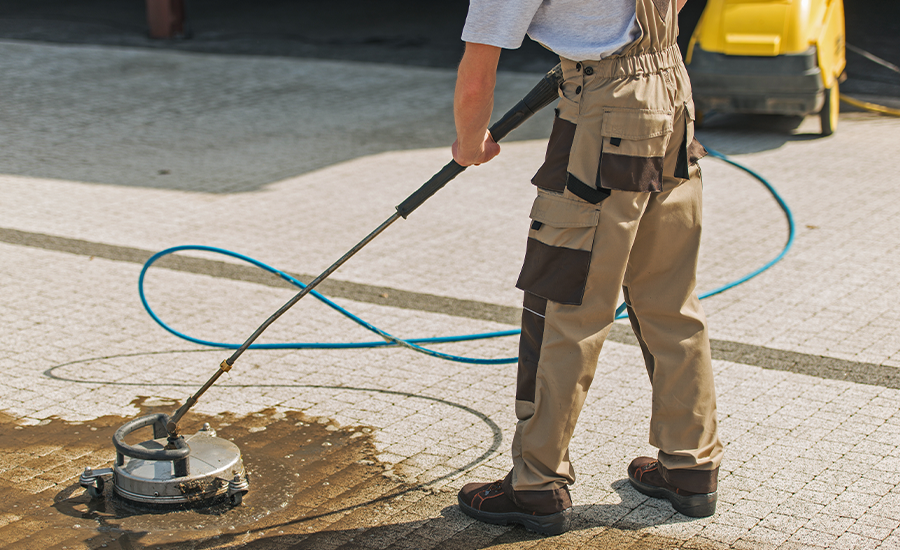
3. Cleaning:
Keep your brickwork clean from dirt, moss, and other debris that can retain moisture against the bricks and mortar. Use a gentle, non-acidic cleaner and a soft brush to avoid damaging the mortar and bricks.
4. Avoid Water Damage:
Ensure that your property’s drainage systems are functioning properly. Water should always be directed away from building foundations to prevent erosion and water infiltration in the brickwork.
5. Sealing:
Consider applying a breathable sealant to your bricks and mortar. This can help repel water while still allowing the brickwork to breathe, which is crucial to avoid trapped moisture which can lead to frost damage in colder climates.
By following these maintenance tips, your brick walls will not only look better but will also last much longer. Now, as you continue caring for your brickwork, it’s also wise to be aware of common pitfalls to avoid during repairs and maintenance. Let’s look into some of the common mistakes that can happen when dealing with mortar replacement.
Common Mistakes to Avoid
When it comes to replacing mortar in brickwork, a few missteps can turn a straightforward maintenance task into a repair headache.
Here are some common mistakes to steer clear of, ensuring your work remains solid and your walls stay beautiful:
1. Using the Wrong Mortar Mix:
One of the biggest blunders is using a mortar mix that doesn’t match the existing mortar in terms of strength, color, and composition. This can lead to a repair that stands out visually and performs poorly over time. Always match the new mortar to the specific needs of your building’s age and brick type.
2. Overworking the Mortar:
It might be tempting to keep tweaking and touching the mortar as you apply it, but overworking it can weaken its structure. Once it’s in place, give it a smooth finish and let it set without interference.
3. Ignoring Weather Conditions:
Mortar sets best under certain weather conditions. Applying mortar during extreme temperatures—too hot or too cold—can prevent it from setting correctly. Aim for a mild, dry day or provide adequate shelter and moisture control.
4. Skimping on Cleaning:
Failing to thoroughly clean out the old mortar and any debris from the joints before applying new mortar is a recipe for weak joints. Good adhesion requires clean, well-prepped surfaces, so don’t rush through or skip this step.
5. Neglecting Proper Curing:
After applying new mortar, it needs time to cure properly. Rushing this process or not keeping the mortar moist during curing can lead to cracks and weak joints. Slow and steady wins the race here, with regular misting to ensure optimal strength development.
6. Inadequate Joint Preparation:
Simply filling the front of the joint without properly packing and filling it deep can lead to hollow spots behind the visible mortar, which compromises the structural integrity. Make sure to pack the mortar deeply into the joints for a durable repair.
Avoiding these pitfalls not only improves the quality and longevity of your mortar repair but also enhances the overall health of your brickwork. Armed with these insights, you’re better equipped to handle your next DIY project or to evaluate the work of professionals, ensuring that your home’s brickwork remains in top condition for years to come.
Conclusion
In conclusion, understanding how to replace mortar in bricks correctly is crucial for maintaining the structural integrity and aesthetic appeal of your brickwork. By avoiding common mistakes and following the step-by-step guide provided, you can ensure durable and visually pleasing results. If you’re looking for professional assistance to replace mortar in bricks, don’t hesitate to contact a qualified contractor at (+1) 917-355-8556 for expert services.
FAQs
Q: What tools do I need to replace mortar in bricks?
A: To replace mortar in bricks effectively, you’ll need a chisel, hammer, mortar mix, pointing trowel, bucket, stiff brush, and safety gear like goggles and gloves. These tools ensure that you can remove old mortar and apply new mortar precisely.
Q: How often should I replace mortar in bricks?
A: The frequency of needing to replace mortar in bricks can vary based on environmental factors and the quality of the previous job. Generally, it’s a good idea to inspect your mortar every 25-30 years, but keep an eye out for early signs of deterioration.
Q: Can I replace mortar in bricks myself or should I hire a professional?
A: While minor repointing can be a DIY project if you are comfortable with basic tools, for extensive areas or historic structures, it’s advisable to hire a professional to replace mortar in bricks to ensure the job is done correctly and safely.
Q: What is the best weather to replace mortar in bricks?
A: The ideal weather for replacing mortar in bricks is mild and dry. Extreme temperatures, whether hot or cold, can adversely affect the curing process of the mortar and result in a less durable joint.
Q: What should I avoid when trying to replace mortar in bricks?
A: When replacing mortar in bricks, avoid using the wrong type of mortar, overworking the mortar, and skipping steps like thoroughly cleaning the joints. Each of these can compromise the quality of your repointing project.
Q: What should I consider before I start to replace mortar in bricks?
A: Before you replace mortar in bricks, consider assessing the extent of damage, choosing the right type of mortar for your bricks, and checking the weather forecast. Ideally, the weather should be dry and mild, as extreme conditions can hinder the curing process of the mortar.
Q: Are there any specific tools required to replace mortar in bricks effectively?
A: To replace mortar in bricks effectively, you’ll need a few key tools including a hammer, chisel, mortar mix, pointing trowel, brush for cleaning the joints, and safety gear such as goggles and gloves. Proper tools ensure that the mortar is removed and replaced accurately and safely.
Q: Can you replace the mortar between bricks?
A: Yes, you can replace the mortar between bricks to restore structural integrity and improve appearance. This process, known as repointing, involves removing old mortar and applying new mortar.
Q: What is an alternative to mortar for bricks?
A: An alternative to traditional mortar for bricks is adhesive mortar or masonry construction adhesive. These products provide similar bonding strength but can offer faster curing times and easier application.
Q: How to remove mortar between bricks?
A: To remove mortar between bricks, use a chisel and hammer to carefully chip away the old mortar without damaging the bricks. A grinder with a diamond blade can also be used for larger projects.
Q: Can you repoint over old mortar?
A: Repointing over old mortar is not recommended. For the best results, old mortar should be removed to a sufficient depth to allow the new mortar to bond properly and ensure the longevity of the repair.
Q: What is the best mortar to repair brick steps?
A: The best mortar for repairing brick steps is a type N mortar, which offers a good balance of strength and flexibility, making it ideal for outdoor and exposed brickwork like steps.
Q: How do you fix crumbling mortar between bricks?
A: To fix crumbling mortar between bricks, remove the damaged mortar, clean the area thoroughly, and apply new mortar. Ensure the new mortar matches the existing mortar in color and composition.
Q: How do you fill mortar gaps between bricks?
A: Fill mortar gaps between bricks by using a pointing trowel to press new mortar into the gaps. Make sure to compact the mortar firmly and smooth it to match the surrounding area.
Q: How to fill missing mortar between bricks?
A: To fill missing mortar between bricks, clear out any loose and damaged mortar, clean the joints well, and then apply new mortar with a pointing trowel, ensuring it’s firmly pressed into the gaps for a seamless finish.
Q: Can brick mortar be repaired?
A: Yes, brick mortar can be repaired through the process of repointing, where damaged or old mortar is replaced with new mortar to restore the brick structure’s stability and appearance.
Q: How much does brick repointing cost?
A: The cost of brick repointing varies depending on the extent of the damage and the area size but typically ranges from $5 to $15 per square foot.
Q: How much to repair spalling bricks?
A: Repairing spalling bricks can cost between $10 to $20 per square foot, depending on the severity of the damage and the accessibility of the repair area.