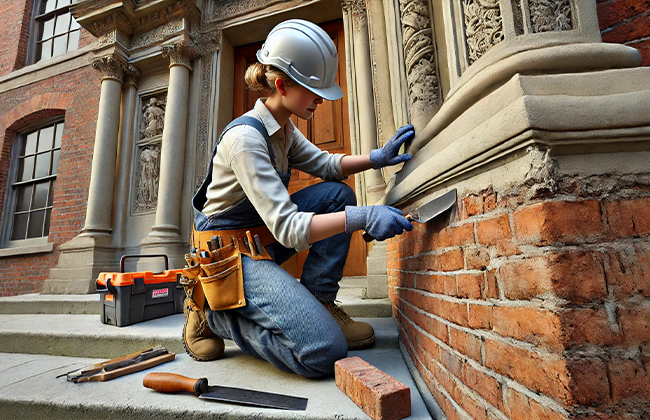
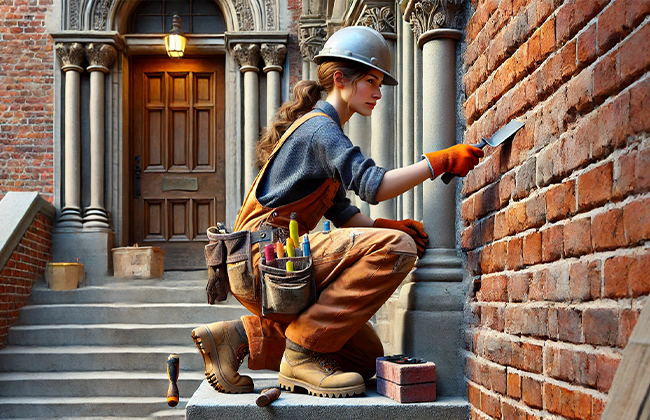
Are you looking to restore your brick exterior wall to its former glory? Whether it’s wear and tear, moisture damage, or simply the passage of time, brick walls can lose their charm. Restoring them not only enhances your home’s curb appeal but also preserves its structural integrity.
This comprehensive guide will walk you through every step of the process, ensuring your brick wall looks as good as new. From cleaning and repairing mortar to sealing and protecting, we’ve got you covered. Let’s dive into the details and start restoring that beautiful brick exterior wall!
Table of Contents
What You Need to Know Before Starting
Before you begin the hands-on work of restoring your brick exterior wall, it’s crucial to start with a solid foundation of knowledge. Understanding common issues and how to assess the condition of your wall will pave the way for a smoother restoration process. Let’s take a deeper look into what typically goes wrong and how you can effectively evaluate the health of your brickwork.
Overview of Common Issues with Brick Walls
Brick walls are robust and visually appealing, but they can encounter several common issues:
- Efflorescence: This appears as a white, powdery residue on the bricks, typically caused by moisture evaporating from the brick.
- Cracks: Small and large cracks can be a sign of structural problems. They need careful evaluation to determine the underlying cause.
- Spalling: This occurs when the surface of the bricks begins to flake off, often due to freeze-thaw cycles or moisture penetration.
- Mortar Deterioration: Over time, the mortar between bricks can weaken, crack, or crumble, compromising the wall’s integrity.
Identifying these issues early can significantly influence the success of your restoration efforts.
Assessing Your Wall’s Condition
Take a close look at your wall. Do you see any cracks or sections where the brick seems softer?
These could be signs that your wall needs some serious TLC. If the damage is minimal, you might handle it yourself. However, if things look severe, consider consulting a professional. This initial assessment is critical as it guides your entire restoration project, ensuring you address the right problems from the start.
Now, armed with this knowledge and a clear assessment, you’re ready to move on to the actual preparation for restoring your brick exterior wall. Let’s dive into the next steps with clarity and confidence!
Preparing for Restoration
Getting ready to restore your brick wall isn’t just about rolling up your sleeves—it’s about making sure you have everything you need and that your wall is prepped for the work ahead. This part is crucial; it sets the stage for a successful restoration, ensuring that the actual repairs go smoothly and last.
Cleaning Your Brick Wall
Before you do anything else, your brick wall needs a good clean. This isn’t just about aesthetics; it’s about removing any debris, dust, or residues that can interfere with repairs. Here’s how you can make it shine:
- Start with a Gentle Brush: Use a soft-bristled brush to dust off loose dirt. It’s simple but effective.
- Wash with Mild Detergent: Mix some mild, non-acidic detergent with water and gently scrub the surface. This will help remove tougher grime without damaging the bricks.
- Rinse Thoroughly: After scrubbing, rinse the wall with clean water to remove any soap residue.
- Tackle Tough Stains with a Specialized Cleaner: For stubborn stains, like efflorescence or mildew, use a cleaner designed for brick. Always test it on a small area first.
Necessary Tools and Materials for Restoration
Now, let’s talk about tools and materials. Having the right gear at your disposal can make the difference between a frustrating experience and a rewarding one. Here’s what you should gather:
- Mortar Mix: Choose a mortar that matches the existing one in color and composition.
- Trowels and Pointers: For applying and shaping the mortar.
- Chisels and Hammers: For removing damaged mortar.
- Stiff Brushes: For cleaning out joints before repointing.
- Safety Gear: Don’t forget your gloves, goggles, and dust mask. Safety first!
With your brick wall clean and your toolkit assembled, you’re all set to move into the actual repair work. Let’s roll into the step-by-step restoration process, where you’ll bring your brick wall back to its former glory.
Step-by-Step Restoration Process
Restoring your brick exterior wall is like giving it a new lease on life. Each step is crucial, ensuring that the end result not only looks great but lasts longer. Let’s walk through each step carefully, covering everything from cleaning to protecting your wall.
Step 1: Cleaning and Removing Loose Mortar
Proper cleaning and removing deteriorated mortar are the foundations of a successful restoration. This step ensures your wall is ready for the new mortar.
1. Cleaning Your Brick Wall
Kick off the restoration by gently brushing away loose dirt with a soft-bristled brush, which ensures the surface is prepped without causing damage. For more stubborn grime, a mild, non-acidic detergent mixed with water works wonders. Rinse thoroughly to ensure no residue remains that could impair mortar adhesion.
2. Removing Deteriorated Mortar
With your wall cleaned, it’s time to remove any old, crumbling mortar. Use a hammer and chisel to carefully chisel it out, taking care not to damage the bricks. A stiff brush can help clear out the joints, preparing them for new mortar.
Step 2: Repairing the Mortar
Repairing the mortar is essential for maintaining the wall’s structural integrity. Choosing the right materials and techniques is key to a lasting repair.
1. Choosing the Right Mortar Mix
Select a mortar mix that mirrors the old one in terms of color and texture. This ensures that your repairs blend seamlessly with the original structure, maintaining the wall’s aesthetic and structural integrity.
2. Repointing Brick Joints
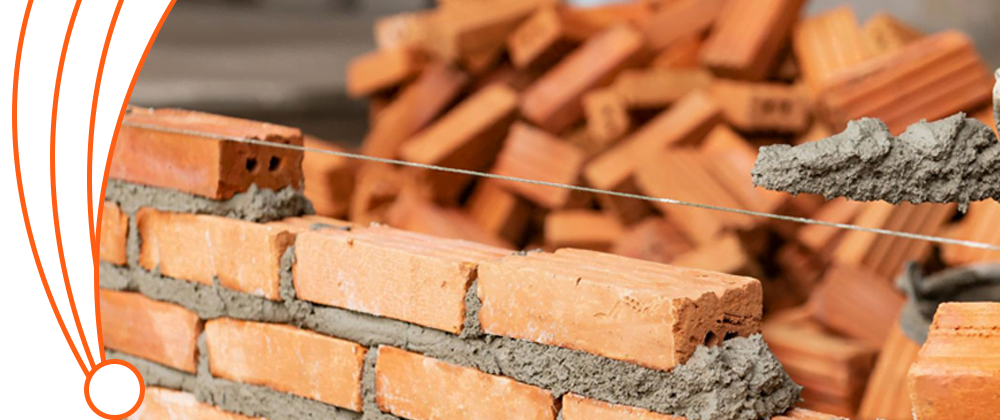
Apply the new mortar with a pointing trowel, carefully filling the joints and removing any air pockets. Make sure the mortar is compact and flush with the brick surface for a neat finish.
Step 3: Addressing Cracks and Damage
Addressing cracks and damage promptly can prevent further deterioration. It’s crucial to use appropriate methods based on the severity of the damage.
1. Repairing Cracks in Brick Walls
Tackle smaller cracks with a flexible sealant that adjusts with the wall’s movements, preventing water from seeping through. For larger cracks, consider replacing damaged bricks or using a more robust filler.
2. Handling Severe Brick Damage
If the damage is extensive, such as bulging bricks or significant structural issues, it’s wise to consult a professional. These repairs often require more comprehensive solutions that address the wall’s stability.
Step 4: Sealing and Protecting the Brick
Sealing and protecting your brick wall is the final step to ensure its longevity. This step safeguards the wall against environmental elements and future damage.
1. Choosing the Right Sealant
Opt for a sealant that allows the brick to breathe, preventing moisture buildup and related damage. This step is crucial for ensuring the longevity of your restoration work.
2. Applying the Sealant
Apply the sealant evenly, covering all exterior surfaces to create a barrier against environmental elements. Use a sprayer or brush for consistent coverage, avoiding drips and pools.
Now that you’ve taken care of the structure, it’s time to focus on the aesthetics. Let’s move on to enhancing your brick wall’s appearance, ensuring it looks as good as new!
Enhancing Your Brick Wall’s Appearance
Once you’ve completed the restoration process, you might want to give your brick wall a little extra flair. Enhancing its appearance not only boosts curb appeal but also adds a personal touch. Here’s how you can make your brick wall look even better.
Options for Staining or Painting Brick
Choosing between staining and painting can dramatically change the look of your brick wall. Each option has its benefits and can enhance the aesthetic appeal in different ways.
1. Staining Your Brick Wall
Staining is a great way to enhance the natural beauty of your brick without covering it up. It penetrates the brick, providing a long-lasting color that won’t peel or flake. You can choose from a variety of shades to either match your existing decor or create a striking contrast. The process involves cleaning the brick, applying the stain with a brush or sprayer, and sealing it to lock in the color.
2. Painting Your Brick Wall
Painting offers a broader palette of color options and can give your wall a fresh, modern look. However, it’s important to use a breathable paint that allows moisture to escape. The painting process involves cleaning the brick, priming the surface to ensure good adhesion, and applying a couple of coats of paint. While painting can be more maintenance-intensive than staining, it can dramatically transform the appearance of your brick wall.
Tips for Maintaining the Look of Your Restored Brick Wall
Maintaining the beauty of your restored brick wall involves regular upkeep and attention to detail. Following these tips will help preserve its appearance over time.
1. Regular Cleaning
Keeping your brick wall clean is essential for maintaining its appearance. Regularly brush off dirt and debris with a soft-bristled brush. For deeper cleaning, use a mild detergent mixed with water. Avoid harsh chemicals that could damage the brick or the mortar.
2. Inspect for Damage
Regularly inspect your wall for signs of damage such as cracks, efflorescence, or spalling. Addressing these issues early can prevent more extensive repairs later. Small cracks can be filled with sealant, and efflorescence can be washed away with water.
3. Reapply Sealant
To keep your brick wall protected, reapply sealant every few years. This helps to prevent moisture penetration and keeps your wall looking fresh. Use a sealant that matches the type you initially applied to ensure compatibility.
4. Protect from Vegetation
Ensure that plants and vines don’t grow too close to your brick wall. While they can look charming, they often retain moisture, which can lead to damage over time. Trim any vegetation regularly and ensure proper drainage around the wall’s base.
By following these tips, you can keep your restored brick wall looking beautiful and vibrant for years to come. Now, let’s move on to addressing some common problems you might encounter and how to troubleshoot them effectively.
Troubleshooting Common Problems
Even with the best restoration efforts, issues can still arise. It’s important to know how to handle these problems to keep your brick wall in top condition. Here’s a guide to dealing with common issues and preventing future damage.
How to Deal with Moisture Issues
Moisture is one of the biggest enemies of brick walls. It can lead to efflorescence, mold growth, and even structural damage. Here’s how you can manage and prevent moisture problems effectively.
1. Identifying Moisture Problems
The first step in dealing with moisture issues is to identify them. Look for signs such as damp spots, white powdery residue (efflorescence), or mold growth. These indicate that water is seeping into your bricks and mortar.
2. Fixing Leaks and Cracks
Once you’ve identified moisture problems, it’s time to address them. Start by fixing any leaks in your gutters, downspouts, and roof. Ensure that water is directed away from your wall. Seal any cracks in the bricks or mortar with a flexible sealant that can expand and contract with temperature changes.
3. Improving Drainage
Proper drainage around your home is crucial. Ensure that the ground slopes away from your foundation to prevent water from pooling near your brick wall. Installing a French drain can be an effective way to improve drainage and keep your wall dry.
4. Using a Dehumidifier
In areas with high humidity, using a dehumidifier can help reduce the moisture levels inside your home, preventing it from affecting your brick walls.
Preventing Future Damage to Your Brick Wall

Taking steps to prevent damage before it occurs can save you time and money in the long run. Here’s how to protect your brick wall from future issues.
1. Regular Maintenance
Regularly inspect your brick wall for signs of wear and tear. Look for cracks, loose bricks, or deteriorating mortar. Early detection of these issues can prevent more extensive damage later on. Repointing and resealing your bricks as needed can help maintain their integrity.
2. Applying Sealant
Applying a breathable sealant to your brick wall helps protect it from moisture while allowing trapped water to escape. This prevents the buildup of water within the bricks, which can cause damage during freeze-thaw cycles.
3. Controlling Vegetation
Ensure that plants, vines, and trees are kept away from your brick wall. Vegetation can trap moisture against the wall and cause damage over time. Regularly trim back any growth that comes into contact with the brick.
4. Managing Water Flow
Ensure that all water flow around your home is directed away from your brick walls. This includes checking your gutters, downspouts, and landscaping. Proper water management is key to preventing moisture-related damage.
5. Temperature Control
In colder climates, it’s important to protect your brick wall from freeze-thaw cycles. Insulate your home properly to reduce temperature fluctuations and minimize the risk of bricks cracking or spalling.
By staying proactive and addressing issues as they arise, you can keep your brick wall looking beautiful and structurally sound for many years. With these tips in mind, you’ll be well-equipped to handle any challenges that come your way and maintain the charm of your brick exterior.
Conclusion
Restoring a brick exterior wall may seem daunting, but with the right approach, it’s entirely manageable. By following these steps, you can effectively restore your brick exterior wall, ensuring it remains beautiful and sturdy for years to come. Regular maintenance and prompt attention to any issues are key to preserving its condition. If you’re looking for a professional contractor to repair and restore your brick exterior wall, don’t hesitate to contact us at (+1) 917-355-8556. We’re here to help you keep your home looking its best!
FAQs
Q: What is the best way to restore a brick exterior wall?
A: Restoring a brick exterior wall involves cleaning, repairing mortar, addressing cracks, and sealing the bricks. Each step is crucial for ensuring the wall’s longevity and aesthetic appeal.
Q: How often should I maintain my restored brick exterior wall?
A: Regular maintenance of your restored brick exterior wall should be done annually. This includes checking for cracks, cleaning the surface, and reapplying sealant as needed.
Q: Can I restore a brick exterior wall myself, or should I hire a professional?
A: While you can restore a brick exterior wall yourself with the right tools and knowledge, hiring a professional can ensure the job is done thoroughly and correctly, especially for extensive damage.
Q: What materials do I need to restore a brick exterior wall?
A: To restore a brick exterior wall, you’ll need a soft-bristled brush, mild detergent, mortar mix, trowels, chisels, a sealant, and safety gear like gloves and goggles.
Q: Why is sealing important after restoring a brick exterior wall?
A: Sealing your brick exterior wall after restoration helps protect it from moisture, preventing future damage and maintaining its appearance for a longer time.
Q: How can I make my exterior brick walls look better?
A: You can enhance the appearance of your exterior brick walls by cleaning them, repairing any damage, and applying a fresh coat of paint or stain. Regular maintenance also helps keep them looking good.
Q: How to restore an exposed brick wall?
A: Restoring an exposed brick wall involves cleaning the surface, repointing the mortar joints, fixing any cracks, and sealing the wall to protect it from moisture.
Q: How do you make an old brick wall look new?
A: To make an old brick wall look new, clean it thoroughly, repair any damaged bricks and mortar, and apply a sealant or fresh coat of paint. Regular maintenance will also keep it looking fresh.
Q: How do you repair a deteriorating brick wall?
A: Repairing a deteriorating brick wall involves removing damaged mortar, repointing the joints with new mortar, fixing or replacing any cracked bricks, and sealing the wall to protect it from further damage.
Q: How to clean the red brick wall outside?
A: To clean a red brick wall outside, use a soft-bristled brush to remove loose dirt, then scrub with a mixture of mild detergent and water. Rinse thoroughly with clean water.
Q: How to clean brick wall exterior?
A: Cleaning an exterior brick wall involves brushing off loose debris, scrubbing with a mild detergent solution, and rinsing with water. Avoid using harsh chemicals that can damage the brick.


