Repairing brick steps is an essential task for homeowners and DIY enthusiasts seeking to maintain the integrity and appearance of their homes. This comprehensive guide delves into the nuances of repairing brick steps, covering everything from identifying damage to executing the repair with precision. Understanding the process is vital for ensuring safety, durability, and aesthetic appeal. Whether dealing with loose bricks, crumbling mortar, or weather-induced damage, this article provides step-by-step instructions and expert tips to help you restore your brick steps to their former glory.
Understanding the Basics of Brick Step Repair
Assessing the Damage: The first step in repairing brick steps is to identify common problems such as loose bricks, crumbling mortar, and cracks. Look closely at each brick and joint. Loose bricks can be a tripping hazard, while cracks and crumbling mortar can lead to water seepage, further deteriorating the steps. Use a screwdriver to test the firmness of the mortar. If it crumbles easily, it needs replacement.
Gathering Materials: For a successful repair job, you need the right tools and materials. This includes:
- Bricks (if replacement is needed)
- Mortar mix
- Trowel
- Chisel
- Hammer
- Safety goggles
- Dust mask
- Stiff brush
- Sponge
- Buckets
- Level
- Protective gloves
Preparing for the Repair
Safety First: Safety is paramount. Wear safety goggles to protect your eyes from flying debris and a dust mask to avoid inhaling dust. Protective gloves are essential to protect your hands from sharp edges and chemicals in the mortar.
Cleaning the Work Area: Start by cleaning the steps. Remove any debris, dust, or loose mortar with a stiff brush. This will give you a clear view of the damage and a clean surface to work on. If there are any plants or decorations around the steps, cover them to protect from dust and debris.
Step-by-Step Repair Process
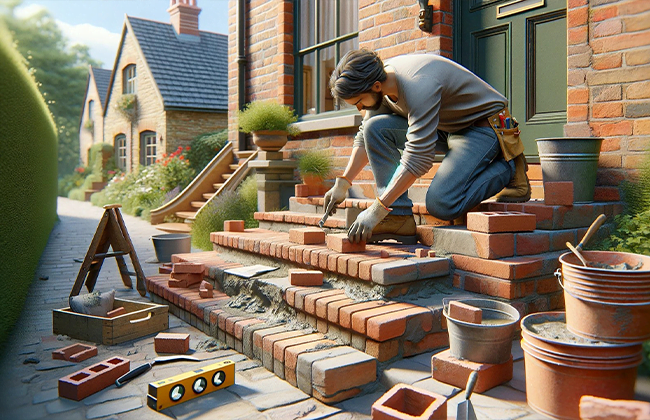
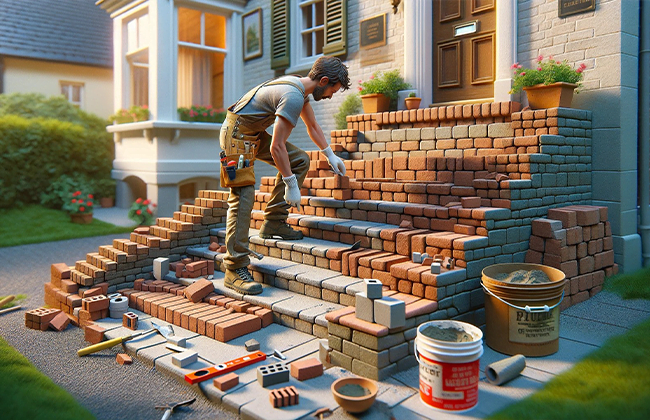
Removing Damaged Bricks: Carefully chisel out the damaged bricks. Start by removing the mortar around the brick using a chisel and hammer. Be gentle to avoid damaging adjacent bricks. Once the mortar is removed, gently pry the brick out.
Mixing Mortar: Follow the manufacturer’s instructions to mix the mortar. The consistency should be similar to peanut butter. If it’s too dry, it won’t adhere properly; if too wet, it will slump.
Repositioning or Replacing Bricks: If a brick is still in good condition, clean off the old mortar and reposition it. If replacing, ensure the new brick matches in size and color. Place the brick in the gap, applying mortar to the sides and bottom. Press it firmly into place, ensuring it’s level with the others.
Applying Mortar: Once the brick is in place, apply mortar to the joints using a trowel. Make sure all gaps are filled and smooth out the mortar with the trowel.
Finishing Touches: Clean any excess mortar with a sponge and water. Once the mortar starts to set, use a jointing tool to create a smooth, concave finish in the mortar joints. This not only looks good but also helps in shedding water.
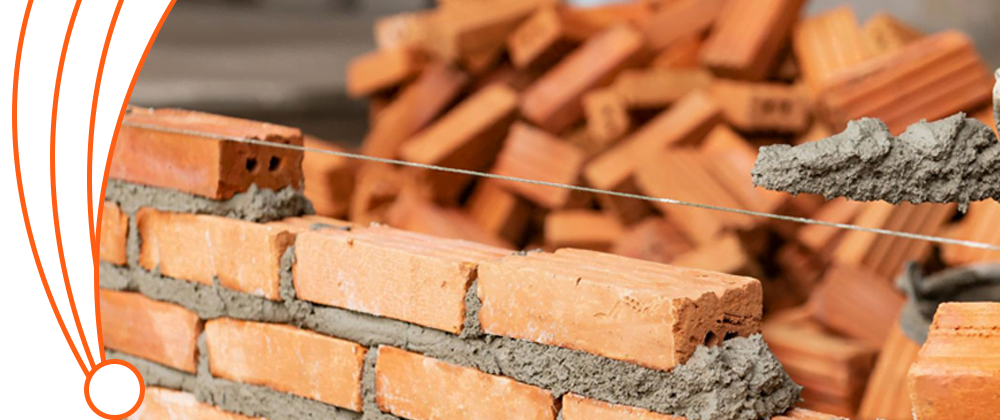
Maintenance Tips Post-Repair
Regular Inspection and Cleaning: Regularly inspect your brick steps for any signs of wear and tear. Clean the steps annually to remove dirt and debris that can retain moisture.
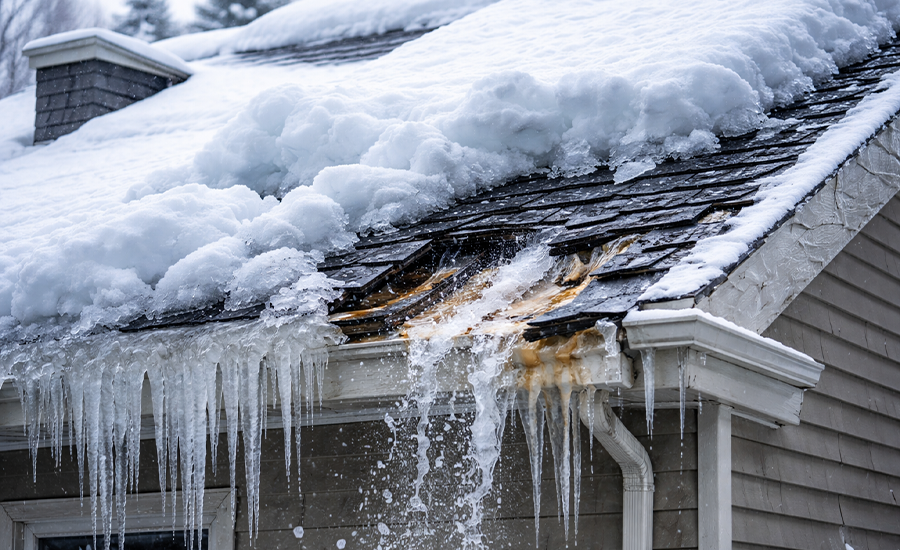
Preventive Measures: Apply a sealant to the bricks and mortar to protect them from water and weather damage. This is particularly important in areas with freeze-thaw cycles.
Common Mistakes to Avoid
Do’s and Don’ts: Don’t rush the repair process. Ensure the mortar has time to cure before using the steps. Do match the new mortar to the old in color and texture. Don’t forget to wear protective gear.
Cost Considerations
DIY vs Professional Repair: While DIY can save money, professional repair ensures longevity and safety. Consider the complexity of the damage and your skill level before deciding.
Environmental Factors in Brick Step Repair
Considering Climate: In colder climates, use a mortar mix suited for freeze-thaw cycles. In wet climates, ensure good drainage to prevent water damage.
Conclusion:
In conclusion, mastering the skill of repairing brick steps is not just about enhancing curb appeal; it’s about ensuring the safety and longevity of a crucial part of your home. This guide has walked you through each step of the process, from assessment to the finishing touches. Armed with the right knowledge and tools, you can tackle brick step repairs confidently, ensuring they stand the test of time. Remember, regular maintenance and timely repairs are key to preserving the beauty and functionality of your brick steps.
FAQs:
Q: How often should I inspect my brick steps for damage?
A: Regular inspection of your brick steps should be done at least twice a year. This helps in early identification of issues like loose bricks or mortar deterioration, preventing more extensive damage.
Q: What are the essential tools needed for repairing brick steps?
A: Key tools for repairing brick steps include a chisel, hammer, trowel, stiff brush, mortar mix, safety goggles, and gloves. These tools ensure a thorough and safe repair process.
Q: Can I repair brick steps in any weather?
A: It’s best to repair brick steps in dry, mild weather. Extreme temperatures, whether hot or cold, can affect the curing of mortar and the overall repair quality.
Q: How do I match the new mortar to my existing brick steps?
A: To match new mortar with existing brick steps, closely observe the color and texture of the old mortar. Use a pre-mixed mortar or customize a mix to achieve a similar appearance.
Q: Is it necessary to seal brick steps after repair?
A: Sealing brick steps post-repair is highly recommended, especially in climates with significant moisture or freeze-thaw cycles. It protects the mortar and bricks from weather-related damage.


