If you’re planning to undertake a project that involves laying bricks, understanding the basics is crucial. Whether you’re constructing a small wall or a large patio, our guide on how to lay bricks will provide you with the essential knowledge and steps needed to achieve a solid and aesthetically pleasing result. Dive into the fundamentals and practical tips to ensure your brick-laying project is a success from start to finish.
What You Need to Know Before Starting to Lay Bricks
Before you start laying your first brick, it’s crucial to get familiar with the materials and tools you’ll need and the site preparation steps. This foundation knowledge will not only make the process smoother but also ensure your brickwork is stable and long-lasting.
Materials and Tools Required
Let’s talk about what you’ll need to get started. Choosing the right bricks and other materials is the first critical step in bricklaying:
- Bricks: Select bricks based on their color, texture, and strength. Each type has different qualities, so consider what’s best for your project—whether it’s building a garden wall or a fireplace.
- Mortar Mix: This is the adhesive that holds your bricks together. It needs to be durable to withstand weather and load pressures.
- Trowel: You’ll use this handy tool to apply and spread mortar. A good trowel fits comfortably in your hand and makes the job easier.
- Spirit Level: This ensures that your rows of bricks are perfectly horizontal. No one wants a slanted wall!
- Mason’s Line: This string guide helps you keep all your brick rows straight and true. It’s a simple tool but vital for consistency.
- Jointer: After laying your bricks, you’ll use a jointer to finish the mortar joints, which can greatly impact the wall’s appearance and structural integrity.
- Safety Equipment: Safety first! Always wear gloves, goggles, and a dust mask to protect yourself from sharp edges and fine particles.
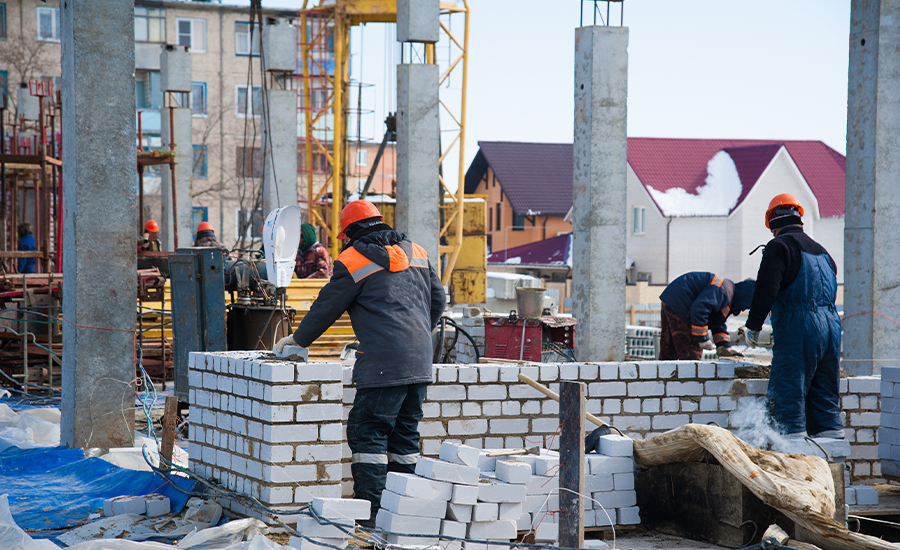
Preparing the Site
Now, let’s prepare the site where you’ll be laying bricks. It’s not just about laying bricks on the ground; it requires some groundwork to ensure everything is level and secure:
- Site Clearance: Start by clearing the area where you’ll work. Remove any debris, plants, or old foundations that could interfere with your new construction.
- Measuring and Marking: Measure the area to determine how many bricks and how much mortar you’ll need. Then, mark out the exact location of the walls using stakes and string lines for accuracy.
- Laying the Foundation: Depending on your project, you may need to dig a foundation trench. The depth and width will depend on the wall’s purpose and the soil type. Once dug, fill it with a layer of compacted gravel and a mortar bed to provide a stable base for your bricks.
Step-by-Step Guide to Laying Bricks for Beginners
Laying bricks might seem a bit daunting at first, but with these detailed steps, you’ll be able to achieve professional-looking results, even if you’re just starting out. Let’s walk through the process together, ensuring each step is clear and manageable.
Step 1: Mixing the Mortar
First things first, you’ll need to prepare your mortar, which acts as the glue holding your bricks together.
- Ratio: It’s important to follow the manufacturer’s recommendations to get a durable mix. Typically, a common mortar mix ratio is 1 part cement to 4 parts sand.
- Consistency: Aim for a workable paste consistency. It shouldn’t be too dry or overly wet. Think of the consistency of peanut butter, which is ideal for sticking bricks together and easy to work with.
- Mixing: Use a mixing paddle attached to a heavy-duty drill or a mortar mixer. Mix until all components are well blended and the mortar holds its shape when balled up.
Step 2: Laying the First Brick
Now that your mortar is ready, it’s time to start laying bricks. Placing the first brick correctly is crucial as it sets the pattern for the rest of your work.
- Positioning: Place your first brick at a corner or end of where your wall will be. This acts as the starting point for all subsequent bricks.
- Applying Mortar: Scoop up some mortar with your trowel and apply a generous layer to the foundation where the brick will be placed. Also, butter the end of each brick that will be joined to another. This helps in forming strong bonds.
- Setting the Brick: Gently press the brick into the mortar on the foundation, twisting it slightly to ensure a firm setting. Make sure it’s positioned exactly where you want it.
- Checking Levels: After placing the brick, immediately check for level and alignment. Use your spirit level across the top and sides of the brick. Adjust as necessary by tapping the brick with the handle of your trowel.
- Clean Up: Any excess mortar that squeezes out should be trimmed away with the trowel. Keeping your work area clean helps prevent the mortar from drying on the face of the bricks, which can be hard to clean later.
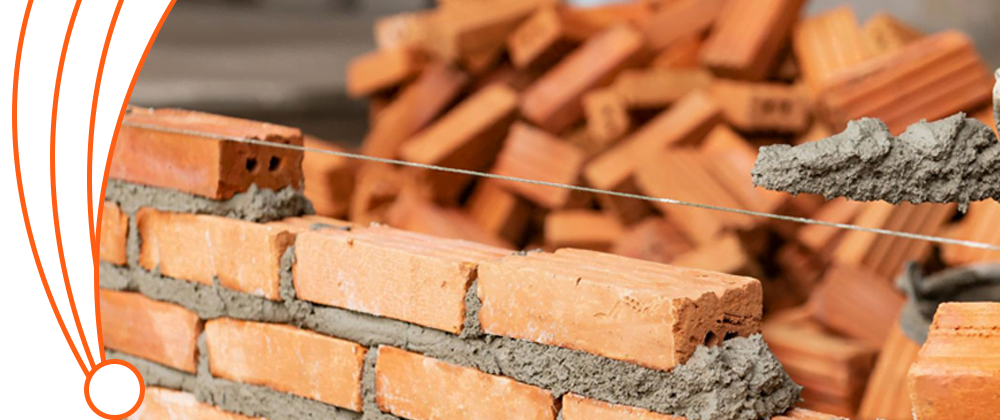
Step 3: Continuing the Row
Once the first brick is perfectly set, it’s time to keep the momentum going and continue laying the rest of the row.
- Spacing: Consistency is key in bricklaying. Use a mason’s line to ensure even spacing between each brick. This line acts as a guide to keep your rows straight.
- Applying Mortar: For each new brick, apply mortar to the side that will be adjacent to the last brick placed. It’s just like spreading butter on bread—make sure it covers the side evenly.
- Placement: Position the brick against the previous one, making sure it’s snug and aligned. Press down slightly to bond it with the mortar.
- Checking Alignment: Continuously check with your spirit level that the row remains level and straight. Adjustments should be made while the mortar is still wet and workable.
- Mortar Joints: As you place each brick, ensure that the mortar joints (the spaces between bricks) are uniform. This not only adds strength but also gives your wall a professional look. Aim for about 3/8-inch thick joints.
Step 4: Starting New Rows
Building up your brick wall involves more than just laying bricks in a straight line; you need to interlock them for added stability.
- Staggering Joints: When starting a new row, offset the bricks so that the joints between bricks in one row fall in the middle of the bricks in the rows above and below. This pattern enhances the wall’s strength.
- Cutting Bricks: You might find that a whole brick won’t fit when starting a new row or at the ends of the wall. In this case, you’ll need to cut a brick to size. A brick chisel and hammer or a masonry saw can be used for this purpose. Measure and mark where the brick needs to be cut, then carefully score and break it.
Step 5: Curing and Cleaning
The final steps involve allowing the mortar to properly set and cleaning up your brickwork for a polished finish.
- Curing Time: The mortar needs time to cure and achieve full strength. This can take anywhere from 24 to 48 hours, depending on weather conditions. Avoid disturbing the bricks during this time.
- Protecting the Mortar: In very hot, dry, or windy weather, you might need to cover the new brickwork with a tarp to slow the curing process and prevent cracking.
- Cleaning: Once the mortar has started to set but is not completely hard, go over your brickwork with a brush to clean off any excess mortar. This is also the time to make any final adjustments and smooth out the joints with a jointer for a neat finish.
By following these detailed steps, you’re well on your way to successfully laying bricks and creating a durable and attractive brick structure. Keep practicing, and don’t hesitate to take your time on each step—it’s better to go slowly and get it right than to rush and make mistakes.
Advanced Techniques and Tips for Laying Bricks
Improving your bricklaying skills comes with practice, and incorporating some advanced techniques can make your work not only easier but also more professional and durable. Here are some methods and practical tips to help you refine your craftsmanship.
Techniques for Enhanced Durability
Achieving a longer-lasting and more resilient brick structure involves a few nuanced techniques:
- Buttering: This technique involves applying mortar to the end of each brick before it’s placed next to another. Ensure a generous amount is applied but avoid overdoing it to prevent excessive spillage. This method enhances the bond between bricks, significantly strengthening the overall structure.
- Furrowing: Once you’ve applied a bed of mortar, take the point of your trowel and create a small groove or furrow in the mortar before laying the brick. This helps distribute the mortar more evenly when the brick is placed, ensuring better adhesion and reducing the likelihood of air pockets, which can weaken the wall.
Common Mistakes to Avoid
Even experienced bricklayers can make mistakes, but being aware of common pitfalls can help you avoid them:
- Uneven Layers: Always keep your spirit level handy and check each brick for level and alignment as you go. If you spot an uneven brick, adjust it promptly. This isn’t just about aesthetics; uneven layers can compromise the structural integrity of the wall.
- Excessive Mortar: While it might seem like more mortar would result in a stronger wall, too much can actually be detrimental. Excess mortar can squeeze out between bricks and lead to weak spots once it dries. It also creates a messier finish that can be hard to clean up later.
Applying these advanced techniques can significantly improve the quality of your brickwork. Remember, bricklaying is as much an art as it is a science, and every small detail can contribute to the overall strength and appearance of your project.
Essential Tips for Maintaining Structures After You Lay Bricks
Proper maintenance is key to ensuring your brick structures not only stay beautiful but also remain structurally sound for many years. Here’s what you need to know about keeping your brickwork in top shape.
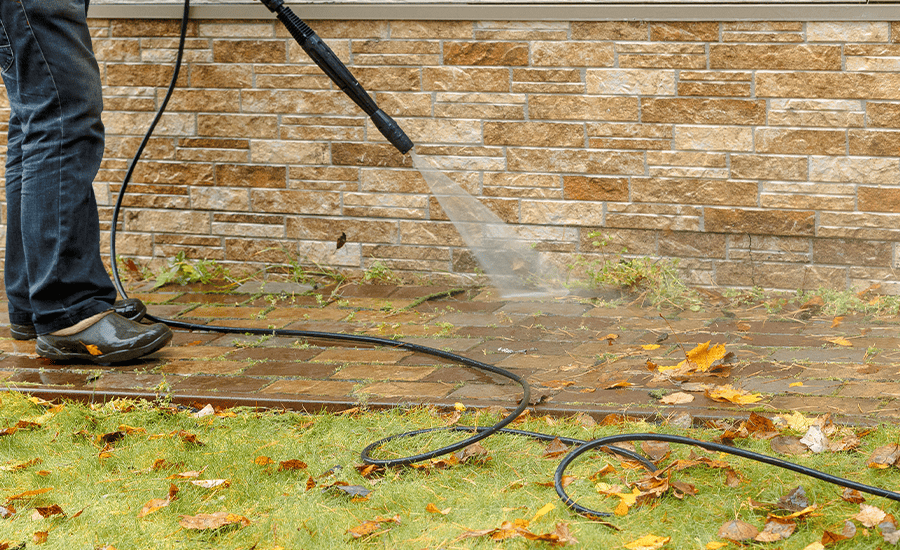
Regular Cleaning
Keeping your brick walls clean not only enhances their appearance but also prevents buildup that could potentially damage the mortar over time.
- Tools: You’ll want to use a soft brush and mild detergent for cleaning. These tools are gentle enough not to damage the bricks and mortar.
- Technique: Start by wetting the wall with water before applying the detergent solution. Use the soft brush to gently scrub the surface. Avoid using wire brushes or harsh chemicals, as these can erode the mortar and discolor the bricks. After scrubbing, rinse the wall thoroughly with clean water to remove any soap residue.
Inspection and Repairs
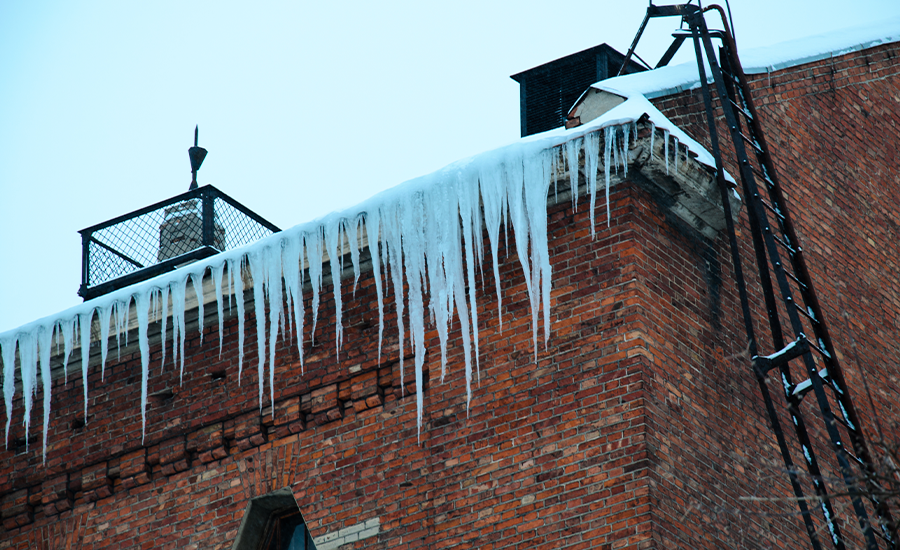
Regular inspections can catch minor issues before they turn into major problems, saving you time and money in the long run.
- Frequency: Aim to inspect your brickwork at least annually. It’s a good idea to do this after a season of harsh weather, like winter, when freezing and thawing can cause or worsen damage.
- Identifying Issues: Look for signs of cracking, loose bricks, or deteriorating mortar. Also, check for any water damage or signs of mold and mildew, which could indicate moisture infiltration.
- Repairs: If you find small cracks or damaged mortar, it’s essential to patch these areas promptly to prevent further damage and water ingress. Remove any crumbling mortar using a chisel and brush, then apply fresh mortar carefully. For larger repairs or if you’re unsure, it might be wise to call a professional.
By following these maintenance tips, you’ll ensure that your brickwork remains durable and continues to add aesthetic value to your property for many years. Regular care and minor repairs can significantly extend the life of your brick structures, making it a wise investment in your home’s longevity and beauty.
Conclusion
By following this comprehensive guide on how to lay bricks, you’re now equipped to tackle your brick-laying projects with confidence. Whether you’re working on a small flower bed border or a large outdoor kitchen, applying these methods will help you achieve a professional-looking finish. If you’re looking for a professional contractor to lay bricks, don’t hesitate to contact us at (+1) 917-355-8556 for expert assistance.
FAQs
Q: What do I need to start learning how to lay bricks?
A: To begin learning how to lay bricks, you’ll need basic tools like a trowel, spirit level, mason’s line, and mortar mix. Understanding how to properly mix and apply mortar is also essential.
Q: How much time does it take to learn how to lay bricks?
A: Learning how to lay bricks can vary in time depending on your pace and project complexity. Typically, with consistent practice and guidance, basic skills can be developed within a few weeks.
Q: Are there any safety precautions I should take while learning how to lay bricks?
A: Yes, when learning how to lay bricks, always wear protective gear such as gloves, safety glasses, and a dust mask. This protects you from sharp edges and inhaling dust.
Q: Can I lay bricks in any weather condition?
A: Weather conditions greatly affect how well you can lay bricks. Avoid very wet or freezing conditions as they can impair the mortar’s ability to set properly. Ideal conditions are dry and mild.
Q: What common mistakes should I avoid when learning how to lay bricks?
A: A common mistake when learning how to lay bricks is not keeping the rows level and the joints uniform. Always check the alignment with a spirit level and ensure that you spread and compact the mortar evenly.