Are you trying to figure out the tuckpointing cost for your property? This guide will help you understand the expenses involved in maintaining or enhancing your brick structures. We’ll explore various factors that affect tuckpointing costs, including material quality, labor, and the complexity of the project. Additionally, we will provide insights into innovative techniques, maintenance tips, and cost-saving strategies. Whether you’re a homeowner or building manager, this article equips you with essential information to effectively plan and budget for your tuckpointing needs.
What Is Tuck Pointing?
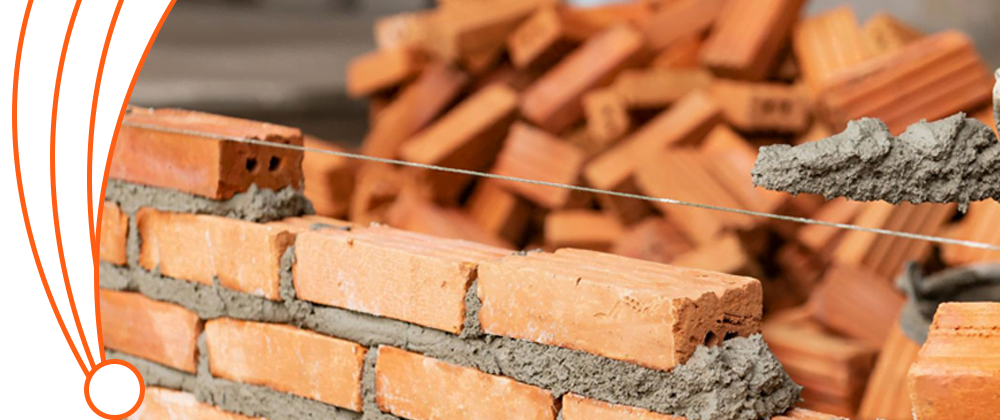
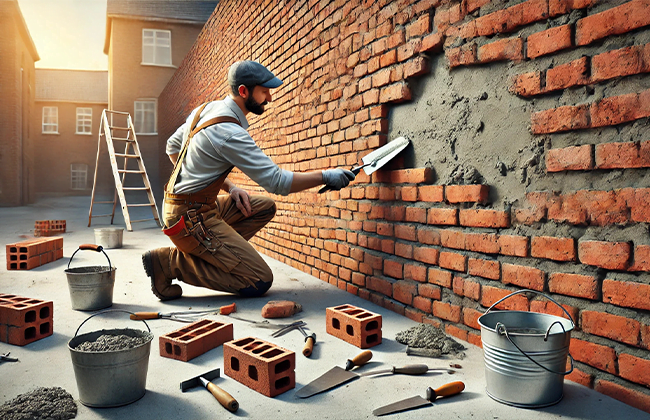
Tuckpointing is a meticulous process where masons renew the mortar joints between bricks. This method is not only about fixing what’s broken; it’s about restoring the beauty and extending the life of brick walls and structures. Essentially, tuckpointing involves scraping out the old, failing mortar and replacing it with fresh, new mortar. Often, a contrasting line is added in the center of the mortar joints to create a striking, neat appearance, giving the impression of fine craftsmanship.
This technique is crucial for maintaining brick structures, particularly because mortar erodes much faster than bricks. By replacing the old mortar, tuckpointing shields the bricks against moisture and weather damage, which can lead to serious structural issues if left unchecked. Not only does it enhance the building’s aesthetic appeal, but it also strengthens the structure, ensuring that it remains safe and stable for years to come. As we move into understanding the costs associated with this essential maintenance, keep in mind that the investment not only preserves the structure but can also prevent more costly repairs in the future.
How Much Does Tuck Pointing Cost?
When it comes to the cost of tuckpointing, homeowners can expect to encounter a wide range of prices. Generally, the cost can vary from $5 to $25 per square foot, depending heavily on several factors that influence the scope and complexity of the project.
For a straightforward understanding, here’s how the costs typically break down based on the size of the area being serviced:
| Project Size | Cost Range per Square Foot |
| Small (up to 500 sq ft) | $5 to $10 |
| Medium (500 to 1,000 sq ft) | $10 to $15 |
| Large (over 1,000 sq ft) | $15 to $25 |
This table reflects the common pricing structure you might encounter. For smaller projects, where the work area is easily accessible and the job is less complex, the cost tends to be lower. On the other hand, larger areas or those requiring significant repair or high-altitude work can drive the price higher.
Understanding these costs is just the beginning. Next, we’ll delve into the various factors that affect tuckpointing costs, helping you identify what might influence the pricing in your specific situation and how you can potentially mitigate some of these costs.
Factors That Affect Tuck Pointing Costs
Grasping what contributes to the cost of tuckpointing can help you budget more effectively for your project. Several factors play a crucial role in determining the final price. Here’s a detailed look at some of the main elements that can influence tuckpointing costs:
1. Material Quality:
The type of mortar and bricks required for your project can significantly impact costs. Higher quality materials typically carry a higher price tag but offer better durability and a more appealing finish.
2. Labor:
Tuckpointing is a labor-intensive process requiring skilled craftsmanship. The cost of labor can vary widely depending on the region and the expertise of the masons hired. In areas with higher living costs, you can expect to pay more for skilled labor.
3. Geographic Location:
Where your property is located also affects tuckpointing costs. Urban areas, where the cost of doing business is generally higher, may see higher rates than rural areas. Additionally, if your property is in a region where tuckpointing is in high demand, prices may be higher due to the supply and demand dynamics.
4. Complexity of the Work:
The more complex your tuckpointing project, the higher the cost. Factors like the accessibility of the area needing work (e.g., high roofs or tight spaces), the extent of damage, and the size of the project area all contribute to the complexity. For instance, working on intricate architectural features or on a structure that requires significant safety measures to access can significantly increase the cost.
5. Condition of the Existing Mortar:
If the existing mortar is severely deteriorated, more time and material will be necessary to prepare the surface and complete the tuckpointing, leading to higher costs.
These insights into the factors that affect tuckpointing costs should equip you with the necessary knowledge to start planning your project. Next, we’ll guide you through how to estimate your specific tuckpointing project, considering all these variables to ensure you’re prepared to manage your budget and timeline effectively.
How to Estimate Your Tuckpointing Project
Estimating the cost of your tuckpointing project doesn’t have to be a puzzle. With a systematic approach, you can get a fairly accurate idea of what you’ll need to budget. Let’s walk through a step-by-step guide that will help homeowners like you measure your project area and gather the necessary details to obtain accurate estimates from professionals.
Step 1: Measure the Area
First things first, you’ll need to measure the total area that requires tuckpointing. Grab a tape measure and calculate the height and width of each wall or section of brickwork involved. Multiply these figures (height x width) to get the square footage of each section. Add up the square footage of all sections to find the total project area. Remember, accuracy here helps avoid surprises in cost estimations later.
Step 2: Assess the Condition
Take a close look at the condition of the mortar and bricks. Note areas with significant damage or deterioration, as these may require additional work. If you’re unsure about what to look for, consider consulting a professional for a preliminary inspection. This step is crucial because the more damage there is, the more labor-intensive and costly the project can become.
Step 3: Research Local Rates
Do some research on the going rates for tuckpointing in your area. Rates can vary widely based on your geographic location. You might find this information on local building websites, or you could call a few contractors for rough estimates. This research will give you a baseline for understanding what professionals might charge.
Step 4: Get Professional Estimates
Now that you have your area measurements and a basic assessment of the work needed, it’s time to reach out to several tuckpointing professionals. Provide them with the details you’ve gathered and ask for detailed estimates. Ensure these estimates include all costs: labor, materials, and any additional fees for complex areas or special conditions.
Step 5: Compare and Consider
Once you have a few estimates in hand, compare them. Look beyond just the bottom line; consider the reputation and reliability of each contractor, the specifics of their proposed approach, and the quality of the materials they plan to use. Cheaper isn’t always better, especially when it comes to preserving the integrity of your home.
Following these steps will not only prepare you to get the most accurate estimates but also position you to make well-informed decisions about when and how to proceed with your tuckpointing project. Knowing when to act is as important as knowing what it might cost, so let’s explore next when tuckpointing is most advisable to ensure your home remains in top condition.
When to Use Tuck Pointing
Knowing when to tuckpoint is essential for maintaining the integrity and appearance of your brickwork. Tuckpointing isn’t just about aesthetics; it’s a crucial maintenance technique that helps prevent more serious structural issues. Here’s how you can identify the right time to consider tuckpointing for your home.
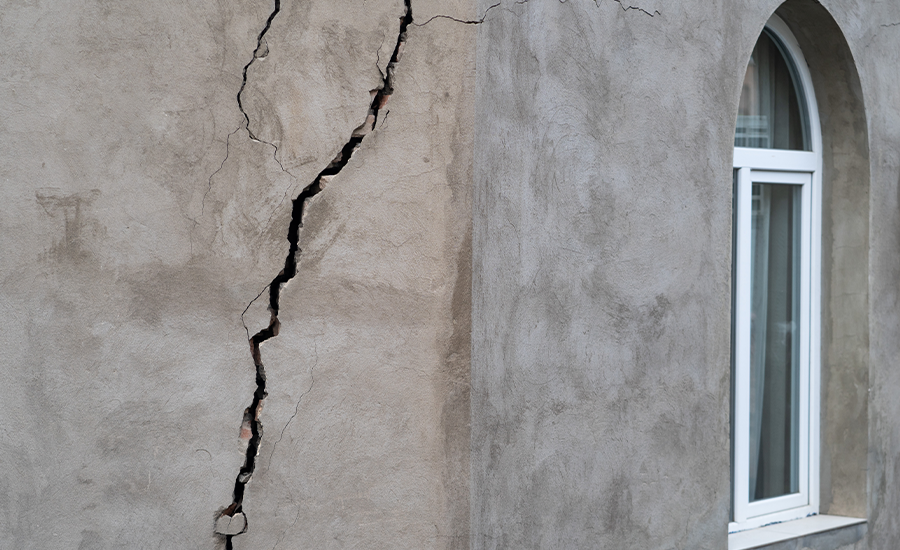
Look for Visible Signs of Damage
The most obvious indicator that tuckpointing is needed is visible damage to the mortar. This can include cracking, crumbling, or missing sections of mortar. These signs often become apparent on older brickwork, especially if the building has been exposed to harsh weather conditions. Regular inspections of your brickwork can help catch these issues early, before they escalate into bigger problems.
Check for Moisture Issues
If you see signs of moisture inside your home near brick walls, or if the mortar feels damp to the touch, it’s time to consider tuckpointing. Moisture can seep into tiny cracks and gaps in the mortar, leading to more significant damage both to the bricks and the interior of your home if not addressed promptly.
Assess the Age of the Mortar
Mortar generally has a lifespan of about 25 to 30 years, depending on the exposure to elements and the quality of the original work. If your home’s brickwork hasn’t been maintained in this timeframe, it’s a good idea to have it inspected and possibly tuckpointed, even if no immediate damage is visible. Preventive maintenance can be a cost-effective way to avoid future repairs.
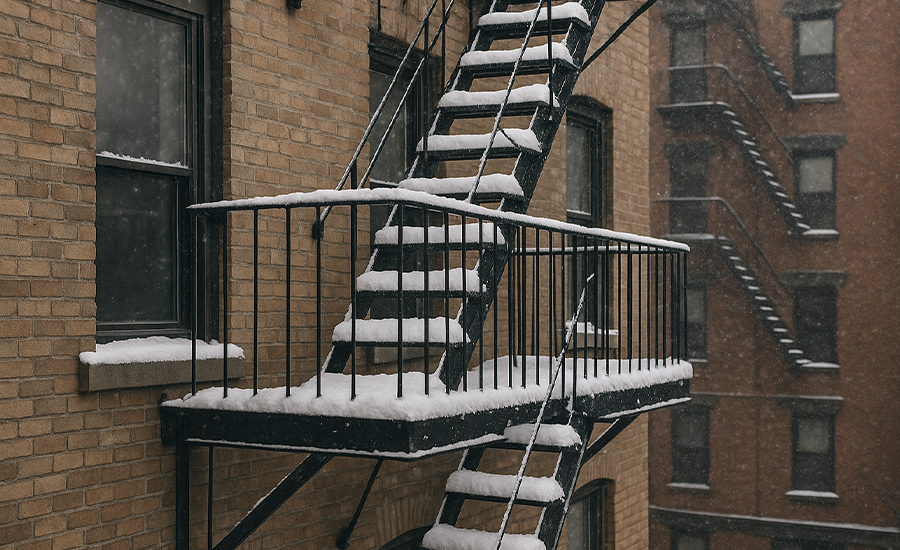
Monitor After Extreme Weather
If your area has recently experienced severe weather conditions like heavy rains, snowstorms, or freezing temperatures, these can accelerate the deterioration of mortar. After such events, it’s wise to check your brickwork for any new or worsening damage and consider tuckpointing as a means to restore and protect it.
By staying vigilant and addressing these signs early, you can extend the life of your brickwork significantly. Not only does timely tuckpointing keep your home looking its best, but it also serves as a preventive measure against more costly damage down the line. Next, let’s look at some strategies for saving money on tuckpointing, ensuring that you can care for your home’s brickwork without breaking the bank.
Saving Money on Tuckpointing
Tuckpointing is an essential maintenance task that can extend the life of your brick structures while enhancing their appearance. However, it can also be a significant investment. Fortunately, there are several strategies you can use to reduce the costs associated with tuckpointing without compromising on quality.
Choose the Right Time of Year
Timing can play a critical role in the cost of tuckpointing. Generally, spring and early fall are ideal times for tuckpointing projects because the weather is mild. During these seasons, contractors are likely to offer competitive pricing due to stable weather conditions that facilitate easier work and potentially faster completion times. Avoid scheduling tuckpointing during peak seasons or extreme weather conditions, which can lead to higher costs due to increased demand or the need for additional protective measures.
Select Cost-Effective Materials
While you shouldn’t skimp on material quality, there are cost-effective options that don’t sacrifice performance. Discuss with your contractor the types of mortar and techniques that provide the best value for your specific needs. Some modern materials offer longer durability and better protection against weather, potentially saving money in the long run through reduced maintenance needs.
Find Reliable Contractors
Choosing the right contractor is crucial. A reliable and experienced contractor might charge more upfront but can save you money by doing the job right the first time. Gather multiple quotes to compare prices and check references to ensure that past clients are satisfied with their work. Additionally, look for contractors who provide warranties or guarantees on their work, adding long-term value to your investment.
Consider Partial Tuckpointing
If only parts of your masonry require attention, consider partial tuckpointing. This approach targets specific areas rather than repointing entire walls, reducing both material costs and labor hours. Make sure a thorough assessment is done to identify which areas are in need of repair, ensuring that untouched sections are still in good condition.
By following these tips, you can manage the costs of your tuckpointing project effectively while ensuring the work is done efficiently and to a high standard. Regular maintenance and care can further prolong the lifespan of your tuckpointed structures, which we will discuss next, helping you maximize your investment in tuckpointing.
Tuckpointing Maintenance and Care
After a tuckpointing project is completed, proper maintenance is key to extending the life of the mortar and keeping your brickwork looking its best. Here are some essential tips to ensure your tuckpointed structures remain in top condition for years to come.
1. Regular Inspections
Start with regular inspections of your tuckpointed walls. Ideally, check your brickwork at least once a year or after severe weather events. Look for any signs of wear or damage, such as small cracks or loose mortar. Early detection of potential problems allows for timely repairs, preventing minor issues from escalating into more significant, costly repairs.
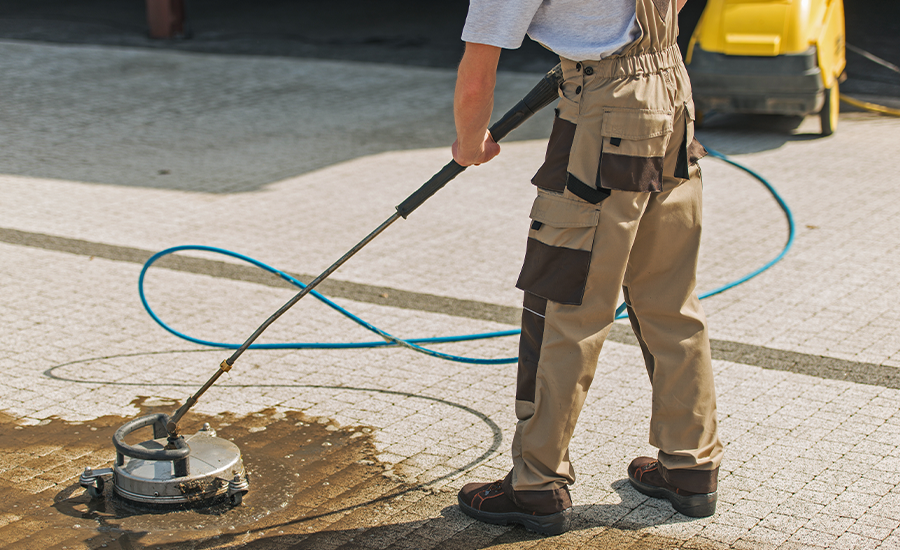
2. Clean Gently
Keep the brick surfaces clean, but be cautious with the method you choose. Avoid harsh cleaning techniques, such as high-pressure washing, which can damage the mortar. Instead, opt for gentle cleaning with a soft brush and, if necessary, a mild cleaning solution. This removes harmful build-ups of dirt and grime without compromising the integrity of the mortar.
3. Prevent Moisture Damage
Water is a major enemy of both bricks and mortar. Ensure that your property’s drainage systems, such as gutters and downspouts, are functioning correctly. These systems should channel water away from brick walls to prevent moisture accumulation. Additionally, consider waterproofing treatments for the bricks and mortar if your property is in a particularly wet climate or exposed to frequent rainfall.
4. Address Vegetation and Debris
Keep an eye on any vegetation growing near your brickwork. Roots and vines can force themselves into small gaps in the mortar, causing significant damage over time. Trim back any plants that pose a risk to your walls. Also, remove debris like leaves and twigs that can retain moisture against the brickwork and lead to deterioration.
5. Seek Professional Advice
If you notice issues during your inspections or are unsure about the correct maintenance techniques, don’t hesitate to consult a professional. Masonry experts can provide valuable advice and services to help maintain the quality of your tuckpointing work.
Following these maintenance tips can greatly enhance the durability and appearance of your tuckpointing, ensuring that it continues to protect and beautify your home for the long haul. As we continue to look at ways to improve the longevity of our brickwork, exploring advanced tuckpointing techniques will be our next step, offering insights into innovative methods that could further protect your investment.
Advanced Tuckpointing Techniques
As tuckpointing continues to evolve, innovative techniques and tools are being developed to enhance both the quality and efficiency of the work. Staying informed about these advancements can help homeowners ensure that their tuckpointing projects are performed with the latest technology and best practices.
1. Color-Matched Mortar Techniques
One of the cutting-edge techniques in tuckpointing involves the use of color-matched mortars. This approach ensures that the new mortar blends seamlessly with the existing brickwork, enhancing the aesthetic continuity of the structure. Professionals now use sophisticated color-matching technology to custom-mix mortar colors that replicate the original as closely as possible.
2. Laser-Guided Tools
The precision of tuckpointing has been significantly improved with laser-guided tools. These tools help ensure that the removal of old mortar is accurate, minimizing damage to the bricks themselves. Laser guides also help in applying new mortar uniformly, which not only looks better but also provides a stronger bond.
3. Eco-Friendly and Durable Materials
Advancements in material science have led to the development of more eco-friendly and durable tuckpointing materials. These new mortars not only adhere better and last longer but also contain sustainable components that reduce environmental impact. For instance, some new formulations are designed to be more permeable, which helps manage moisture more effectively, protecting the brickwork against water damage.
4. Automated and Robotic Tuckpointing
The field of robotic automation has begun to make its way into tuckpointing. Robotic arms, equipped with tuckpointing tools, can now perform the job with high precision and at a faster pace than traditional methods. This technology is especially useful in large-scale or commercial tuckpointing projects, where efficiency and consistency are paramount.
5. Thermal Imaging for Early Detection
Using thermal imaging cameras, professionals can now detect areas of moisture intrusion and insulation faults in brick structures before they become visible or cause significant damage. This technology allows for early intervention, which can significantly reduce the scope and cost of tuckpointing repairs.
By incorporating these advanced techniques into your next tuckpointing project, you can enhance the durability and appearance of your masonry work while ensuring it is done efficiently and effectively. These innovative methods not only save time and reduce labor costs but also improve the overall quality of the finished project.
Conclusion
Grasping the tuckpointing cost effectively ensures your property remains both structurally sound and aesthetically pleasing. With detailed insights into how factors such as material quality and labor influence your expenses, you can make well-informed decisions for your maintenance and enhancement projects. For professional assistance or to discuss your specific tuckpointing needs, feel free to contact our expert team at (+1) 917-355-8556, where quality service and dedicated support are always a priority.
FAQs
Q: How much tuckpointing cost for a small home?
A: The cost of tuckpointing for a small home typically ranges from $5 to $10 per square foot, depending on various factors like location and the condition of the mortar.
Q: What factors influence how much tuckpointing cost?
A: Key factors that influence how much tuckpointing cost include the quality of materials, the complexity of the work, geographic location, and the condition of the existing mortar.
Q: Can weather affect tuckpointing?
A: Yes, extreme weather conditions can affect tuckpointing costs, as colder or wetter climates may require additional precautions and can increase labor costs.
Q: How much tuckpointing cost for maintaining a historical building?
A: Tuckpointing a historical building can be more expensive, often ranging from $10 to $25 per square foot due to the need for specialized materials and techniques to preserve the original architecture.
Q: How can I reduce the tuckpointing cost?
A: To reduce how much tuckpointing cost, choose the right time of year for the project, use cost-effective materials, and hire reliable, experienced contractors to ensure quality work.
Q: How expensive is tuckpointing?
A: Tuckpointing costs can vary widely, typically ranging from $5 to $25 per square foot depending on factors like the size of the area, the condition of the mortar, and regional labor rates.
Q: How do you calculate tuckpointing?
A: To calculate tuckpointing, measure the total area in square feet. Then, multiply this by the cost per square foot. Costs can vary based on the project’s complexity and local rates.
Q: Is tuckpointing worth it?
A: Yes, tuckpointing is often worth the investment. It improves the appearance of brickwork and protects against structural damage. This can potentially save significant repair costs in the future.
Q: Is repointing cheaper than tuckpointing?
A: Repointing generally costs less than tuckpointing because it involves less intricate work. Tuckpointing includes creating a neat, visually appealing finish with contrast lines, which requires more precise and detailed labor.
Q: What determines the tuckpointing cost for a residential property?
A: The tuckpointing cost for a residential property is influenced by several factors. These include the size of the area needing work, the condition of the existing mortar, and the job’s complexity. Local labor rates also play a role.
Q: How can I budget for tuckpointing cost effectively?
A: To budget effectively for tuckpointing cost, assess the extent of damage and consult multiple professionals to get accurate estimates. Planning your project during off-peak seasons might also help reduce costs.
Q: Does the type of brick affect tuckpointing cost?
A: Yes, the type of brick can impact tuckpointing cost. Harder, more durable bricks may require more specialized techniques and materials. This can potentially increase the overall expense for proper tuckpointing.