Learning how to repair a brick wall is a valuable skill for any homeowner or DIY enthusiast. Brick walls, revered for their durability and aesthetic appeal, are not immune to wear and tear. From weather-induced erosion to accidental impacts, various factors can compromise the integrity of a brick wall. This guide provides comprehensive insights into repairing and maintaining brick walls, ensuring they remain both functional and visually pleasing. Whether it’s fixing small cracks or replacing entire bricks, this article will walk you through the necessary steps to restore your brick wall effectively.
Assessing the Damage
This section focuses on identifying common types of brick wall damage, such as cracks, deteriorating mortar, efflorescence, bulging, and spalling. It highlights the importance of accurately assessing the damage before beginning any repair work.
Identifying Common Types of Brick Wall Damage
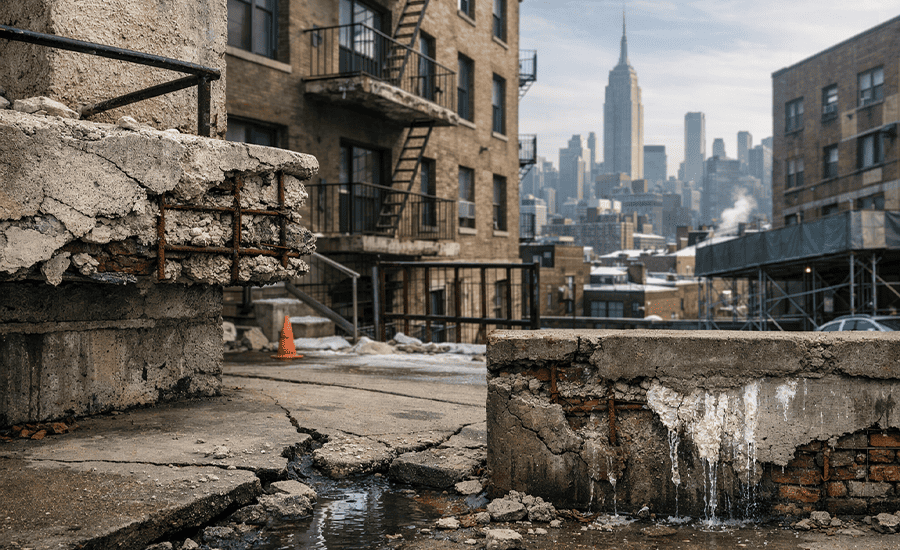
Brick walls can suffer from various types of damage. Common issues include:
- Cracked Bricks: Caused by settlement, temperature changes, or moisture.
- Deteriorating Mortar: Mortar may erode over time due to weather exposure.
- Efflorescence: White, powdery substance on bricks, indicating moisture issues.
- Bulging or Bowing: Caused by structural issues or water damage behind the wall.
- Spalling: Flaking or chipping of bricks, often due to moisture or frost damage.
Tools and Materials Needed for Wall Repair
To repair brick walls, gather the following tools and materials:
- Safety gear: Gloves, goggles, and dust mask.
- Chisel and hammer: For removing damaged bricks and old mortar.
- Mortar mix: Choose a type compatible with your existing mortar.
- Trowel: For applying new mortar.
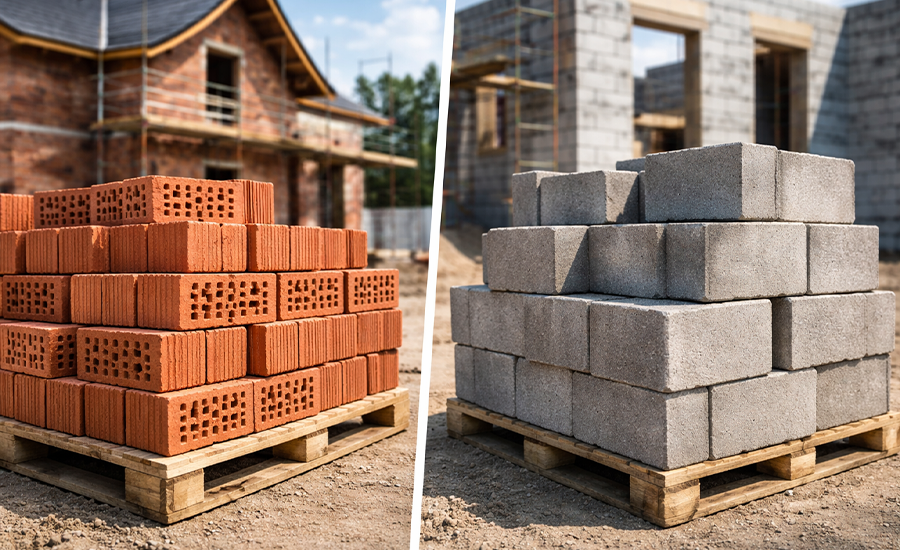
- Bricks: Matching the existing ones in size, color, and texture.
- Level: To ensure bricks are aligned correctly.
- Brush and bucket: For cleaning and mixing mortar.
Safety Precautions in Brick Wall Repair
Safety is paramount. Wear protective gear and be cautious when working with tools. Ensure the work area is clear of hazards and avoid working in extreme weather conditions.
Preparing for Repair
In this section, the steps for preparing the damaged area for repair are outlined. It covers cleaning the area, removing damaged bricks, and preparing new bricks and mortar. The emphasis is on ensuring a clean and ready site for efficient repair work.
Cleaning Before Repairing Brick Walls
Clean the area around the damage. Remove debris and dust using a brush or a vacuum. This step ensures a clean surface for the new mortar to adhere to.
Removing Damaged Bricks
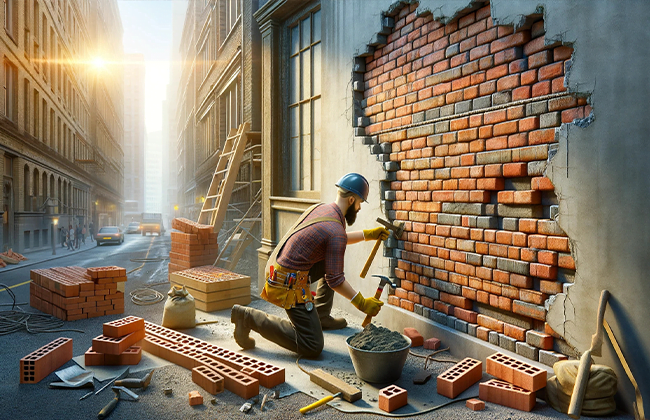
Carefully remove damaged bricks using a chisel and hammer. Work gently to avoid damaging surrounding bricks. Once removed, clean out old mortar from the cavity.
Preparing New Bricks and Mortar
Soak new bricks in water to prevent them from absorbing moisture from the mortar. Mix mortar according to the manufacturer’s instructions, aiming for a firm, workable consistency.
Step-by-Step Guide on Repairing Brick Walls
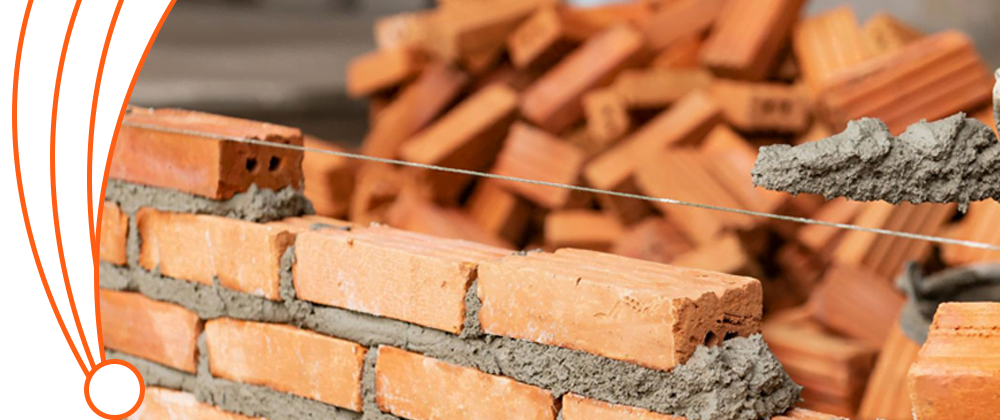
This part of the article details the actual repair process. It starts with how to mix the mortar correctly, then moves on to replacing the bricks and applying the mortar. The section provides a step-by-step guide to ensure the repair is done correctly and effectively.
Mixing the Mortar
Mix the mortar in a bucket, adding water gradually. Aim for a consistency that holds its shape without being too wet or dry.
Replacing Bricks
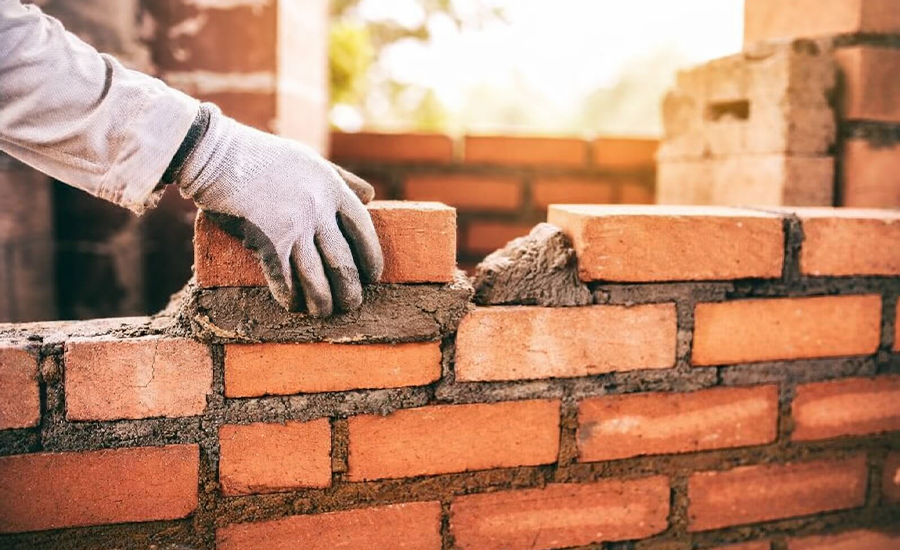
Place mortar in the cavity, then position the new brick, ensuring it’s level and flush with the wall. Tap gently into place with a trowel handle.
Applying Mortar and Finishing Touches
Apply mortar around the new brick, smoothing it with the trowel. Wipe away excess mortar and match the joint style of the existing wall. Allow the mortar to dry as per the manufacturer’s instructions.
Post-Repair Care
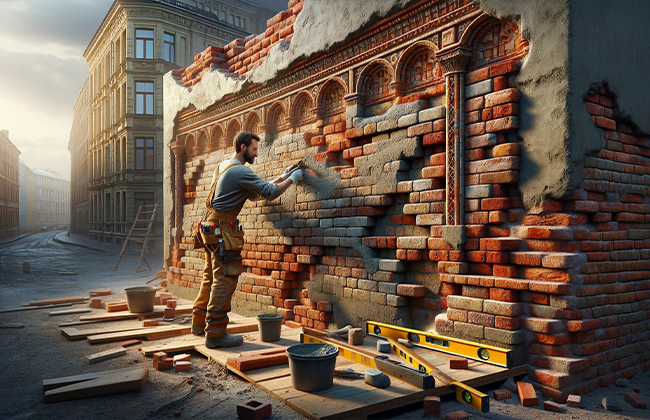
Post-repair care is crucial for the longevity of the repair work. This section discusses how to cure and maintain the repaired area and suggests preventative measures to minimize future damage to the brick wall.
Curing and Maintenance
Allow the repaired area to cure properly, usually for several days. Avoid exposing the area to extreme weather during this period. Regularly inspect the wall for any new damage.
Preventative Measures for Future Damage
To prevent future damage:
- Ensure proper drainage away from the wall.
- Seal cracks and gaps promptly.
- Consider waterproofing treatments for areas exposed to moisture.
DIY Tips and Tricks
Targeted at DIY enthusiasts, this section offers practical tips and tricks for brick wall repair. It includes advice on DIY-friendly repair techniques and cost-effective solutions, making the repair process more accessible and manageable for non-professionals.
DIY-Friendly Repair Techniques
- Practice mixing mortar on a scrap surface before applying it to the wall.
- Use a pointing tool for tighter joints.
- For large areas, work in sections to manage the drying time of the mortar.
Cost-Effective Solutions
- Source materials from local suppliers to save on costs.
- Borrow or rent tools if you don’t own them.
- Consider attending a DIY workshop for hands-on experience.
Knowing When to Seek Professional Brick Wall Repair
The final section addresses when and why it might be necessary to call in a professional. It covers recognizing complex damage that is beyond the scope of DIY and provides tips on hiring qualified professionals for such repair jobs.
Recognizing Complex Damage
If the damage is extensive, affects structural integrity, or is due to underlying issues like severe foundation settling, it’s wise to consult a professional.
Hiring Qualified Professionals
Look for experienced masons or contractors with a good track record. Check their references and ensure they are licensed and insured.
Conclusion:
In conclusion, understanding how to repair a brick wall is essential for preserving the strength and beauty of your property. This guide has equipped you with the knowledge to tackle common brick wall damages, from preparation and repair to post-repair care. Remember, while DIY repairs are feasible for minor issues, significant damage may require professional expertise. Regular maintenance and timely repairs will extend the life of your brick walls, ensuring they continue to offer both structural support and aesthetic value to your home.
FAQs:
Q: How often should I inspect my brick wall for damage?
A: Regular inspections, ideally twice a year, can help identify issues early. Look for signs of damage like cracks or loose bricks to ensure timely repairs.
Q: What are the signs that indicate the need for repairing a brick wall?
A: Key signs include cracked or chipped bricks, eroded mortar, and moisture damage. If these are evident, it’s time to consider repairing your brick wall.
Q: Can I repair a brick wall myself, or should I hire a professional?
A: Minor repairs like filling small cracks can be a DIY task. However, for extensive damage or structural issues, it’s safer to hire a professional.
Q: What is the best time of year to repair a brick wall?
A: The ideal time is during mild, dry weather, typically in late spring or early fall. This allows the mortar to set properly without weather interference.
Q: How long does it take for a repaired brick wall to cure?
A: Curing time can vary, but generally, it takes about 24-48 hours for mortar to set initially, with a full cure taking up to a month.


