Brick mortar repair in a tube offers a straightforward solution for maintaining the integrity and appearance of brick structures. This guide explores its advantages, from ease of use to durability, providing essential knowledge for both DIY enthusiasts and professionals. Learn how this innovative product transforms the way we approach brickwork repairs.
The Basics of Brick Mortar Repair in a Tube: Understanding the Product
Brick mortar repair in a tube represents a significant advancement in the field of masonry repair. Manufacturers specifically design this pre-mixed, ready-to-use formula to address the common issues of cracks and gaps in brickwork. Its convenience and effectiveness in providing quick fixes for brick structures primarily contribute to its rising popularity.
Advantages of Using Brick Mortar Repair in a Tube
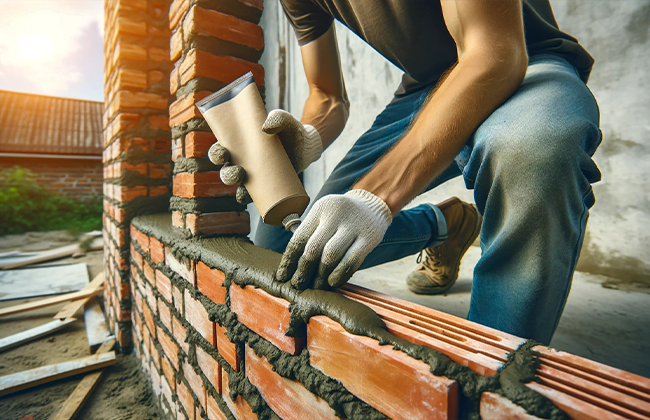
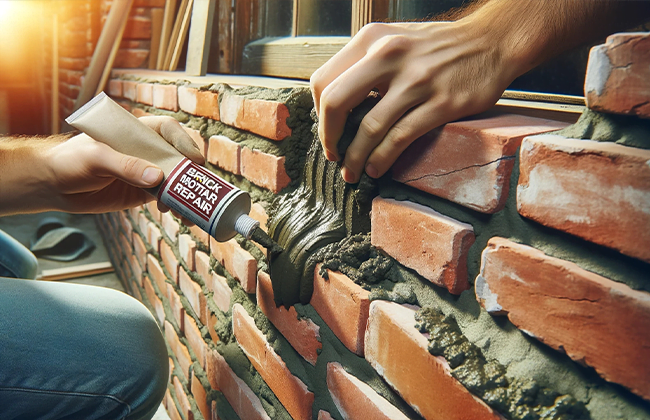
- Ease of Use: One of the standout features of this product is its simplicity. The mortar comes in a tube similar to a caulking gun, allowing users to apply it directly to the affected area without any additional preparation. This feature significantly simplifies the repair process, particularly benefiting those who are not professionally trained in masonry.
- Time-Saving: Traditional mortar repair methods require mixing various components before application, which can be time-consuming and messy. In contrast, brick mortar repair in a tube eliminates the need for mixing, thereby accelerating the repair process. This time efficiency is crucial for both DIY enthusiasts who want to complete their projects quickly and professionals seeking to optimize their workflow.
- Durability: Despite its ease of use, this product does not compromise on quality. The formula is designed to offer strong adhesion, ensuring that the repairs are not only quick but also long-lasting. This durability is essential for maintaining the structural integrity and aesthetic appeal of brickwork over time.
Step-by-Step Guide to Using Brick Mortar Repair in a Tube
Learn the step-by-step process for effectively using brick mortar repair in a tube. This practical guide covers everything from surface preparation to the application process, ensuring that even beginners can achieve professional-quality results.
Preparing the Surface
- Clean the Area: The first step involves thorough cleaning of the area needing repair. This process involves removing any loose material, debris, or dust that might impede the mortar’s ability to adhere properly to the brickwork. A brush or a blower can be effectively used for this purpose.
- Dampen the Surface: Before applying the mortar, slightly dampening the surface can significantly improve adhesion. This step is particularly important in dry conditions, as it prevents the mortar from drying too quickly, which can lead to poor bonding and ineffective repairs.
Application Process
- Cut the Tube Tip: Start by cutting the tip of the tube. Ensure the size of the cut corresponds to the width of the crack or gap being repaired. This approach guarantees the application of the right amount of mortar and helps achieve a clean, precise application.
- Apply the Mortar: Gently squeeze the tube to extrude the mortar, filling the gaps or cracks evenly. It’s important to apply consistent pressure to ensure that the mortar is distributed uniformly.
- Smooth it Out: Once applied, the mortar should be smoothed out for a neat finish. This can be done using a putty knife or even a finger (wearing a glove for protection). Smoothing out helps in blending the mortar with the surrounding area, making the repair less noticeable.
Curing Time
- The mortar typically begins to set within a few hours of application. However, it’s crucial to allow it to cure for at least 24 hours before performing any further work, such as painting or applying sealant. This curing time is essential for the mortar to achieve its full strength and durability.
Selecting the Right Product
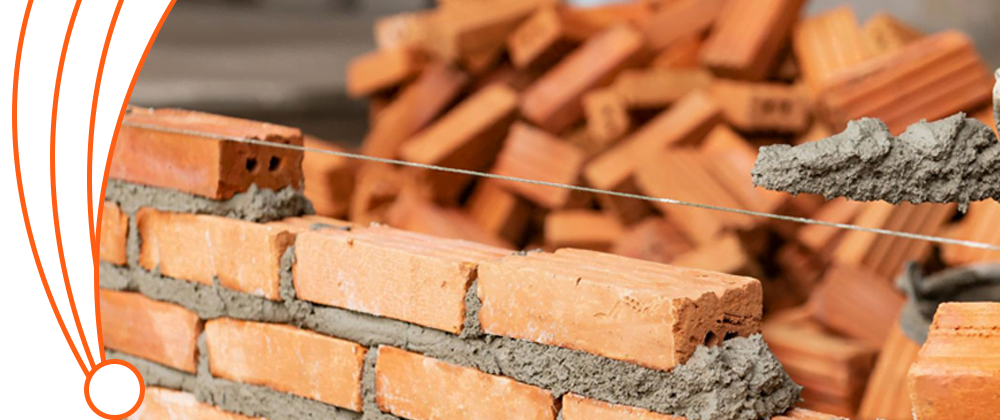
Choosing the right type of brick mortar repair product is crucial for a successful repair job. This section guides you through the different types of mortar available in tubes, such as acrylic-based and epoxy-based, helping you make an informed decision based on the nature of your repair needs.
Types of Mortar Repair Tubes
- Acrylic-Based: These are ideal for repairing smaller, hairline cracks. Acrylic-based mortars are known for their flexibility, which is particularly useful in areas where slight movements or vibrations might occur.
- Epoxy-Based: For larger cracks or areas that require stronger bonding, epoxy-based mortars are the best choice. Their robust composition makes them suitable for more significant repairs where structural integrity is a concern.
Color Matching
- One of the challenges in brick mortar repair is ensuring that the new mortar blends seamlessly with the existing material. To achieve this, it is important to select a mortar color that closely matches the original mortar. Many manufacturers offer a range of colors, and some even provide custom color matching services.
Tips for a Perfect Finish
Achieving a flawless finish is key in brick mortar repair. This part of the article provides valuable tips and tricks for working under the right conditions, practicing the application technique, and being patient during the curing process, all of which contribute to a perfect repair job.
- Work in Favorable Weather: Avoid extreme temperatures, as they can affect the curing process and the final outcome. Ideal conditions are a mild temperature and low humidity.
- Practice First: For those who are new to using this product, it’s advisable to practice on a scrap piece or an inconspicuous area. This practice allows users to get a feel for the application process and to test the color match.
- Be Patient: It’s important to allow adequate time for curing to achieve the best results. Rushing through this process can compromise the quality and longevity of the repair.
Maintaining and Inspecting Repaired Brickwork
Maintenance and regular inspection are vital to ensure the longevity of your brickwork repairs. In this section, you’ll find advice on how to routinely check and maintain your repaired areas to prevent future damage and ensure lasting results.
Regular Inspections
- Regularly inspect the repaired areas for any signs of wear or damage. This proactive approach helps in addressing any issues before they become major problems.
Maintenance Tips
- Keep the repaired area clean and free of moisture accumulation, as excessive moisture can lead to deterioration. Reapply the mortar as needed to maintain the integrity of the repair if you notice any signs of degradation, such as cracking or crumbling.
Common Mistakes to Avoid
To ensure the effectiveness and durability of your brick mortar repairs, it’s important to be aware of common pitfalls. This section highlights typical mistakes to avoid during the repair process, such as applying mortar on wet surfaces and not following manufacturer’s instructions, helping you sidestep potential issues.
- Applying on Wet Surfaces: Ensure the brickwork is completely dry before applying the mortar. Moisture trapped beneath the mortar can lead to issues such as mold growth or weakened adhesion.
- Ignoring Manufacturer’s Instructions: Each product might have specific guidelines for application and curing. It’s crucial to follow these instructions for optimal results.
Conclusion:
In conclusion, brick mortar repair in a tube stands as a reliable, user-friendly option for fixing brickwork. Its versatility and effectiveness make it an indispensable tool for masonry repairs. By following the guidance provided, anyone can achieve lasting, aesthetically pleasing repairs, ensuring the longevity and beauty of brick structures.
FAQs:
Q: How does brick mortar repair in a tube ensure long-lasting repairs?
A: Manufacturers formulate brick mortar repair in a tube to provide strong adhesion and durability. Its composition ensures that once cured, it binds effectively with the brickwork, resisting weathering and wear over time.
Q: Is brick mortar repair in a tube suitable for all brick types?
A: Yes, you can use most brick mortar repair products in a tube on various types of bricks. However, we recommend checking the product specifications for any specific limitations.
Q: Can you use brick mortar repair in a tube in any weather condition?
A: It adapts to various conditions best when used in mild, dry weather. Extreme temperatures and humidity levels can affect the curing process and the final outcome of the repair.
Q: How long does it take for brick mortar repair in a tube to dry?
A: The drying time varies by product, but generally, it sets within a few hours. However, a full cure, for optimal strength and adhesion, typically requires at least 24 hours.
Q: Can you paint the area repaired with brick mortar repair in a tube?
A: Yes, once fully cured, the repaired area can be painted. It’s important to ensure the mortar is completely dry for the best paint adhesion and finish.


