Bricks have long been favored for their durability and timeless appearance, making them a popular building material for homes, commercial properties, and even historical structures. However, despite their longevity, bricks can crack or break over time due to factors like weathering, structural movement, or physical impact. While replacing damaged bricks might seem daunting, the process can be simplified with the right tools and techniques. Repairing broken bricks is essential not only for maintaining the aesthetics of a structure but also for ensuring its safety and structural integrity.
Why Do Bricks Break? Understanding Common Causes
Before diving into the repair process, it’s important to understand why bricks break in the first place. This helps in addressing the root cause and preventing future damage. Here are some of the most common reasons for brick damage:
Weathering and Environmental Exposure
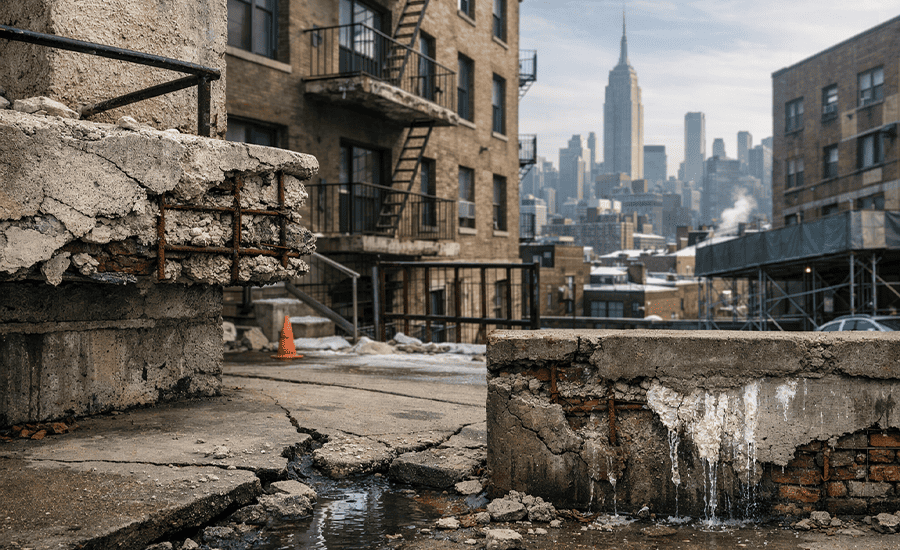
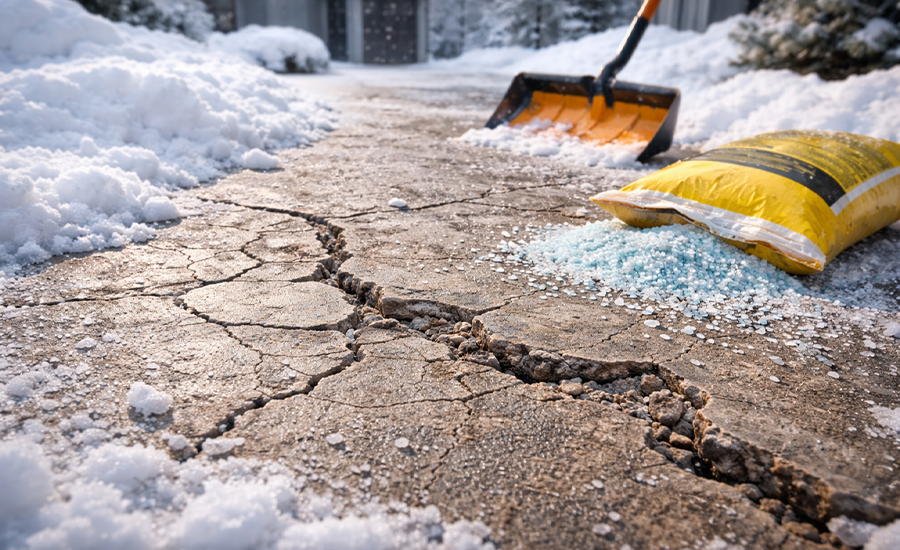
Bricks are subjected to various environmental elements like rain, snow, and temperature fluctuations. The freeze-thaw cycle is particularly damaging. When water seeps into the tiny pores in the bricks and freezes, it expands, causing the brick to crack. Over time, this constant expansion and contraction weaken the structure, leading to chips, cracks, or complete breakage.
Structural Shifts
As a building ages, it experiences settling or shifting, which can place pressure on certain areas of the brick wall. When the structure moves, it can cause cracks to appear in the brickwork. These cracks are often seen near corners or where different materials, like brick and concrete, meet.
Impact Damage
Accidental impacts, such as hitting a wall with heavy equipment, vehicles, or even strong tools, can result in broken bricks. While bricks are strong, they are not invincible, and physical damage can cause them to chip or crack.
Poor Installation or Low-Quality Materials
Bricks that are not installed correctly, or are paired with low-quality mortar, are more likely to experience premature cracking or breakage. If the mortar mix is too weak or improperly applied, it may fail to hold the bricks securely in place, making them more susceptible to damage.
Tools and Materials Needed for Brick Repair
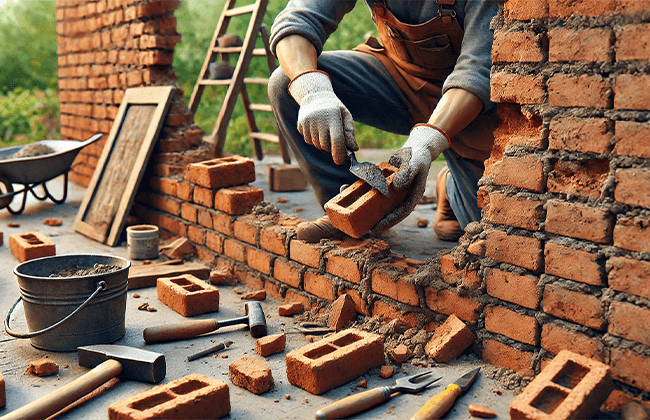
Repairing broken bricks requires having the right tools and materials on hand. Depending on whether you are replacing an entire brick or simply filling a crack, the following items will be essential:
- Replacement brick(s) (if needed)
- Hammer and chisel (for removing old bricks)
- Wire brush (for cleaning out debris)
- Cold chisel (for chipping away old mortar)
- Mortar mix (choose one that matches the existing mortar for consistency)
- Pointing trowel (for applying mortar)
- Mortar bag (useful for squeezing mortar into tight spaces)
- Bucket and mixing tool (for preparing the mortar)
- Safety goggles and gloves (to protect yourself from flying debris and dust)
- Brick jointer (for smoothing mortar joints)
Step-by-Step Guide to Repairing a Broken Brick
Whether you’re dealing with cracked bricks or need to replace broken ones, the process requires careful attention to detail. Here’s a complete guide on how to tackle both minor and major brick repairs:
Assess the Extent of the Damage
Before beginning the repair, inspect the brick and the surrounding area to determine if a full replacement is necessary or if minor crack repairs will suffice. For surface cracks, a simple filler may be enough, while deep cracks or complete breakage typically require replacing the entire brick.
Removing a Damaged Brick
If the brick is severely damaged, it needs to be removed and replaced. Here’s how to do it:
- Step 1: Begin by using a cold chisel and hammer to carefully remove the mortar surrounding the damaged brick. Be cautious to avoid damaging adjacent bricks. Chip away at the mortar until the brick is loose enough to remove.
- Step 2: Once the mortar is cleared, gently remove the broken brick. Use a wire brush to clean the cavity, removing any loose debris or old mortar. This will help ensure a smooth surface for the new brick.
Mixing New Mortar
Prepare a batch of fresh mortar. It is crucial to use a mortar that closely matches the original in color and texture. Mix the mortar according to the manufacturer’s instructions in a bucket, making sure it has a consistency similar to thick peanut butter—firm but not too dry.
Inserting the New Brick
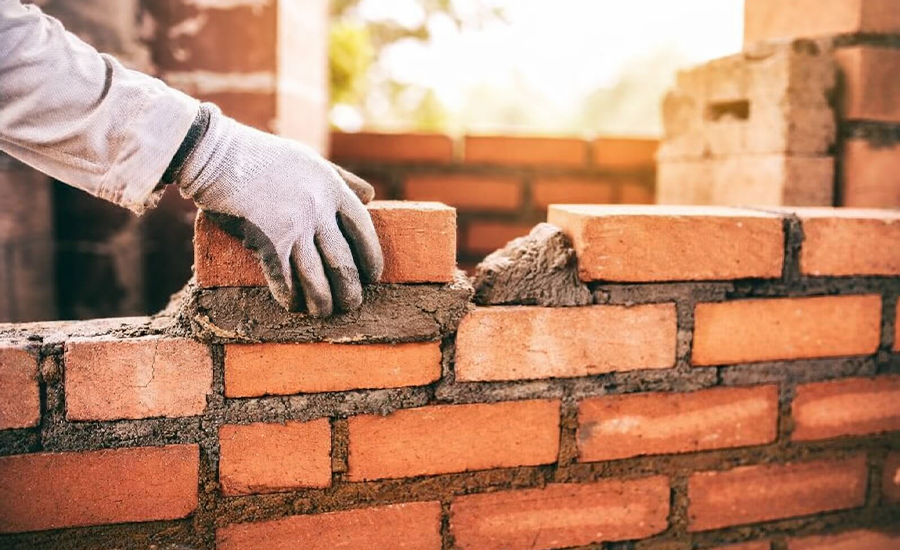
- Step 1: Apply a layer of mortar to the base of the cavity and the back and sides of the replacement brick. Use a pointing trowel to butter the sides of the brick generously with mortar.
- Step 2: Insert the new brick into the cavity, pressing it firmly into place to ensure it aligns with the surrounding bricks. Check that the brick is flush with the existing wall.
- Step 3: Fill the gaps around the new brick with mortar, using the trowel to press the mortar into the joints. Smooth the surface with a brick jointer to create a consistent finish that matches the original mortar lines.
Repairing Cracked Bricks
For minor cracks that don’t require full brick replacement, follow these steps:
- Step 1: Clean the crack thoroughly with a wire brush, removing any loose particles.
- Step 2: Use a brick repair epoxy or mortar filler to fill the crack. Apply the filler using a pointing trowel, making sure to pack it deeply into the crack.
- Step 3: Smooth the surface and allow the filler to dry according to the product instructions, usually about 24 hours.
Curing the Mortar
After completing the repair, it’s essential to allow the mortar to cure properly. Avoid exposing the newly repaired area to water or freezing temperatures for at least 48 hours. Lightly mist the mortar with water during the curing process if conditions are dry or hot, as this helps prevent the mortar from drying too quickly and cracking.
Preventing Future Brick Damage
Repairing damaged bricks is important, but prevention can save you from frequent repairs. Here are some key tips to help protect your brickwork:
Waterproofing the Bricks
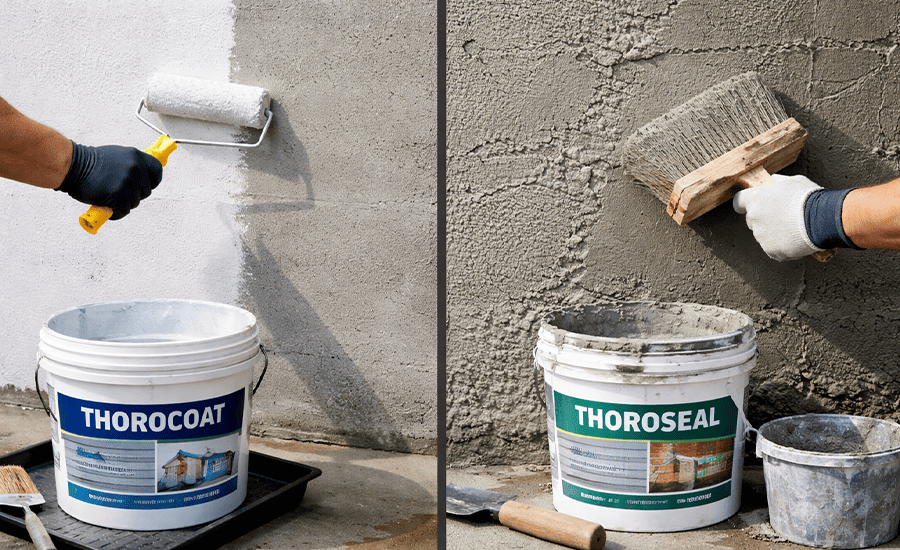
One of the most effective ways to prevent damage is to apply a water-repellent sealant to the brick surface. This will keep water from seeping into the bricks and prevent issues like efflorescence (salt deposits on the surface), which can lead to cracking in the freeze-thaw cycle.
Regular Inspections
Perform regular inspections of your brickwork, particularly after storms or extreme weather. Early detection of cracks or loose mortar can prevent small issues from becoming major problems.
Proper Drainage
Ensure water is directed away from brick walls. Poor drainage can cause water to pool at the base of the wall, which weakens the mortar and bricks over time. Properly maintaining gutters, downspouts, and landscaping can help prevent moisture buildup.
Quality Installation
When constructing a new brick wall or making repairs, always ensure that high-quality mortar and bricks are used. Poor materials lead to early degradation, necessitating more frequent repairs.
Conclusion
Repairing broken bricks is an essential maintenance task that helps preserve the structural integrity and aesthetic appeal of a building. Whether you’re dealing with small cracks or the need to replace entire bricks, having the right tools and following proper techniques ensures a successful repair. By addressing brick damage early and maintaining regular upkeep, such as applying waterproof sealants and performing routine inspections, you can significantly extend the life of your brickwork and prevent more costly repairs down the road. Adopting these strategies will help maintain the beauty and durability of your home’s exterior.
FAQs
Q: What causes bricks to crack or break?
A: Bricks often break due to weathering, impact damage, or structural settling. The freeze-thaw cycle, in particular, is a leading cause of brick cracking.
Q: Can cracked bricks be repaired without removing them?
A: Yes, minor cracks can be repaired using epoxy fillers or mortar fillers, while larger cracks or fully broken bricks may need replacement.
Q: How long does it take for mortar to dry after brick repair?
A: The mortar typically requires 24 to 48 hours to fully cure. During this time, it should be protected from moisture and freezing temperatures.
Q: How do I prevent future brick damage?
A: Applying a water-repellent sealant, ensuring proper drainage, and performing regular inspections can help prevent future damage.
Q: Is it better to replace or repair broken bricks?
A: If a brick has minor cracks or chips, it can often be repaired. However, if the damage is extensive or the brick is completely broken, it’s better to replace the brick to maintain structural integrity.


