Repairing cracks in brickwork is essential for maintaining the structural integrity and aesthetic appeal of your home. Over time, environmental factors and natural settling can lead to cracks in brickwork that, if left unaddressed, may escalate into more severe structural issues. This guide offers comprehensive insights into how to repair cracks in brickwork, including identifying different types of cracks, selecting the right tools for the job, and deciding when it’s appropriate to handle the repairs yourself or call in a professional.
Identifying and Classifying Cracks in Brickwork
Before diving into repairs, it’s crucial to understand the landscape of what you’re dealing with. In brickwork, not all cracks are created equal, and identifying the type and cause is essential to choosing the right repair approach. This section will guide you through recognizing different types of cracks and understanding why they occur. By mastering this foundational knowledge, you’re better equipped to tackle repairs head-on and prevent future issues.
Causes of Cracks:
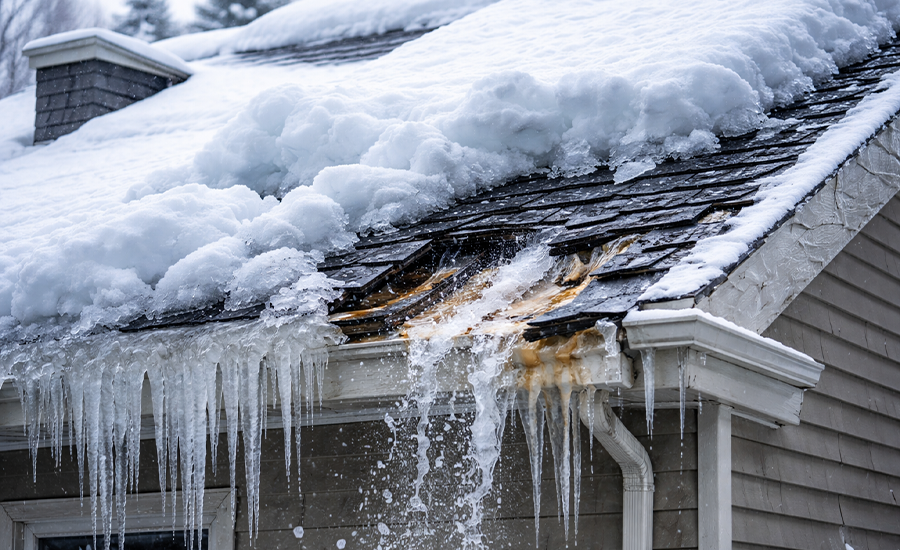
Most often, cracks in brickwork arise due to the natural settling of the house. Over time, as the foundation shifts slightly—a common occurrence in new and old buildings alike—the stress can cause the bricks to crack. Environmental factors also play a significant role. For instance, extreme changes in temperature can cause the materials to expand and contract, leading to cracks. Additionally, moisture can seep into the brickwork, freeze, and expand, causing further damage.
Types of Cracks:
Cracks in brickwork can vary greatly in type and severity:
- Hairline Cracks: These are thin, superficial cracks that may not pose immediate structural concerns but can worsen if not addressed.
- Structural Cracks: These are wider and deeper, often indicating significant issues with the building’s structure. They can be diagonal, vertical, or horizontal and typically require professional assessment.
- Aesthetic Concerns: While some cracks may not threaten the structure, they can detract from the visual appeal of your home.
Understanding the nature of these cracks is the first step in addressing them effectively. By identifying whether a crack is merely cosmetic or indicative of deeper structural issues, you can determine the most appropriate repair method.
Next, we’ll explore the tools and materials needed to address these issues effectively. Ensuring you have the right equipment at your disposal will streamline the repair process and ensure lasting results. This setup not only prepares you for the next section but also ties into the comprehensive approach needed for effective brickwork maintenance and repair.
Tools and Materials Needed
Before you start fixing any cracks in your brickwork, it’s essential to gear up with the right tools and materials. Having the appropriate items on hand will not only make the job smoother but also ensure the repair lasts longer. Let’s take a closer look at what you’ll need to get the job done right.
Essential Tools:
- Chisels: A good set of chisels will help you remove any loose or damaged mortar without harming the surrounding bricks.
- Mortar Mix: Choose a high-quality mortar mix that matches the strength and color of the existing mortar to ensure uniformity and durability.
- Mortar Hawk: This tool will hold your mortar while you work, making it easier to apply.
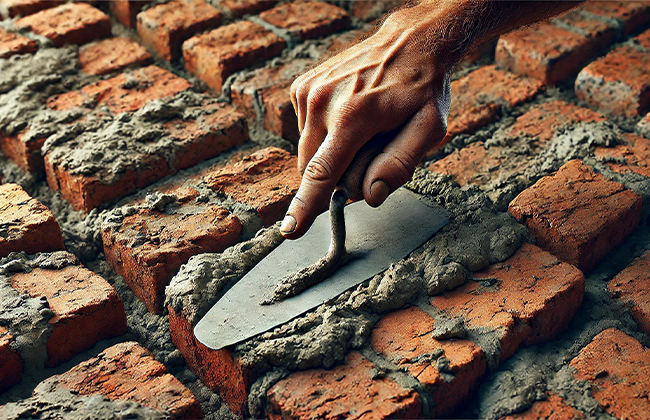
- Pointing Trowel: Essential for applying new mortar neatly into the cracks and crevices.
- Wire Brush: Useful for cleaning out the cracks and ensuring there’s no loose debris before you apply new mortar.
- Safety Glasses and Gloves: Safety first! These will protect your eyes and hands during the repair process.
Choosing the Right Materials:
- Type of Mortar: The choice of mortar is critical. For most residential brickwork repairs, Type N mortar is adequate, providing a good balance of strength and flexibility. However, if your home is particularly old or subject to severe weather conditions, you might need to consider a different type.
- Compatibility: It’s not just about picking the right type of mortar; it’s also essential to match it with the existing material. This compatibility prevents future cracks and ensures that the repair blends seamlessly with the original structure.
With these tools and materials ready, you’re all set to move on to the actual repair process. Next, we’ll dive into a step-by-step guide on how to effectively repair the cracks, ensuring your brickwork is not only fixed but restored to its former glory. This approach keeps you well-prepared and confident as you tackle the repair job ahead.
Step-by-Step Guide to Repairing Cracks
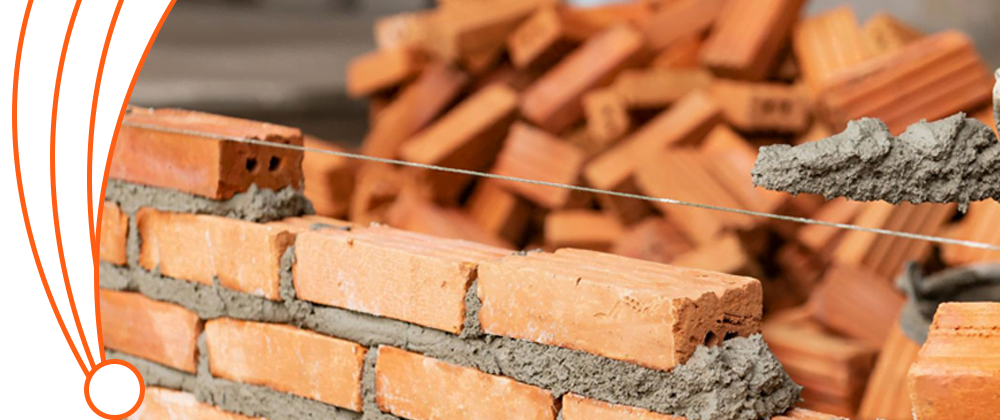
Repairing cracks in brickwork requires not just the right tools and materials, but also a detailed, methodical approach to ensure that the fixes are effective and enduring. This expanded guide delves deeper into each step, helping you manage the repair process with precision and ensuring long-lasting results.
Preparation:
Effective preparation sets the stage for a successful repair, ensuring that the new mortar adheres well and lasts.
- Inspect the Crack: Begin by carefully examining the crack. Use a flashlight to look inside the crack for any hidden defects or deeper issues that may need addressing before you proceed.
- Clean the Area: It’s crucial to remove all debris, dust, and old mortar from the crack. This might involve using a combination of tools such as a wire brush, a vacuum cleaner, and even a small air compressor to blow out the finest particles. The goal is to provide a clean, solid surface for the new mortar to bond to.
Mixing Mortar:
The durability of your repair heavily relies on the quality of the mortar mix and its application.
- Select the Right Mix: Matching the mortar to the existing material in terms of type, color, and compression strength is crucial. If unsure, consult with a masonry expert or take a sample of the old mortar to a professional for analysis.
- Prepare the Mix: Accurately measure and gradually add water to the dry mix until you achieve the correct consistency. If the mix is too dry, it won’t adhere properly; if it’s too wet, it may shrink and crack as it dries. Stir the mortar thoroughly to eliminate any lumps.
Application Process:
The application process requires careful attention to detail to ensure that the mortar fills the cracks completely and bonds effectively with the existing brickwork.
- Apply the Mortar: Fill the crack from the deepest part to the surface, pressing the mortar firmly in place to avoid air pockets, which can weaken the structure.
- Smooth the Surface: Use the edge of your trowel to blend the new mortar into the existing mortar lines, mimicking the original craftsmanship as closely as possible.
- Cure the Mortar: Shield the newly repaired area from direct sunlight and wind to slow the drying process, which helps prevent shrinking and cracking. Lightly misting the area with water over the next few days can also help the mortar cure without cracking.
- Final Touches: After the mortar has set but not fully hardened, brush the area with a soft-bristle brush to clean off any excess and to blend the new mortar with the old. This final step ensures that the repair is not only structurally sound but also aesthetically pleasing.
By following these detailed steps, you not only repair the cracks in your brickwork but also enhance the overall integrity and appearance of your masonry. The next section on preventative measures and maintenance will guide you on how to protect this investment by minimizing future damage and preserving the brickwork’s aesthetic and structural qualities. This proactive approach can significantly extend the life of your brick structures, making your efforts both rewarding and cost-effective.
Preventative Measures and Maintenance
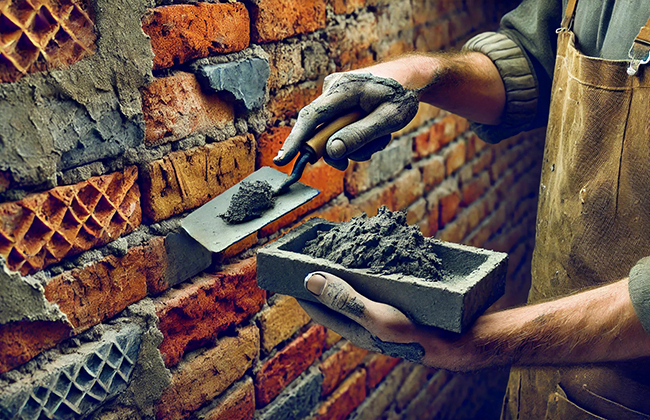
Keeping your brickwork in excellent condition is not just about addressing issues as they arise; it’s about preventing them from happening in the first place. By adopting a routine of regular inspections and dedicated maintenance, you can extend the life of your brick structures significantly. Let’s break down these critical activities into more detail.
Regular Inspection:
Proactive inspections are the first line of defense in maintaining the integrity of your brickwork.
- Frequency and Timing: Conduct inspections bi-annually, ideally during the spring and fall, to catch any seasonal damage early.
- What to Look For: Focus on identifying signs of wear such as small cracks, loose bricks, or any deterioration in the mortar. Early detection can prevent larger structural issues.
Maintaining Brickwork:
Consistent maintenance is crucial for preserving the appearance and durability of your brickwork.
- Cleaning: Regular, gentle cleaning helps maintain the aesthetic appeal and prevents build-up that could lead to damage.
- Repointing: This is necessary when the mortar joints become eroded, which can compromise the structural stability of the brickwork.
- Sealing: Consider applying a sealant to protect against moisture while ensuring the brickwork remains breathable to avoid trapped moisture.
By integrating these practices into your routine, your brickwork will not only look better but will also be more resilient against the elements and time. These steps form a comprehensive care regimen that not only addresses the present condition of your brickwork but also safeguards its future. Next, we will examine scenarios where professional help might be more appropriate than a DIY approach, ensuring that each repair or maintenance task is performed with the right level of expertise.

Professional vs. DIY Repair
Deciding whether to handle brickwork repairs yourself or to call in a professional can significantly impact the effectiveness and longevity of the repairs. Let’s explore when it’s suitable to roll up your sleeves, and when it’s wise to dial up the experts.
When to Call a Professional:
Sometimes, the complexity and severity of brickwork issues demand professional expertise.
- Structural Concerns: If you’re dealing with extensive or deep cracks that affect the structure’s integrity, a professional mason should be consulted. These specialists can assess the underlying causes and suggest robust solutions that go beyond superficial repairs.
- Matching Historical Brickwork: In cases where the brickwork is part of a historical structure, matching materials and techniques may require specialized skills and knowledge that only professionals possess.
- Safety Risks: For repairs that involve working at height or with structurally compromised walls, the risk factor increases. Professionals have the right equipment and training to handle such situations safely.
DIY Tips:
For minor repairs, DIY can be both rewarding and cost-effective.
- Small Cracks: Small, non-structural cracks can often be handled with basic tools and materials. Ensure you’ve accurately assessed the crack as superficial before proceeding.
- Proper Tools: Use the right tools such as chisels, mortar mix, and pointing trowels, which can make the job easier and more effective. Familiarize yourself with how to use these tools properly to avoid further damage.
- Follow Safety Protocols: Even for small jobs, wearing safety goggles, gloves, and protective clothing is crucial to prevent injuries.
By understanding these guidelines, you can make informed decisions about which repairs you can confidently handle and when it’s best to invest in professional services. This balance ensures that your brickwork is not only aesthetically pleasing but also structurally sound, providing peace of mind that your home remains safe and sturdy.
Conclusion
After exploring the various methods and considerations for repairing cracks in brickwork, it’s clear that whether you take a DIY approach or opt for professional help depends largely on the severity of the damage. For those who are unsure about tackling significant repairs themselves or have structural concerns, it’s advisable to consult a professional contractor. If you’re looking for expert assistance to repair cracks in brickwork, feel free to contact us at (+1) 917-355-8556 for reliable service.
FAQs
Q: What are the signs that I need to repair cracks in brickwork?
A: If you notice hairline cracks widening or moisture seeping through, it’s time to consider repairing your brickwork to prevent further damage and maintain structural integrity.
Q: How often should I inspect my home for cracks in brickwork?
A: Regular inspections, ideally twice a year, can help you catch and repair cracks in brickwork early, avoiding more extensive and costly repairs later.
Q: What tools are necessary to repair cracks in brickwork effectively?
A: For basic repairs, you’ll need tools such as a chisel, mortar mix, pointing trowel, and a wire brush to ensure that the job is done thoroughly and lasts longer.
Q: Can I repair cracks in brickwork on my own, or should I hire a professional?
A: Minor, non-structural cracks can typically be repaired DIY. However, for larger or structural damage, hiring a professional is recommended to ensure safety and effectiveness.
Q: What preventative measures can I take to avoid cracks in brickwork?
A: Maintain good drainage around your home and avoid heavy loads near brick walls. Perform regular maintenance checks to minimize the risk of cracks in brickwork.
Q: How do you fix a crack in a brick wall?
A: To fix a crack in a brick wall, clear out loose debris with a chisel or wire brush. Then fill the crack with mortar using a pointing trowel. This ensures a smooth, cohesive repair.
Q: Are cracks in brickwork serious?
A: Cracks in brickwork can be serious if they are wide, deep, or structural. Hairline cracks are generally less concerning but should be monitored for changes.
Q: What can I use to fill gaps in brick walls?
A: To fill gaps in brick walls, use a mortar mix that matches the existing mortar in color and composition to ensure a seamless and effective repair.
Q: How to fix structural cracks in walls?
A: A professional should assess structural cracks. Fixing them typically involves cleaning out the crack and filling it with a suitable filler. Sometimes, this includes installing reinforcement like masonry stitches.
Q: How can you tell if a brick crack is structural?
A: A structural crack in brick is typically wider than 1/4 inch. It runs through multiple bricks or follows a stair-step pattern. This pattern corresponds with weaknesses in the wall’s structure.
Q: Can you seal a cracked brick?
A: Yes, you can seal smaller cracks in bricks with an appropriate masonry caulk or sealant. This prevents moisture penetration and further deterioration.
Q: How do you tell if a crack in a wall is serious?
A: A crack is serious if it’s wide, deep, or expanding over time. It may also show signs of structural distress, such as doors sticking or floors becoming uneven.
Q: When should I worry about a crack in the wall?
A: Worry about a crack in the wall if it is widening, appears suddenly, or is associated with other structural problems. Consulting a professional is advisable in these cases.
Q: Do cracks in brick always mean foundation problems?
A: Not always; while some cracks can indicate foundation issues, others might be caused by thermal movement or settling. Professional evaluation can clarify the cause.
Q: Do cracked bricks need to be replaced?
A: You should replace cracked bricks if the cracks compromise the structural integrity. Replace them also if the brick is visibly crumbling or causing moisture problems.
Q: How to repair cracks in brickwork exterior?
A: Repair cracks in brickwork exterior by cleaning the area. Remove any unstable material, and fill the cracks with mortar. Ensure it closely matches the original in both texture and color.
Q: When to worry about cracks in brick?
A: Worry about cracks in brick when they are large or multiplying. Look for signs of structural damage, such as shifting or sagging of the brickwork.


