Cement steps are a common feature in homes and commercial buildings, offering durability and a clean look. However, with time and exposure to the elements, even the strongest cement can crack or erode. If you live in an area like New York, where winter weather and heavy foot traffic can cause additional wear and tear, cement steps are even more prone to damage.
This guide will provide a step-by-step approach to fixing damaged cement steps, ensuring they are both safe and visually appealing once again.
Why Do Cement Steps Crack or Break?
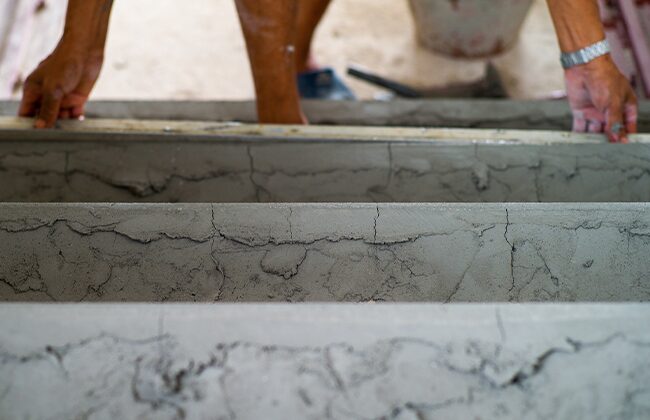
Cement steps, despite their strength, are vulnerable to several environmental and usage-related factors. Cracks and chips typically develop due to:
- Freeze-Thaw Cycles: In regions with cold climates like New York, water enters small cracks, freezes, and expands, causing those cracks to grow. The constant freezing and thawing stresses the cement, leading to damage over time.
- Heavy Foot Traffic: Cement steps in high-use areas wear down faster, especially when people walk on them with heavy loads, causing micro-cracks that expand over time.
- Moisture Infiltration: Rain, snow, or melting ice can seep into even the smallest cracks. Once inside, moisture weakens the internal structure of the cement, leading to crumbling or larger cracks.
- Natural Aging: As cement ages, it naturally weakens. Without proper maintenance or sealing, the lifespan of cement steps can shorten significantly.
Tools and Materials Needed to Fix a Cement Step
To successfully repair cement steps, you will need the following tools and materials:
- Hammer and chisel: To chip away loose, crumbling cement.
- Wire brush: For cleaning out debris and dust from the damaged area.
- Concrete patching compound or cement repair mix: The material used to fill cracks and chips.
- Bonding agent: To help the new patch adhere to the old cement.
- Trowel: To apply and smooth the cement patch.
- Sponge: For smoothing and shaping the patch as it begins to set.
- Sealer: To protect the repaired cement from future damage.
- Bucket and mixing tool: To mix the cement patch compound.
Step-by-Step Guide to Fix a Cement Step
Fixing a cement step may seem challenging, but with the right preparation and process, it can be done in a few hours. Let’s go through the detailed steps:
1. Assess the Damage
Before starting the repair, inspect the cement step closely. Small cracks and chips can be repaired with patching materials. However, for more severe damage, such as large chunks missing or deep cracks, you may need to consider replacing the step.
2. Clean the Damaged Area Thoroughly
Use a hammer and chisel to chip away any loose or crumbling cement from the step. After removing the damaged pieces, clean out the area with a wire brush to eliminate debris and dust. This is critical, as a clean surface allows the new patch material to bond properly with the old cement.
3. Apply a Bonding Agent
After cleaning, apply a bonding agent to the exposed area. This product is specifically designed to help the new cement adhere securely to the existing material. Without a bonding agent, the patch may not fully bond, leading to future cracks or peeling.
4. Mix the Cement Patch or Repair Compound
In a bucket, mix the concrete patch or repair compound according to the manufacturer’s instructions. The consistency should resemble thick peanut butter, which ensures the patch stays in place without running. Follow the mixing directions carefully to get the right texture and strength.
5. Apply the Patch to the Damaged Area
Using a trowel, press the cement patch firmly into the cracks or missing chunks. For deeper areas, build up the patch in layers, allowing each layer to set slightly before applying the next. This prevents sagging or uneven curing.
Ensure the surface is smooth and even, blending it with the rest of the step. Take your time to match the surrounding area as much as possible.
6. Shape and Smooth the Cement
Once the patch is applied, smooth the surface using the trowel or a sponge. This ensures a seamless blend between the repaired area and the rest of the step. If the surrounding step has a specific texture, consider using a brush to create a similar finish.
7. Let the Cement Cure
Cement needs time to cure properly. Follow the manufacturer’s instructions, but generally, you’ll need to let the cement cure for at least 24 to 48 hours. During this time, protect the area from rain, snow, or foot traffic by covering it with a plastic sheet or tarp.
8. Seal the Step
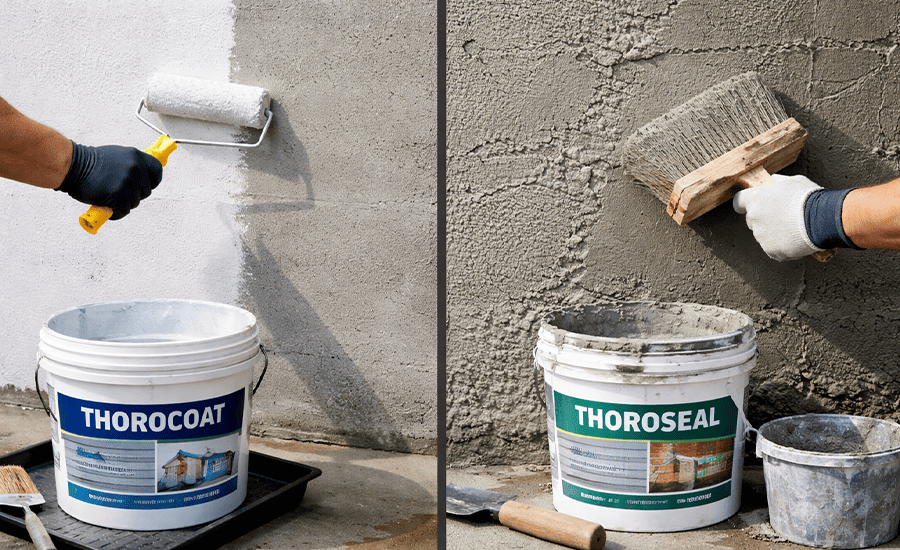
After the patch has fully cured, apply a concrete sealer to the step. The sealer helps protect the cement from future water damage, freezing, and cracking. Sealing is particularly important in climates with heavy moisture and fluctuating temperatures, like New York.
Preventive Maintenance for Cement Steps
Once you’ve repaired your cement step, preventive maintenance is key to extending its life and reducing the need for future repairs. Consider the following:
- Apply a concrete sealer annually: This will create a protective barrier against water, preventing moisture infiltration and freeze-thaw damage.
- Inspect regularly: After harsh winters or storms, check your cement steps for any cracks or chips. Addressing small cracks early can prevent larger issues later.
- Clear debris: Keep the steps free from debris, snow, and ice, which can trap moisture and cause cracks to worsen.
These simple maintenance practices can help extend the lifespan of your cement steps and keep them looking good.
Conclusion
Repairing a cracked or chipped cement step may seem like a complex task, but with the right materials and a clear step-by-step process, it’s a project you can manage yourself. From cleaning out the damaged area to applying a bonding agent and sealing the patch, these steps will help restore your cement step’s integrity and appearance. Regular maintenance, such as sealing and inspecting the steps for early signs of wear, will ensure they last for years.
If you’re located in Manhattan, Bronx, Queens, or Westchester and need professional assistance, Sardar Restoration Corp specializes in concrete and masonry repair. Contact us for expert services that ensure quality and long-lasting results.
FAQs
Why do cement steps crack?
Cement steps crack due to freeze-thaw cycles, moisture infiltration, and high foot traffic, which weaken the material over time.
How long does it take to repair a cement step?
Most cement step repairs take around 24 to 48 hours for the patch to cure, but it depends on the size of the repair and weather conditions.
Can I fix deep cracks myself, or should I call a professional?
For deep cracks or large areas of damage, it’s often best to consult a professional contractor to ensure the repair is done correctly.
How often should I reseal cement steps?
It’s recommended to apply a concrete sealer every 1 to 2 years, especially in regions prone to extreme weather conditions like New York.
What is the best time of year to repair cement steps?
The best time to repair cement steps is during warm, dry months, such as late spring or summer, to ensure proper curing and avoid moisture issues during the repair process.


